Trace Repair
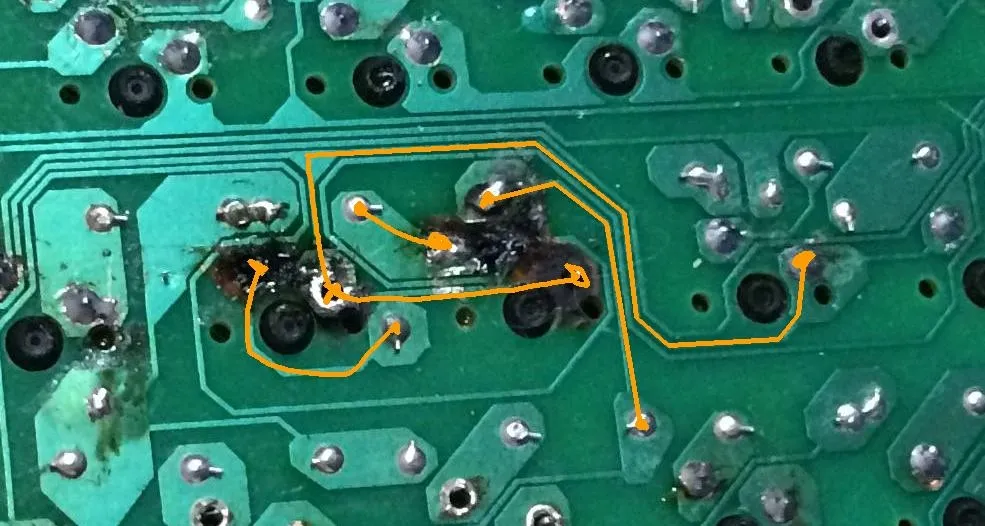
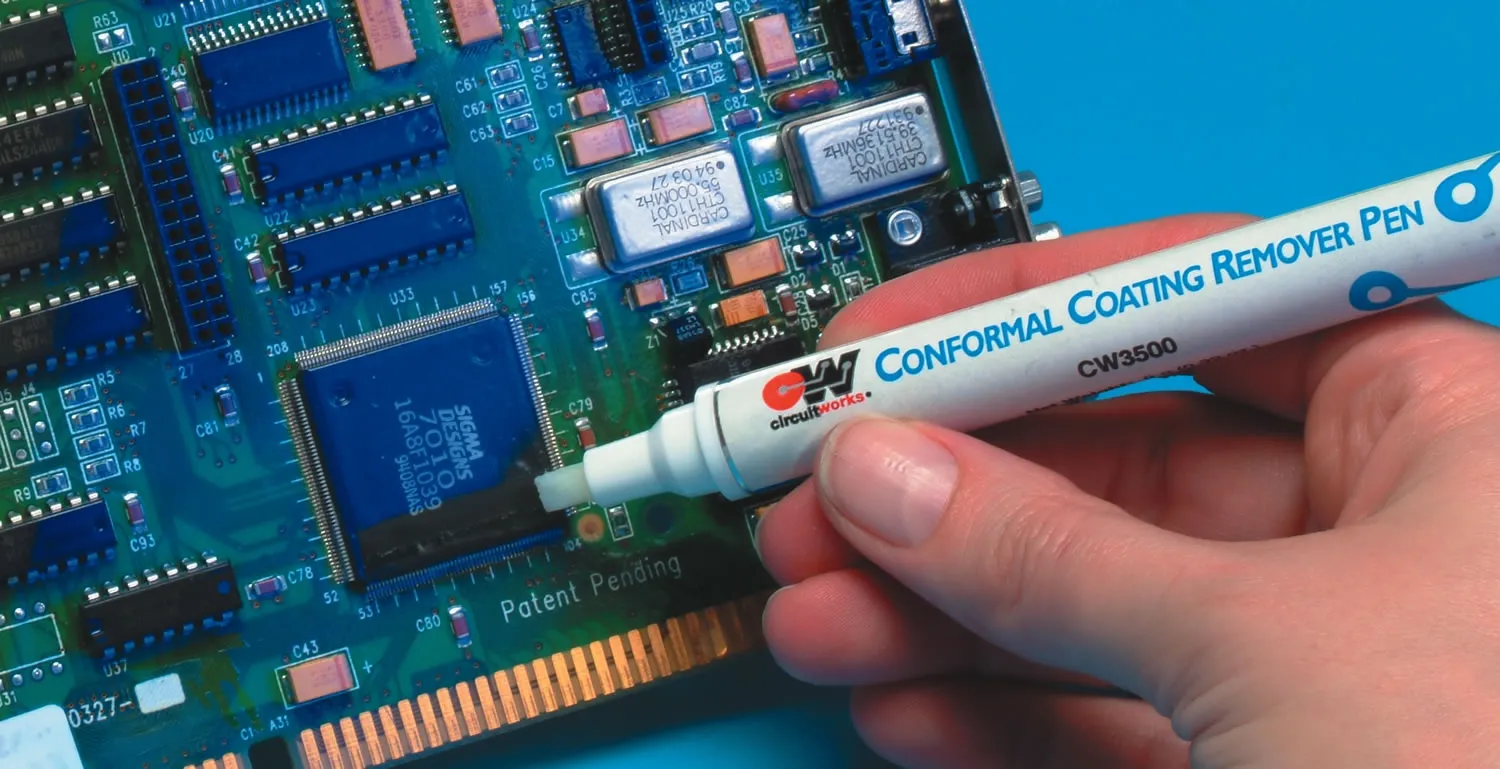
Trace repair is a critical skill in electronics maintenance and PCB troubleshooting, addressing the common issue of damaged conductive pathways on printed circuit boards. Whether caused by physical wear, overheating, manufacturing defects, or accidental scratches, broken traces can disrupt signal flow, leading to malfunctioning devices. For engineers, hobbyists, and technicians searching for solutions, understanding trace repair techniques ensures reliable circuit restoration without the need for complete board replacement, saving time and costs in prototyping, repairs, and production environments. This tag encompasses a range of methods for effective trace repair, from basic soldering fixes to advanced approaches like using conductive inks or jumper wires. Key best practices include identifying the damage type—such as open circuits or shorts—through visual inspection or multimeter testing, then selecting appropriate tools like fine-tip soldering irons, flux, and copper foil for precise repairs. For instance, in high-frequency applications, maintaining trace impedance is essential to avoid signal degradation, which involves careful measurement and material matching. Safety considerations, such as working in ESD-protected areas and avoiding excessive heat that could damage nearby components, are also vital to prevent further issues. Professionals often encounter trace repair in scenarios like automotive electronics, consumer gadgets, or industrial controls, where downtime can be costly. By mastering these techniques, you can extend the lifespan of PCBs and enhance overall system reliability. The articles under this Trace Repair tag offer in-depth tutorials, case studies, and troubleshooting tips that build on these fundamentals, helping you apply proven strategies to your specific projects.
Video Guide
No videos found for this tag.
Technical Articles
Get in Touch
Send Message
- Products & Service
- Company
- About AIVON
- Contact
- News
- Blog
- Certification
-


- Payment
-


2026 AIVON.COM All Rights Reserved