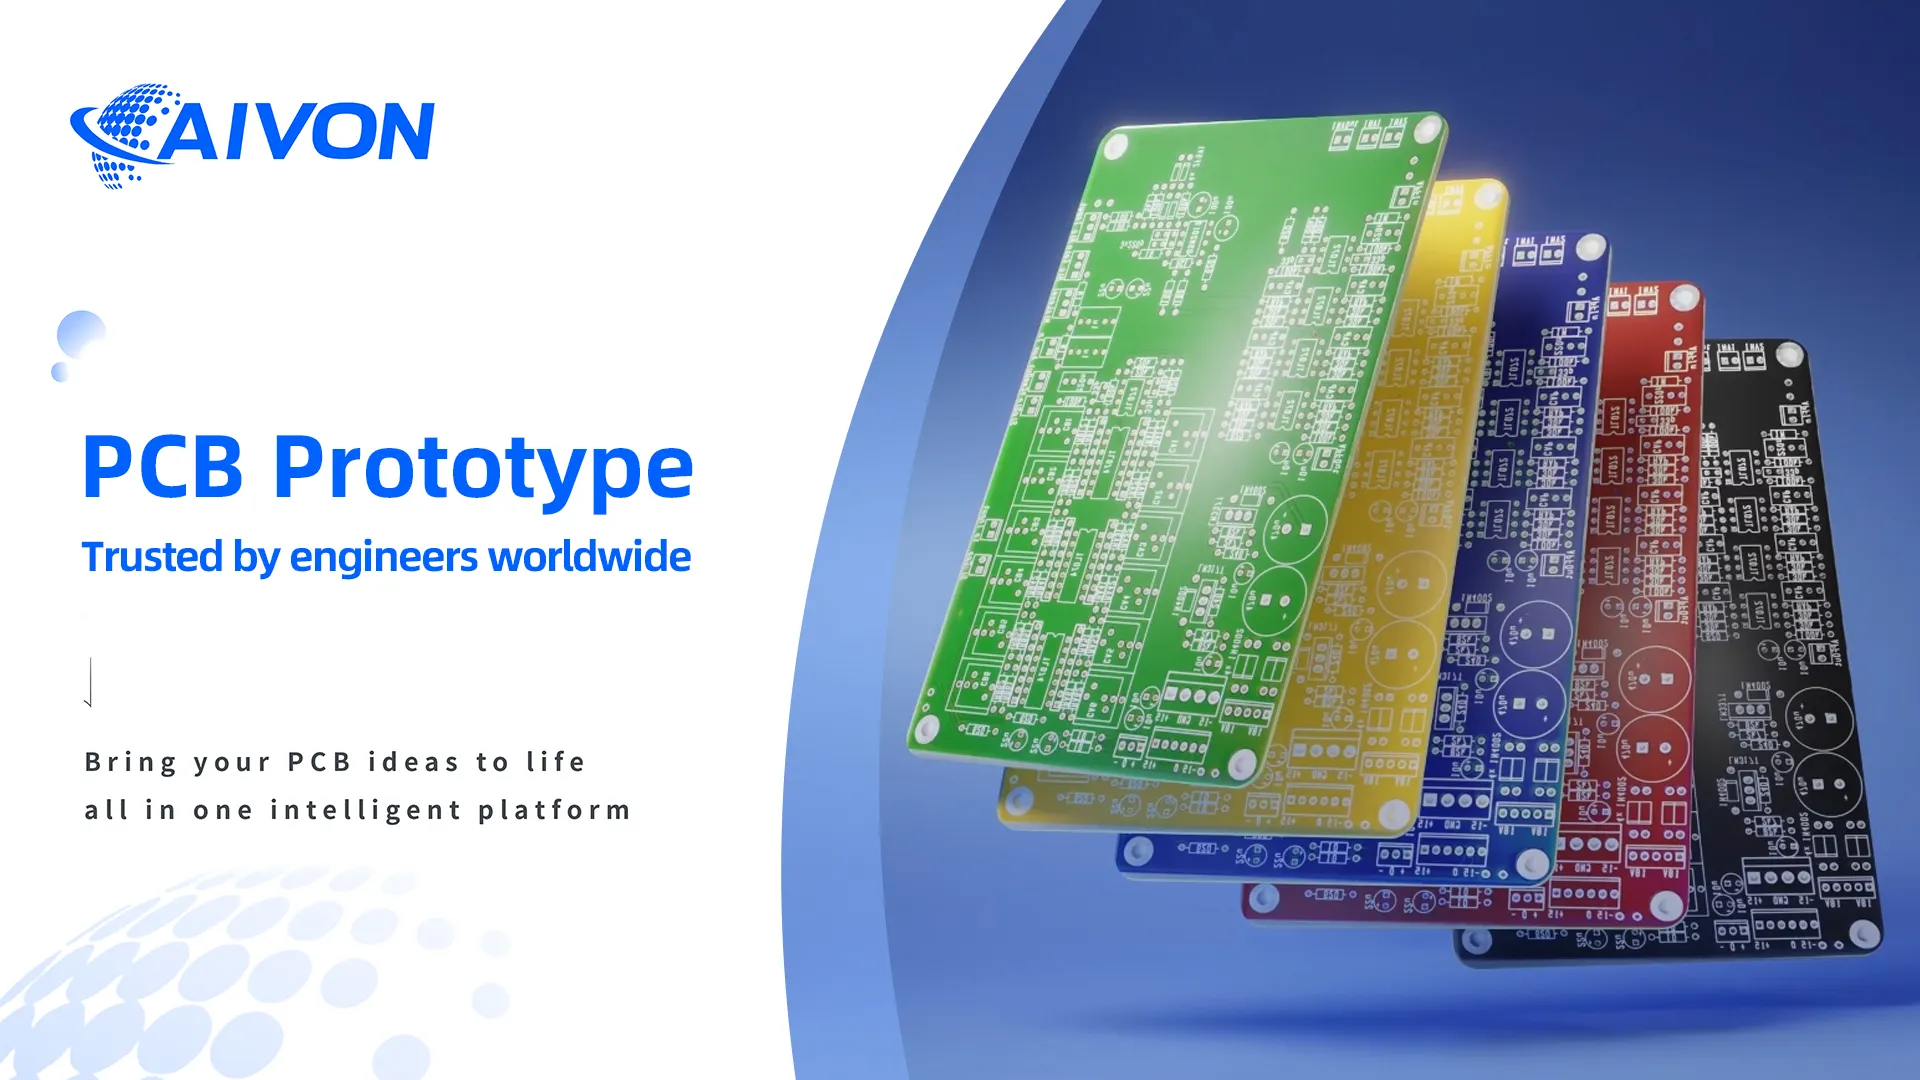
SMD Component Installation Video: SMT Assembly Guide
WHAT THIS VIDEO COVERS
This video demonstrates the complete SMD component installation process during SMT assembly, showing how modern equipment places and solders surface-mount devices onto PCBs with high precision. It covers key steps including solder paste application, component placement, reflow soldering, and post-assembly inspection to ensure strong mechanical and electrical connections.
The content is particularly useful for engineering and procurement teams who need consistent quality when scaling from prototype to mass production. It highlights practical techniques that reduce defects and improve long-term reliability in demanding applications such as automotive electronics, medical devices, and industrial control systems.
For a fast quote on your next SMD assembly project, use our PCB assembly quote (Instant PCB Assembly Quote & Calculator) tool or explore full PCB assembly capabilities.
KEY HIGHLIGHTS
- Precise SMD component placement and reflow soldering for high-yield SMT assembly
- Quality inspection techniques that ensure reliable electrical and mechanical connections
- Scalable installation methods suitable for automotive, medical, and industrial PCB applications
FAQ
Q1: What are the most common defects during SMD component installation and how are they prevented?
A1: Common defects include tombstoning, solder bridging, and insufficient solder joints. AIVON prevents these through precise stencil design, optimized solder paste volume, high-accuracy placement programming, and carefully controlled reflow profiles.
Q2: How does AIVON ensure placement accuracy for fine-pitch SMD components in high-volume production?
A2: AIVON uses high-speed SMT placement machines with 01005 and 0201 capability, real-time vision alignment systems, and closed-loop process control to maintain ±25 µm placement accuracy even during continuous high-volume runs.
Q3: Which inspection methods are used after SMD installation to verify solder joint quality?
A3: AIVON performs 3D Automated Optical Inspection (AOI), X-ray inspection for hidden joints, and in-circuit testing (ICT) after reflow soldering to ensure every SMD component meets strict quality standards.
Today, we are installing a SMD IC onto the green PCB. First, align the component precisely with the solder pads. Using a fine-tip soldering iron and tweezers, carefully tack the corner pins to hold the IC in position.
Then, apply controlled heat and solder to each pin, ensuring clean joints without bridging. Pay close attention to temperature control to avoid damaging the component or lifting pads.
After soldering, inspect for cold joints or shorts. Clean any residue with isopropyl alcohol for a professional finish.
This technique is essential for reliable SMD assembly and repair.