Soldering Basics for Beginners
WHAT THIS VIDEO COVERS
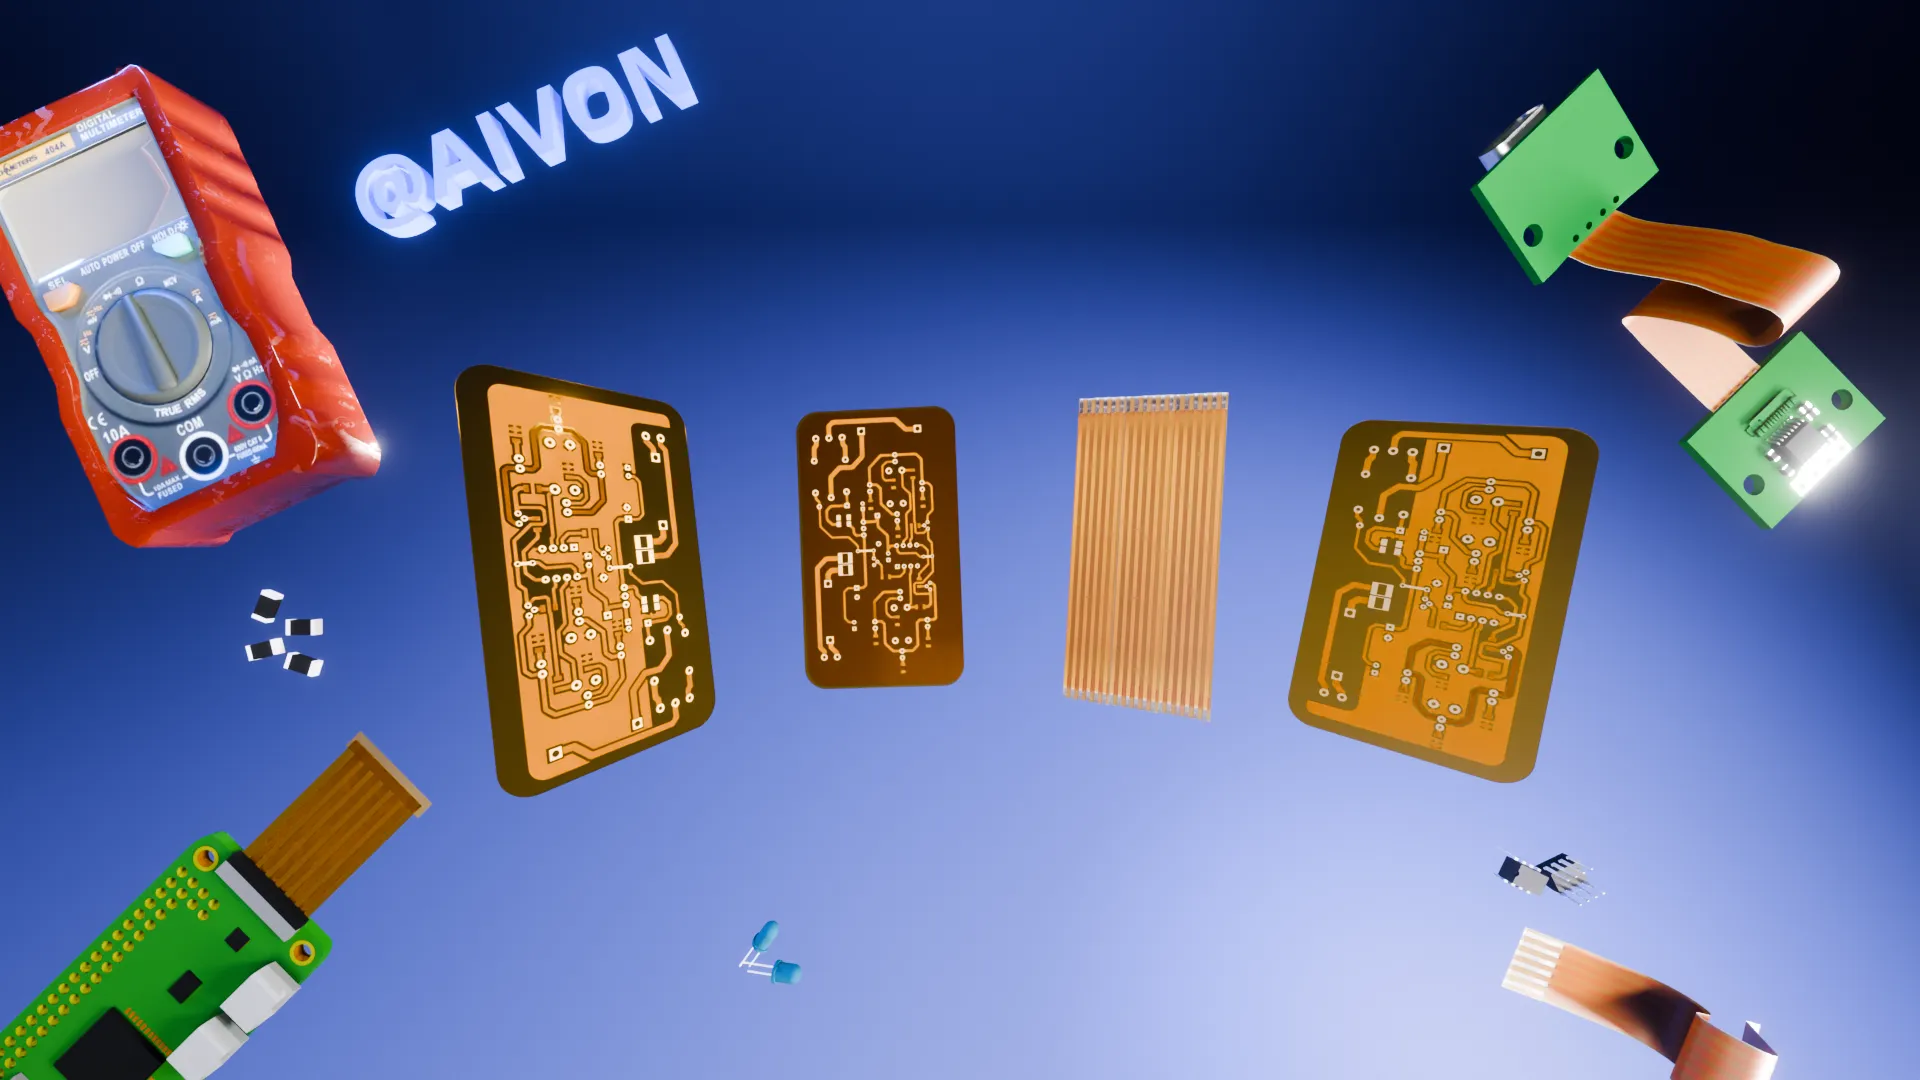
This video provides essential PCB soldering fundamentals for beginners, covering the basic tools, safety practices, and step-by-step techniques for both through-hole and surface mount components.
Key topics include proper equipment setup (soldering iron, solder wire, flux), safety measures like fume extraction and temperature control (320–350°C), and correct soldering methods. For through-hole components, the process involves heating the pad and pin, feeding solder to form a smooth, shiny joint resembling a small volcano. SMD soldering follows similar principles with flux application and tacking components in place.
The video highlights critical beginner mistakes to avoid: insufficient temperature causing cold joints, excessive solder leading to bridges, and prolonged heating that damages pads or components. These skills directly improve outcomes during PCB prototype and PCB assembly projects.
Understanding proper soldering techniques helps engineers and technicians create more reliable boards for applications ranging from consumer electronics PCB to industrial control PCB, reducing defects and enhancing overall manufacturing quality.
KEY HIGHLIGHTS
- Proper through-hole soldering requires heating both pad and pin, then feeding solder to form a shiny, volcano-shaped joint for strong electrical and mechanical connections.
- SMD soldering uses flux and a tacking method, with the same core principles as through-hole but adapted for smaller surface pads.
- Avoid common errors like cold joints, solder bridges, and overheating to ensure reliable, professional-quality PCB solder connections.
FAQ
Q1: What temperature should you set for PCB soldering?
A1: Set your soldering iron to 320–350°C for most standard PCB work with leaded or lead-free solder to ensure proper flow without damaging components or pads.
Q2: What are the most common beginner mistakes in PCB soldering?
A2: The most frequent issues are using too low a temperature (cold joints), applying too much solder (bridges/shorts), and heating joints for too long (lifted pads or damaged components).
Q3: How do you solder SMD components on a PCB?
A3: Apply flux, tin the iron tip, tack one side of the component to hold it, then solder the remaining pads while ensuring good wetting and avoiding excess solder.
Want to learn soldering? You only need: a soldering iron, solder wire, flux, and some old circuit boards to practice on.
First, safety.
Turn on your fume extractor, wear safety glasses, and set your iron to 320–350°C.
Start with the easiest — through-hole soldering.
Insert the component straight.
Touch the pad and the pin with the iron tip for 1–2 seconds.
Feed solder wire on the opposite side until it flows and wraps the pin.
Remove the solder, then remove the iron. Hold still for one second while it cools.
Good joints should look shiny and smooth like a small volcano.
For SMD, it's almost the same.
Add a bit of flux → tin the iron tip → tack the component, then solder the rest.
Avoid these beginner mistakes:
Too low temperature = cold joints (dull and weak)
Too much solder = bridges and shorts
Heating too long = damaged pads
Practice more and your joints will get better naturally.
Like and save this video. See you in the next one!