Introduction
Electronic hobbyists often tackle surface-mount technology projects at home, where precise solder paste application makes all the difference in assembly success. Custom stencils simplify making stencils for electronics by allowing controlled deposition of paste onto pads, reducing manual errors and bridging issues. Whether prototyping a microcontroller board or assembling fine-pitch components, a well-made stencil speeds up the process and improves reliability. This guide walks through practical DIY methods like etching stencils at home and laser cutting stencils DIY, tailored for workbench setups. You'll learn troubleshooting tips to achieve professional results without specialized factory equipment. By following these steps, hobbyists can iterate faster on their designs.
What Are Custom Stencils and Why They Matter for Hobbyists
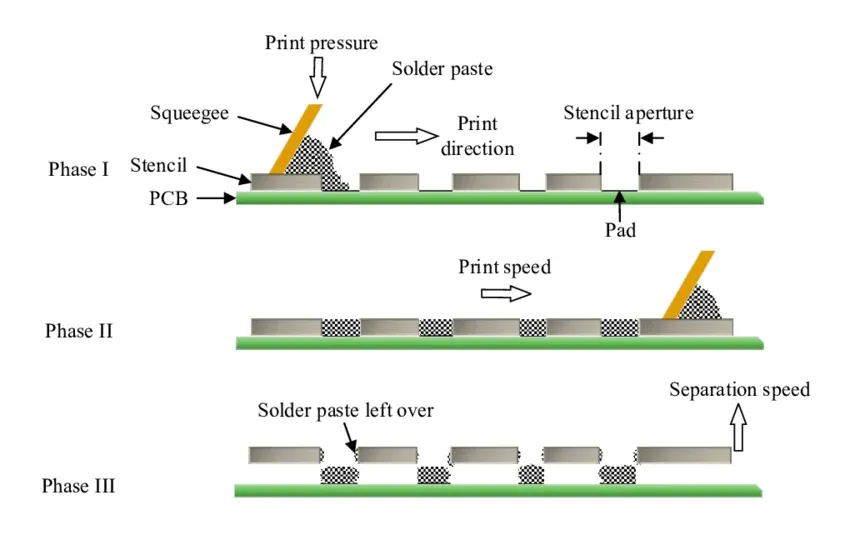
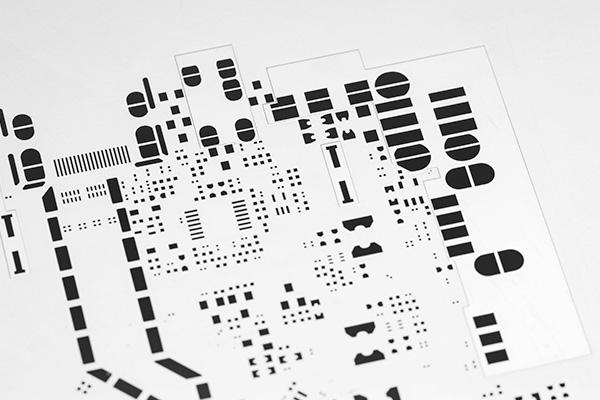
Custom stencils are thin templates, typically made from metal or polymer sheets, with precisely cut apertures matching PCB pad layouts. They act as a mask during solder paste printing, ensuring paste volume consistency across components. For electronic hobbyists, stencils matter because hand-applying paste with syringes leads to uneven deposits, especially on dense boards with 0.5mm pitch parts. A good stencil enables quick, repeatable printing, mimicking production lines in a garage setup. This approach cuts assembly time and minimizes rework, letting you focus on testing and debugging circuits.
Industry standards like IPC-7525C outline guidelines for stencil design, emphasizing factors that affect paste release and print quality. Hobbyists benefit by aligning their DIY efforts with these principles, avoiding common pitfalls like insufficient paste transfer. Without a stencil, reflow soldering often results in tombstoning or opens, frustrating small-batch projects. Custom versions adapt perfectly to unique board geometries, unlike generic tools.
Technical Principles Behind Stencil Fabrication
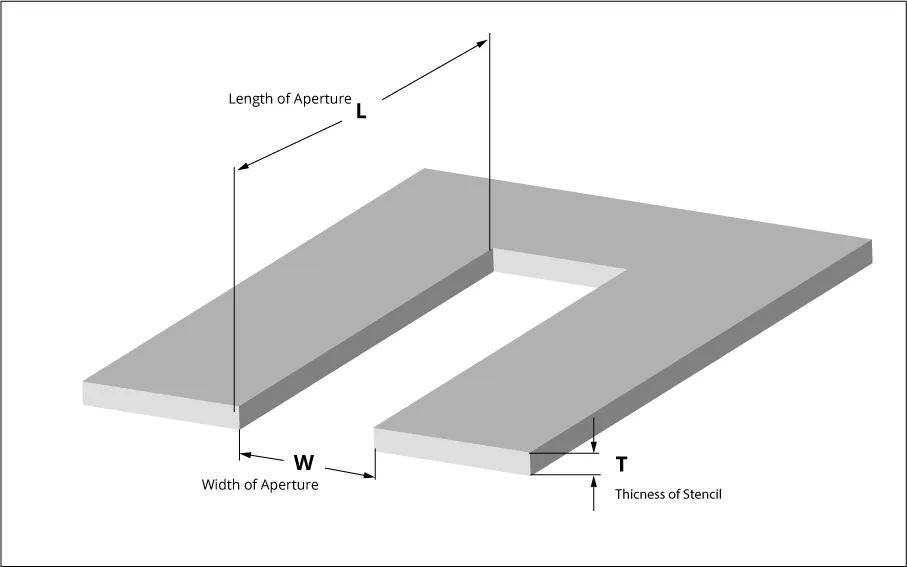
Stencil performance hinges on material choice, aperture geometry, and fabrication precision. Metals like stainless steel or brass offer durability for repeated use, while polymers provide flexibility for one-off jobs. Aperture walls must be smooth to allow clean paste release during separation from the board. Etching or laser processes create these features, but surface finish plays a key role in preventing paste residue buildup.
In laser cutting stencils DIY, the beam vaporizes material along vector paths derived from Gerber files, producing tapered or vertical walls depending on power settings. Chemical etching, conversely, undercuts edges slightly, which can aid release but risks over-etching if not controlled. Both methods require fiducials for alignment, ensuring the stencil registers accurately over pads. Standards such as IPC-7525C stress balancing aperture size to pad dimensions for optimal volume transfer.
Thickness uniformity affects squeegee pressure needs; inconsistencies lead to smearing. Hobbyists troubleshoot by polishing surfaces post-fabrication, enhancing release properties. Understanding these mechanisms helps select the right method for your project's component density.
Etching Stencils at Home: A Step-by-Step DIY Approach
Etching stencils at home suits hobbyists without laser access, using common chemicals and household tools. Start with thin brass or aluminum shim stock, available at hardware stores, as the base material. Prepare your design in free software by exporting the solder paste layer from your PCB file, scaling apertures appropriately to match pads. Print the mask on glossy paper or transparency film using a laser printer for toner transfer.
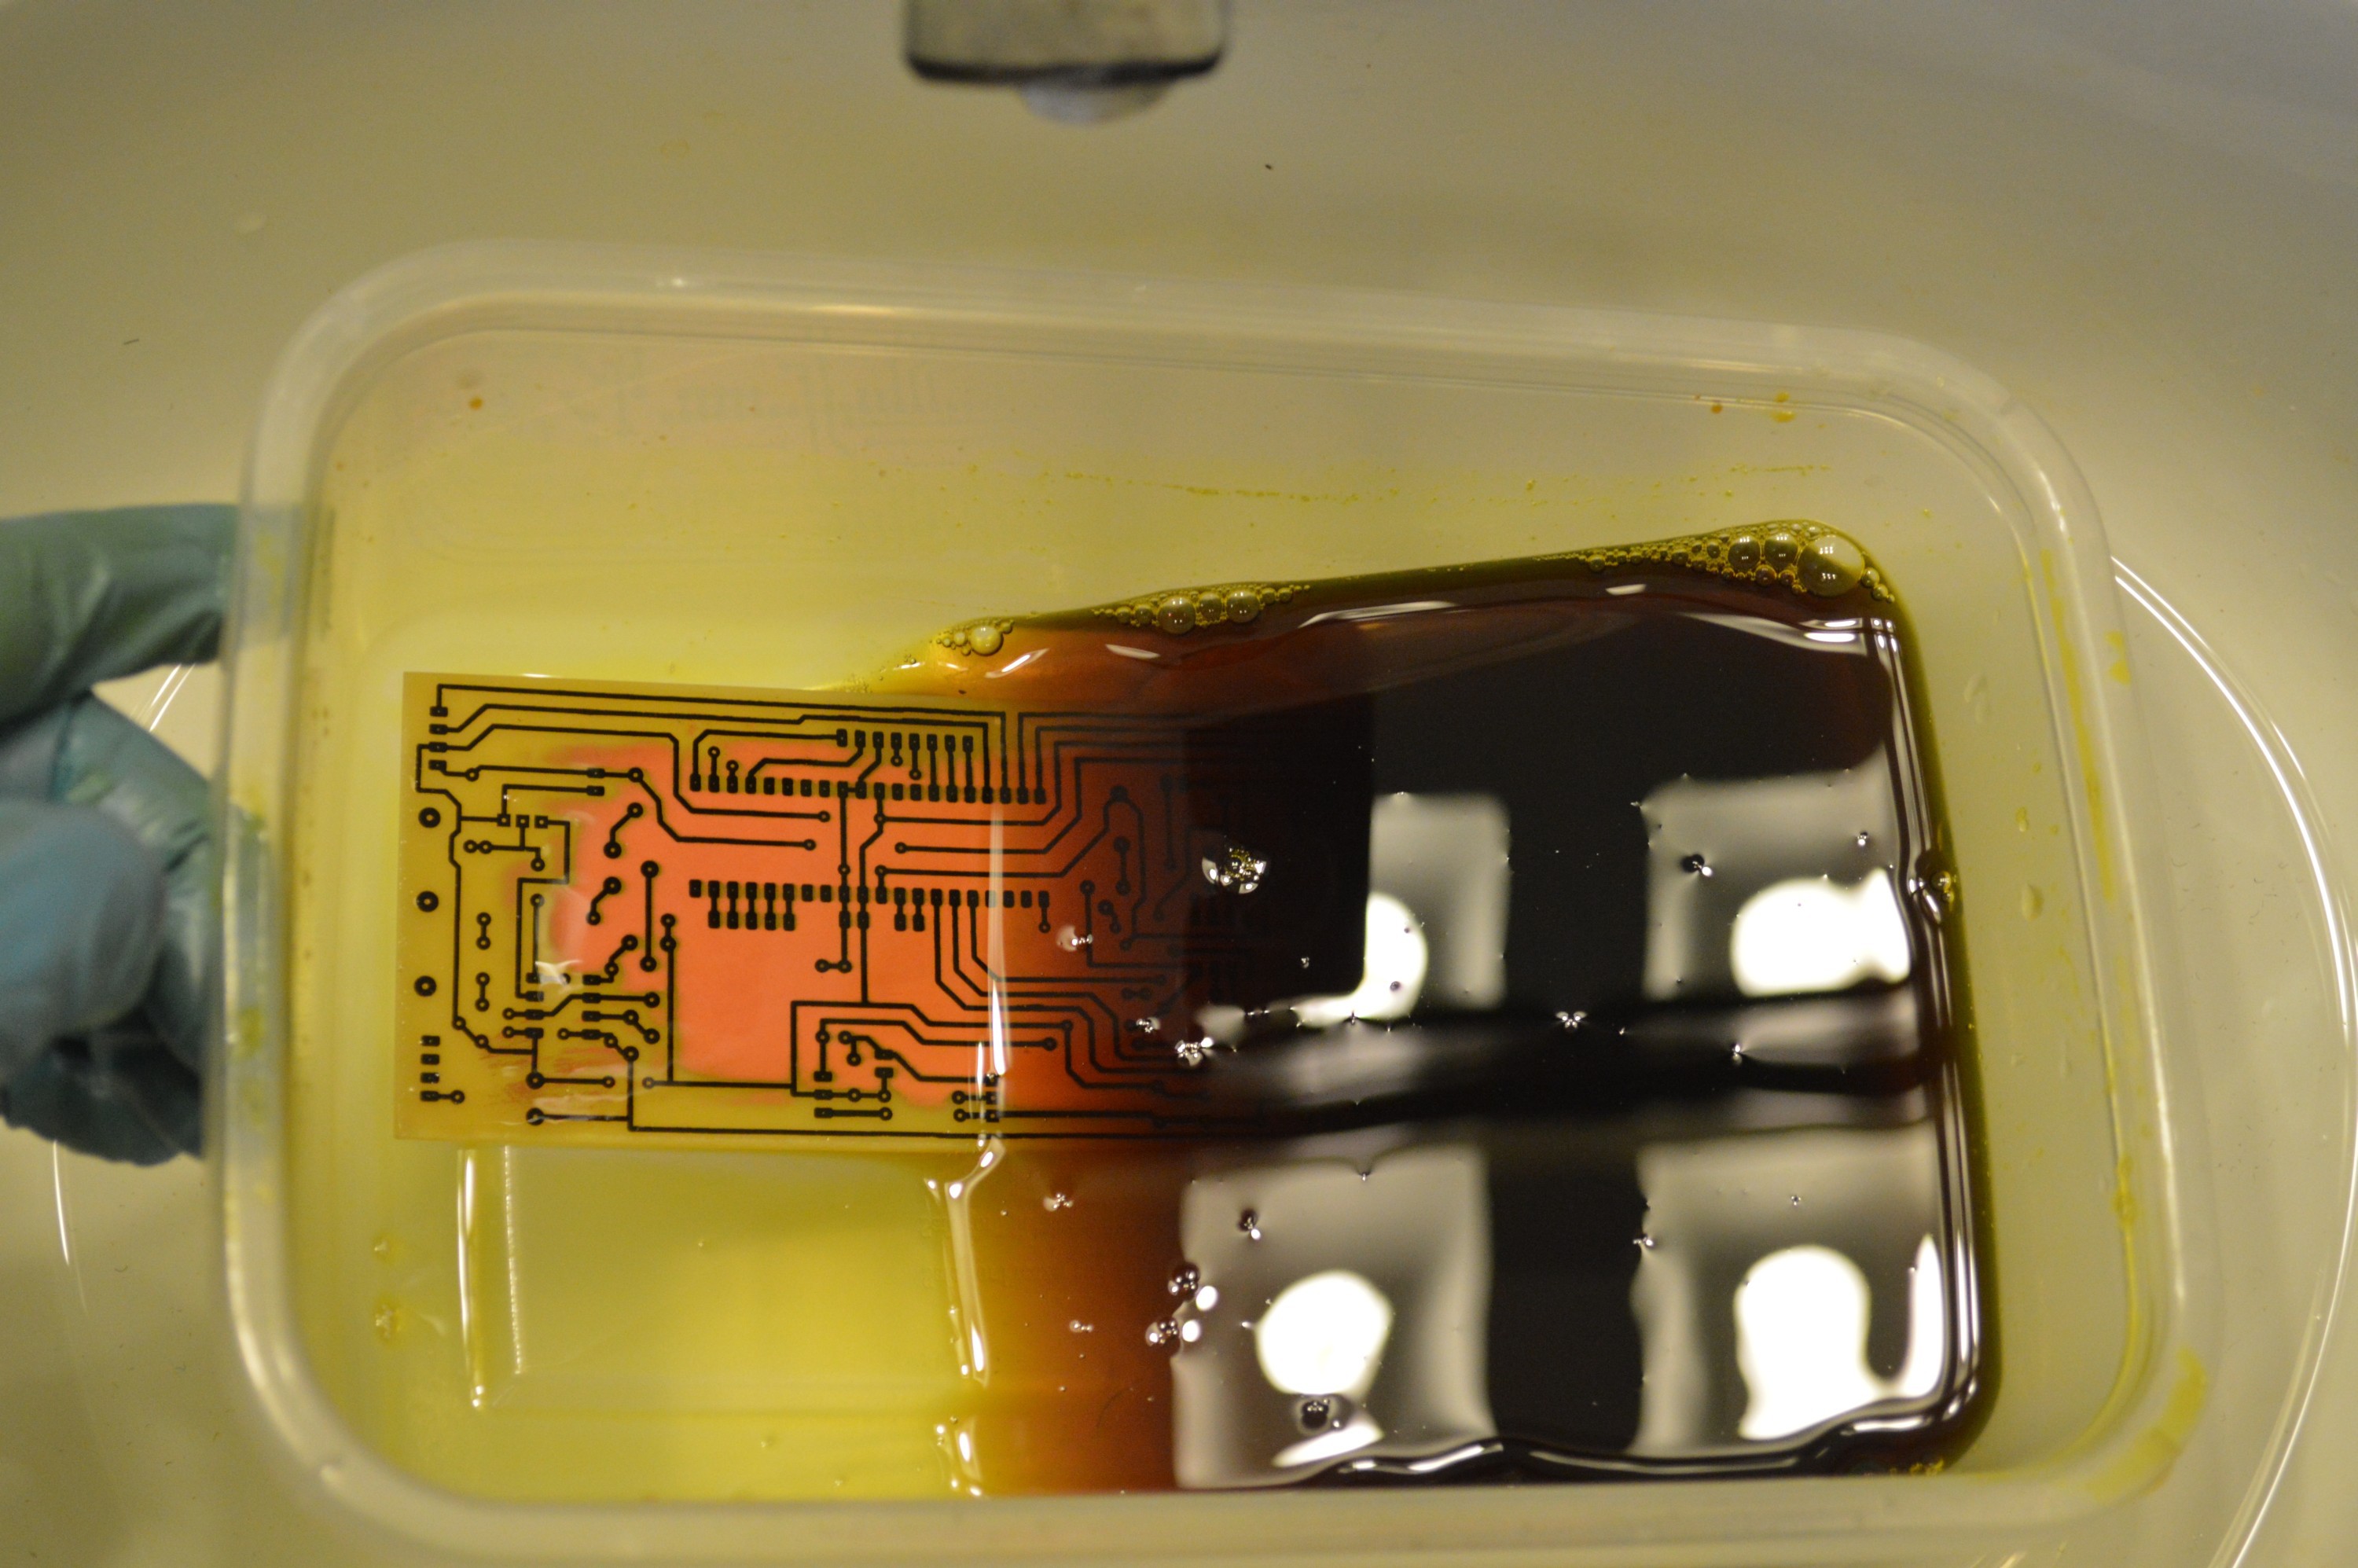
Apply the toner mask to the metal by ironing it on, ensuring bubble-free adhesion. Touch up imperfections with a marker, then submerge in etchant like ferric chloride in a plastic tray. Agitate gently and monitor progress every few minutes to avoid over-etching, which widens apertures undesirably. Rinse thoroughly, strip the mask with acetone, and degrease for a clean surface. This method yields reusable stencils for dozens of prints if handled carefully.
Safety comes first: work in a ventilated area, wear gloves and goggles, and neutralize waste properly. Test the stencil on scrap board to verify alignment and release. Common issues like pinholes stem from poor mask adhesion; preheat the metal to improve transfer.
Laser Cutting Stencils DIY: Precision for Modern Makerspaces
Laser cutting stencils DIY has gained popularity with affordable diode lasers, ideal for polymer films like Mylar or polyester sheets. Export your paste layer as an SVG, optimizing paths for minimal overlap to prevent charring. Secure the sheet in the laser bed, set low power and multiple passes for clean cuts without melting edges. Focus on material thickness suited to your squeegee setup; too thick resists flexing, too thin tears easily.
Post-cut, inspect for burrs and clean with isopropyl alcohol. Frame the stencil with tape or a simple holder for stability during printing. This technique excels for fine-pitch work, as lasers achieve sub-millimeter accuracy. Hobbyists often iterate designs quickly by recutting sheets in minutes.
Troubleshoot smoke residue by using exhaust fans and testing speeds on scraps. Polymer stencils wear faster than metal but cost pennies per use, perfect for prototypes.
Best Practices for Design and Printing with Custom Stencils
Design stencils with alignment marks and borders wider than your board for handling. Reduce aperture areas slightly relative to pads to control paste volume, following IPC-7525C guidelines for release efficiency. Include trap relief around large pads to avoid paste islands. Use vector software to add fillets on corners, preventing bridging in reflow.
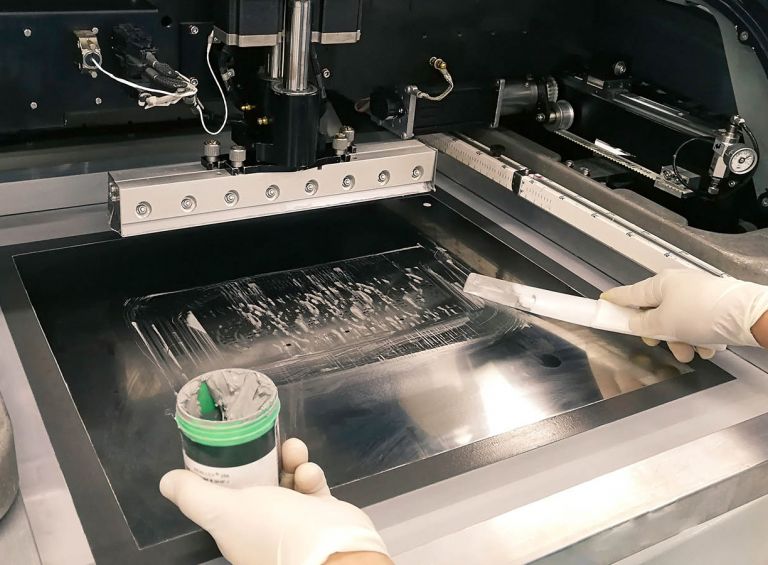
For printing, secure the PCB and stencil with clamps or magnets. Apply paste evenly with a metal squeegee at 45 degrees, using moderate pressure. Lift slowly at a shallow angle to minimize smearing. Clean the stencil after each board with lint-free wipes and solvent.
Store flat in a dry place to prevent warping. Test prints under magnification for uniformity before placing components.
Troubleshooting Common Stencil Issues
Insufficient paste release often traces to rough walls or thick paste; polish with fine abrasives or thin the mix. Bridging occurs from excessive pressure or misaligned apertures; recalibrate registration and reduce stroke speed. Stencil tearing in polymers signals overly aggressive cuts; lower laser power incrementally.
Over-etching widens openings, depositing too much paste; time baths precisely with a timer. If paste dries on the stencil, switch to lower-temperature formulas. Consistent cleaning prevents buildup, extending usability.
Conclusion
Creating custom stencils empowers electronic hobbyists to master SMT assembly at home, bridging the gap between prototype and production. Methods like etching stencils at home and laser cutting stencils DIY offer accessible entry points, with practical tweaks ensuring reliability. Adhering to principles from standards elevates results, minimizing defects. Experiment iteratively, prioritizing safety and cleanliness for success. Your projects will reflow smoother, accelerating innovation.
FAQs
Q1: How do I start making stencils for electronics without expensive tools?
A1: Etching stencils at home using brass shim and ferric chloride provides a low-cost entry. Print a toner mask from your paste layer, transfer it via heat, and etch in a ventilated space. Monitor closely to control depth, then clean and test. This yields functional stencils for hobbyist boards, troubleshooting paste volume issues effectively.
Q2: What materials work best for laser cutting stencils DIY?
A2: Polyester or Mylar films around 4-6 mil thick suit diode lasers for solder paste. Export SVG paths cleanly, use low power with multiple passes to avoid melting. Clean edges post-cut for optimal release. These flex well during printing, ideal for fine-pitch prototypes in makerspaces.
Q3: Why does my etched stencil cause solder bridges during reflow?
A3: Bridges often result from over-etching or poor squeegee technique in making stencils for electronics. Verify aperture sizes match pads closely, apply even pressure, and lift slowly. Polish walls smooth and use fresh paste. Alignment checks prevent offsets, ensuring clean deposits.
Q4: Can custom stencils handle mixed fine and coarse pitch components?
A4: Yes, design apertures per IPC-7525C guidelines, varying locally if using stepped processes. For DIY, uniform thickness works for hobbyists; test prints adjust volumes. Troubleshoot by hand-stenciling outliers. This versatility suits diverse electronic projects.
References
IPC-7525C — Stencil Design Guidelines. IPC, 2021
IPC-A-610H — Acceptability of Electronic Assemblies. IPC, 2019