Introduction
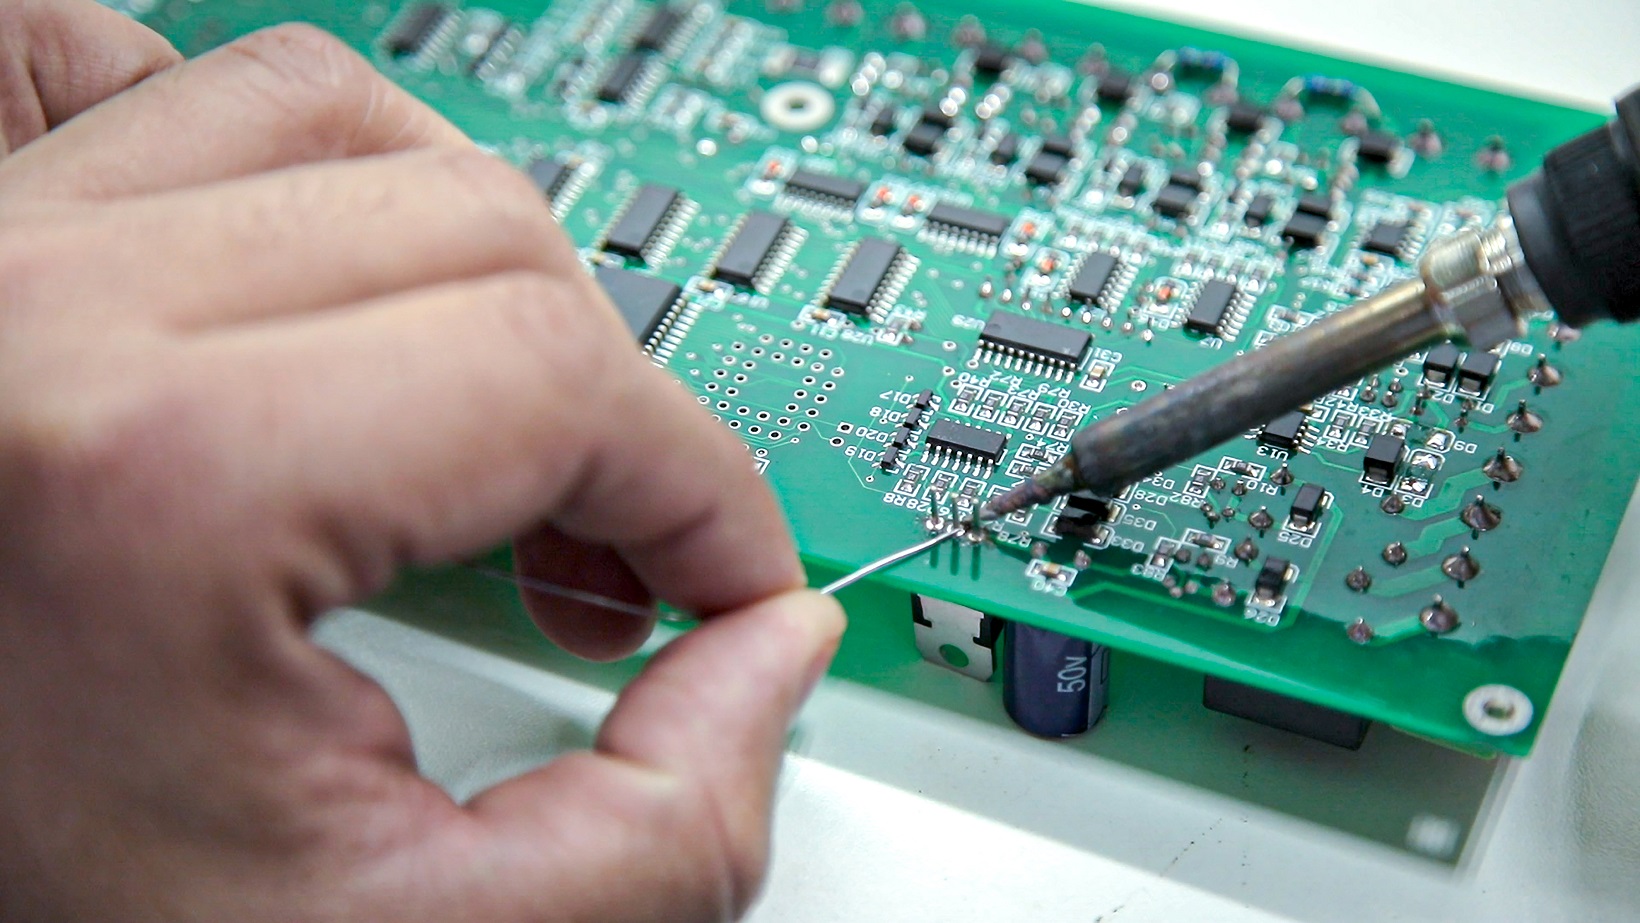
Hand soldering through-hole components remains a fundamental skill for electronic hobbyists building custom circuits or prototyping boards. Through-hole technology involves inserting component leads into drilled holes on the PCB and securing them with solder, creating strong mechanical and electrical connections ideal for beginners. This method contrasts with surface-mount techniques, offering easier handling and rework for those new to assembly. Mastering hand soldering through-hole components ensures reliable joints that withstand vibrations and stresses common in hobby projects. In this tutorial, we cover essential tools, precise techniques, and troubleshooting tips to help you achieve professional results at home. Whether repairing gadgets or assembling kits, these steps will build your confidence step by step.
What Are Through-Hole Components and Why Hand Solder Them?
Through-hole components feature leads or pins designed to pass through holes in the PCB, with solder applied on the opposite side to form a fillet joint. Common examples include resistors, capacitors, diodes, and connectors, which provide robust connections suited for low-density boards. Hand soldering these parts allows hobbyists to assemble small batches without expensive equipment like wave or reflow ovens. This approach excels in prototyping, where frequent changes and inspections are needed. Industry standards like IPC J-STD-001 emphasize proper lead insertion and solder flow for reliable terminations. For beginners, through-hole soldering techniques offer a forgiving entry point, as joints are visible and easy to inspect.
Hand soldering matters because it empowers hobbyists to create durable electronics without relying on assembly services. It supports education in electronics fundamentals, such as heat transfer and material properties. Unlike automated processes, hand methods let you control variables like dwell time and solder volume precisely. This control minimizes defects and fosters problem-solving skills. Many classic projects, from audio amplifiers to power supplies, still use through-hole designs for their simplicity and strength.
Essential Tools and Materials for Hand Soldering
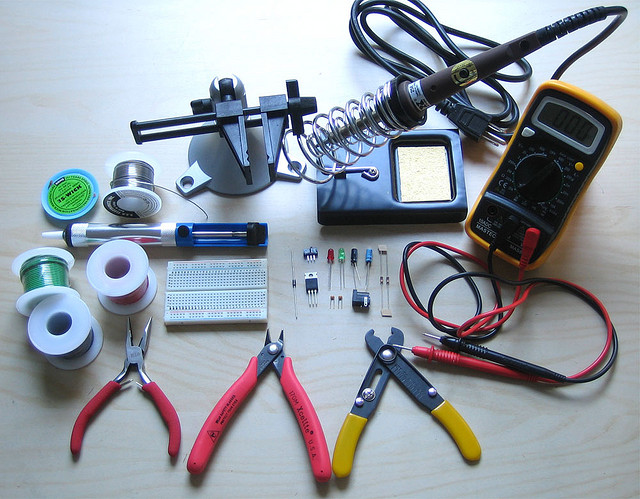
Gather a temperature-controlled soldering iron, solder wire, flux, desoldering wick, helping hands, and isopropyl alcohol for cleaning. The iron should maintain stable heat, with tips suited for through-hole work like chisel or bevel shapes. Solder wire needs a rosin core for reliable wetting on copper pads. Flux paste or liquid aids in removing oxides, ensuring smooth solder flow. Safety gear, including ventilation and eye protection, prevents fumes and splashes. A multimeter verifies connections post-soldering.
Choose materials compatible with your project; leaded solder flows easier for beginners, while lead-free options suit environmentally conscious builds. Diameter matters: 0.8 to 1.0 mm works best for through-hole pads. Store tools in a dry area to avoid corrosion. Inspect components for bent leads or damage before starting. These basics set the foundation for consistent hand soldering through-hole components.
Preparing Your Workspace and PCB
Set up a well-lit, ventilated area with a heat-resistant mat to protect surfaces. Clean the PCB with isopropyl alcohol to remove residues, ensuring pads shine. Inspect holes for burrs and straighten component leads if needed. Insert parts from the top side, bending leads on the bottom at 45 degrees to secure them temporarily. Apply flux sparingly to pads and leads for better adhesion. Preheat the iron and tin the tip lightly for optimal heat transfer.
Proper preparation prevents common issues like poor wetting or movement during soldering. Use helping hands or tape to hold the board steady. Double-check polarity for polarized components like electrolytics. This setup aligns with best practices for through-hole soldering techniques, promoting clean joints. Avoid overcrowding the bench to maintain focus.
Step-by-Step Guide to Hand Soldering Through-Hole Components
Begin by securing the PCB and components in place. Turn on the soldering iron and set it to the appropriate temperature once preheated. Position the iron tip to contact both the pad and lead simultaneously for even heating. Heat for 2 to 3 seconds until flux bubbles, then feed solder wire into the joint where pad and lead meet, not onto the tip. Add solder until it forms a slight cone around the lead, filling the hole partially. Remove the solder first, then the iron, holding the component steady until the joint solidifies.
Inspect each joint for shine and fillet shape before moving on. For multi-pin parts like ICs, solder opposite corners first to align, then fill in. Work quickly to avoid overheating sensitive components. Clean excess flux with alcohol and a brush. This sequence ensures reliable hand soldering through-hole components every time.
Optimal Soldering Iron Temperature for Through-Hole Work
The soldering iron temperature for through-hole soldering typically ranges from 350°C to 380°C for leaded solders, adjusting higher for lead-free alloys around 370°C to 400°C. Start lower and increase if solder doesn't melt promptly, monitoring tip idle temperature. Too low causes cold joints with dull appearances; too high lifts pads or damages traces. Dwell time should not exceed 5 seconds per joint to prevent heat stress. Test on scrap board to dial in settings for your iron and solder type. Consistent temperature control yields smooth, reliable connections.
Factors like tip size and thermal mass influence effective heat delivery. Larger tips hold heat better for bigger pads. Calibrate periodically for accuracy. These guidelines support IPC-A-610 criteria for acceptable solder joints, focusing on appearance and strength.
Best Solder for Through-Hole Hand Soldering
The best solder for through-hole hand soldering is 60/40 or 63/37 tin-lead alloy with rosin core flux, in 0.8 mm to 1.0 mm diameter. Eutectic 63/37 melts sharply at 183°C, minimizing movement during solidification. Rosin core activates flux during heating, cleaning surfaces for excellent wetting. For lead-free, use Sn96.5Ag3.0Cu0.5 (SAC305) melting around 217°C, though it requires more heat and skill. Avoid acid cores, which corrode electronics over time. Select based on project needs and local regulations.
Quality solder flows evenly without globbing. Store in airtight containers to preserve flux. Thinner diameters suit fine-pitch leads, thicker for power components. Matching solder to technique enhances joint integrity.
Advanced Through-Hole Soldering Techniques
Employ point-to-point soldering for precision, heating pad and lead together. For dense areas, use drag soldering sparingly, applying flux liberally. Pre-tinning leads speeds assembly but risks excess solder. Vertical soldering suits sockets: heat from side, let capillary action fill. Clip excess lead length post-cool down to 1-2 mm above fillet. These through-hole soldering techniques improve efficiency and quality.
Practice on kits to refine speed and angle. Maintain 45-degree tip approach for access. Flux renewal between joints prevents dry tips.
Avoiding Soldering Bridges and Common Mistakes
Soldering bridges occur when excess molten solder connects adjacent pads, shorting circuits. To avoid soldering bridges, use minimal solder volume and inspect after each joint. If bridges form, apply flux and drag desoldering wick with iron to absorb excess. Preheat wick tip slightly for faster removal. Cold joints from insufficient heat show rough surfaces; reheat with flux to reflow. Lifted pads signal overheat; stop and consult IPC J-STD-001 for rework guidelines.
Overheating warps boards or degrades components; limit exposure. Bent leads cause poor fill; trim straight. Insufficient hole fill violates standards; ensure 75% minimum. Patience prevents most errors.
Troubleshooting Soldering Issues
Dull joints indicate cold soldering; increase temperature or dwell slightly. No-wet pads mean oxides; clean and flux more. Excessive solder balls from dirty tips; clean with brass wool. Component tombstoning in mixed tech needs lead bending. Test continuity and shorts with multimeter. Rework follows IPC-7711 principles: heat, wick, resolder.
Visual checks per IPC-A-610 catch defects early. Log issues for process improvement.
Conclusion
Hand soldering through-hole components empowers hobbyists with reliable prototyping skills. Key takeaways include proper temperature control, quality solder selection, and meticulous techniques to avoid defects like bridges. Standards like IPC J-STD-001 and IPC-A-610 guide workmanship for lasting results. Practice builds proficiency, turning beginners into confident assemblers. Start small, inspect often, and enjoy creating functional electronics.
FAQs
Q1: What is the ideal soldering iron temperature for through-hole components?
A1: For hand soldering through-hole components, set your iron to 350°C to 380°C for leaded solder, or 370°C to 400°C for lead-free. Heat pad and lead together for 2-3 seconds before adding solder. Adjust based on joint formation; too low causes cold joints, too high risks damage. Test on scrap for your setup. This range ensures proper reflow without overheating.
Q2: What is the best solder for through-hole hand soldering?
A2: The best solder for through-hole is 60/40 or 63/37 tin-lead rosin core wire, 0.8-1.0 mm diameter. It flows smoothly at lower temperatures, ideal for beginners. Lead-free SAC305 works but needs higher heat. Rosin flux cleans oxides for strong bonds. Avoid no-clean for rework ease.
Q3: How can I avoid soldering bridges in through-hole techniques?
A3: To avoid soldering bridges, apply minimal solder per joint and work methodically. Use flux before wicking excess with braid if bridges form. Space components adequately and inspect visually after each pin. Pre-bend leads to control position. IPC J-STD-001 stresses controlled volume for clean assemblies.
Q4: What are common through-hole soldering techniques for beginners?
A4: Basic techniques include heating pad/lead simultaneously, feeding solder to the joint, and cooling undisturbed. Tin tip first for heat transfer. Secure parts with bent leads. Flux aids flow. Practice yields shiny fillets meeting acceptability criteria.
References
IPC J-STD-001 — Requirements for Soldered Electrical and Electronic Assemblies. IPC
IPC-A-610 — Acceptability of Electronic Assemblies. IPC