If you're an electrical engineer working on SMT (Surface Mount Technology) for PCB assembly, choosing the right stencil can make or break your solder paste process. When it comes to step-down stencil design, a key decision is whether to use frameless or frame stencils. So, what's the difference, and which is better for your project? In short, frameless stencils are lightweight, cost-effective, and ideal for low-volume or prototype runs, while frame stencils offer durability and precision for high-volume production. This guide dives deep into the nuances of both, helping you optimize your SMT process with practical insights tailored for engineers.
What Is a Step-Down Stencil and Why Does It Matter in PCB Assembly?
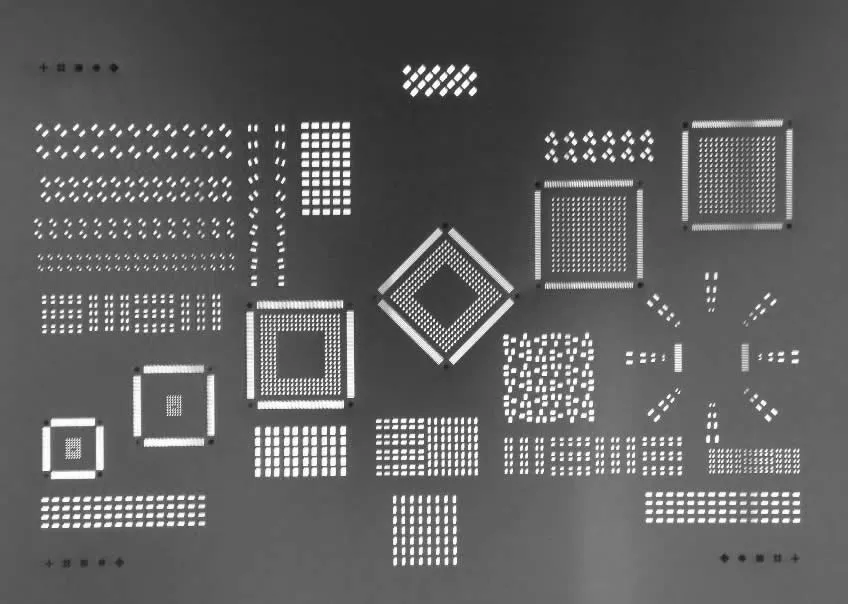
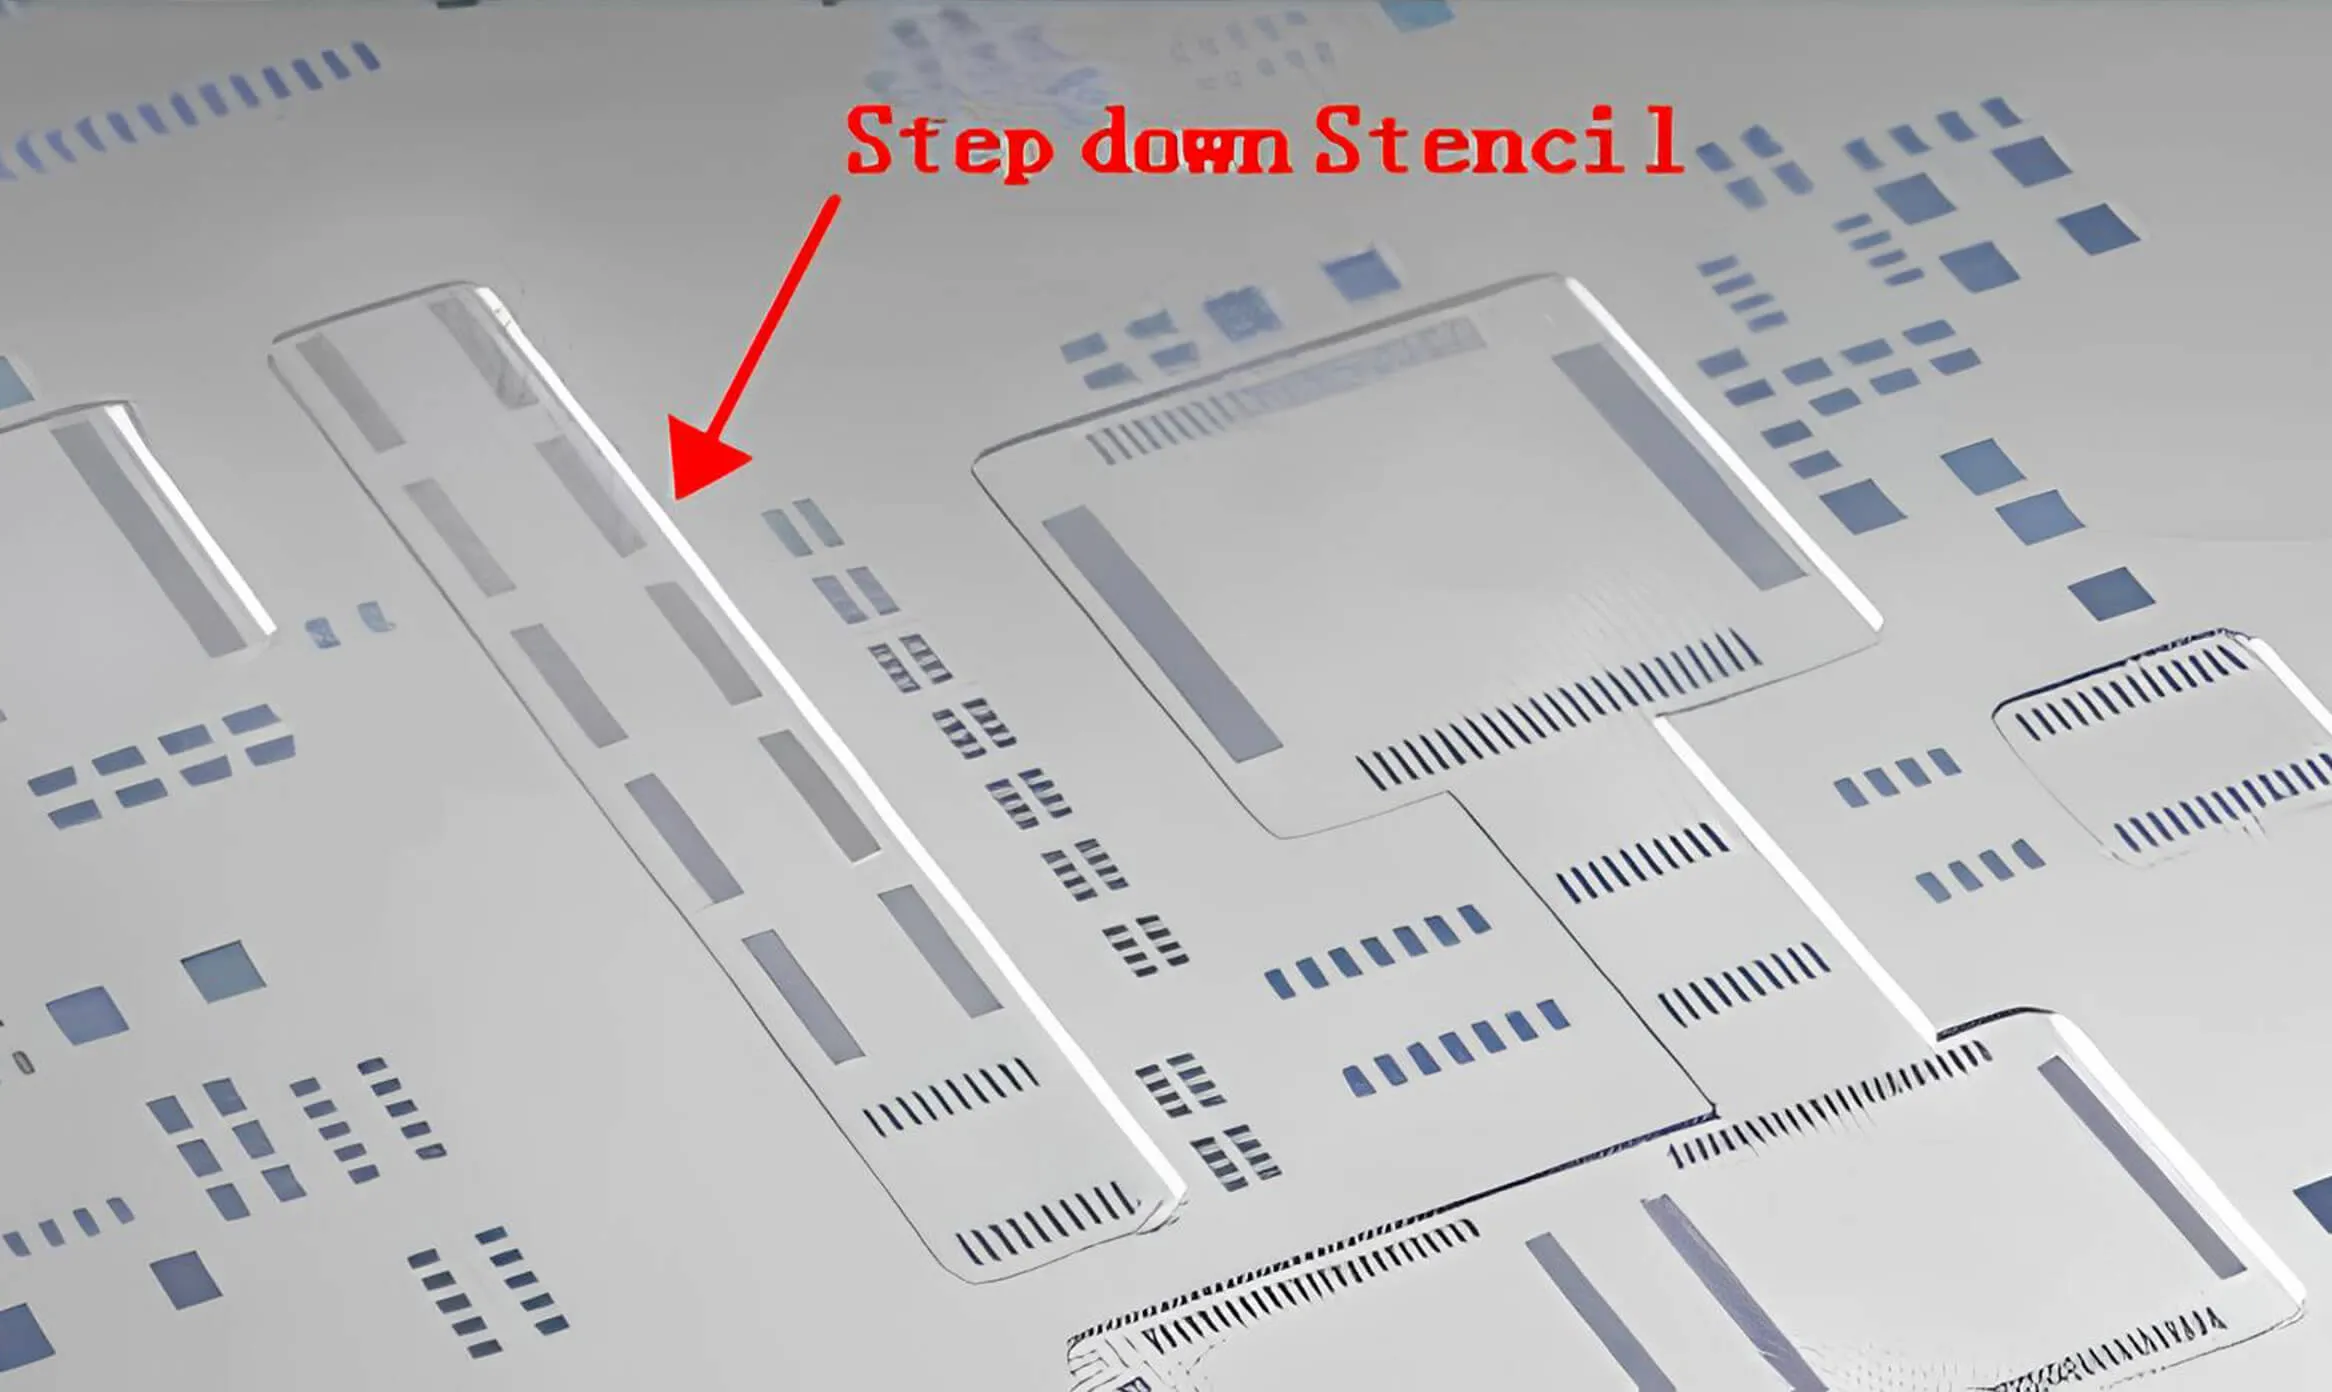
SMT stencil is a critical tool for applying solder paste precisely onto a printed circuit board (PCB) before component placement. A step-down stencil is a specialized type with varying thicknesses across its surface. These "steps" control the volume of solder paste deposited in specific areas, which is vital when dealing with components of different sizes or pitches on the same board. For instance, fine-pitch components like 0.4mm QFNs may need less paste (around 0.08mm thickness) to avoid bridging, while larger components like connectors might require more (up to 0.15mm thickness) for a strong joint.
Using a step-down stencil ensures uniform solder joints, reduces defects like tombstoning or insufficient solder, and improves overall assembly yield. However, the effectiveness of this design depends on whether you choose a frameless or frame stencil, as each impacts handling, alignment, and cost in the solder paste process.
Understanding Frameless Stencils: Features and Benefits
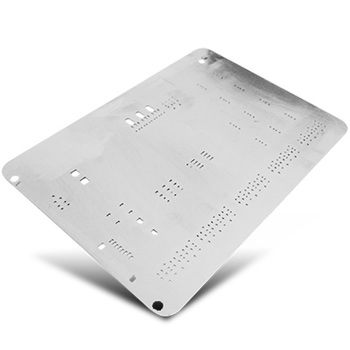
Frameless stencils, also known as foil-only stencils, are thin sheets of stainless steel (typically 0.1mm to 0.2mm thick) without a rigid frame. They are held in place using a universal frame or tensioning system during the solder paste printing process. Here's why they are popular for certain PCB assembly scenarios:
- Cost-Effective: Without a permanent frame, these stencils are cheaper to produce, often costing 30-50% less than framed alternatives. This makes them ideal for prototype runs or small-batch production where budgets are tight.
- Lightweight and Flexible: Weighing significantly less than frame stencils, frameless options are easier to handle and store, especially in smaller workshops with limited space.
- Adaptable for Prototyping: Since they can be used with adjustable tensioning systems, frameless stencils suit one-off or low-volume projects where quick setup is prioritized over long-term durability.
However, frameless stencils have limitations. Without a rigid structure, they can warp or stretch over time, leading to alignment issues. Their lifespan is shorter, often lasting for only 5,000 to 10,000 prints compared to framed stencils, which can exceed 50,000 prints under proper conditions.
Exploring Frame Stencils: Advantages for High-Volume Production
Frame stencils consist of a stainless steel foil stretched and glued or welded into a rigid metal frame, often made of aluminum. This design provides stability and precision, making them the go-to choice for high-volume SMT production. Let's break down their key benefits:
- Enhanced Durability: The frame prevents warping and maintains consistent tension, ensuring reliable performance over tens of thousands of print cycles. This durability translates to a lower circuit board cost per print in large-scale operations.
- Superior Alignment: The rigid structure allows for precise registration with the PCB, critical for step-down stencil designs where varying paste volumes must align perfectly with component pads. Misalignment by even 0.05mm can cause defects like solder bridging.
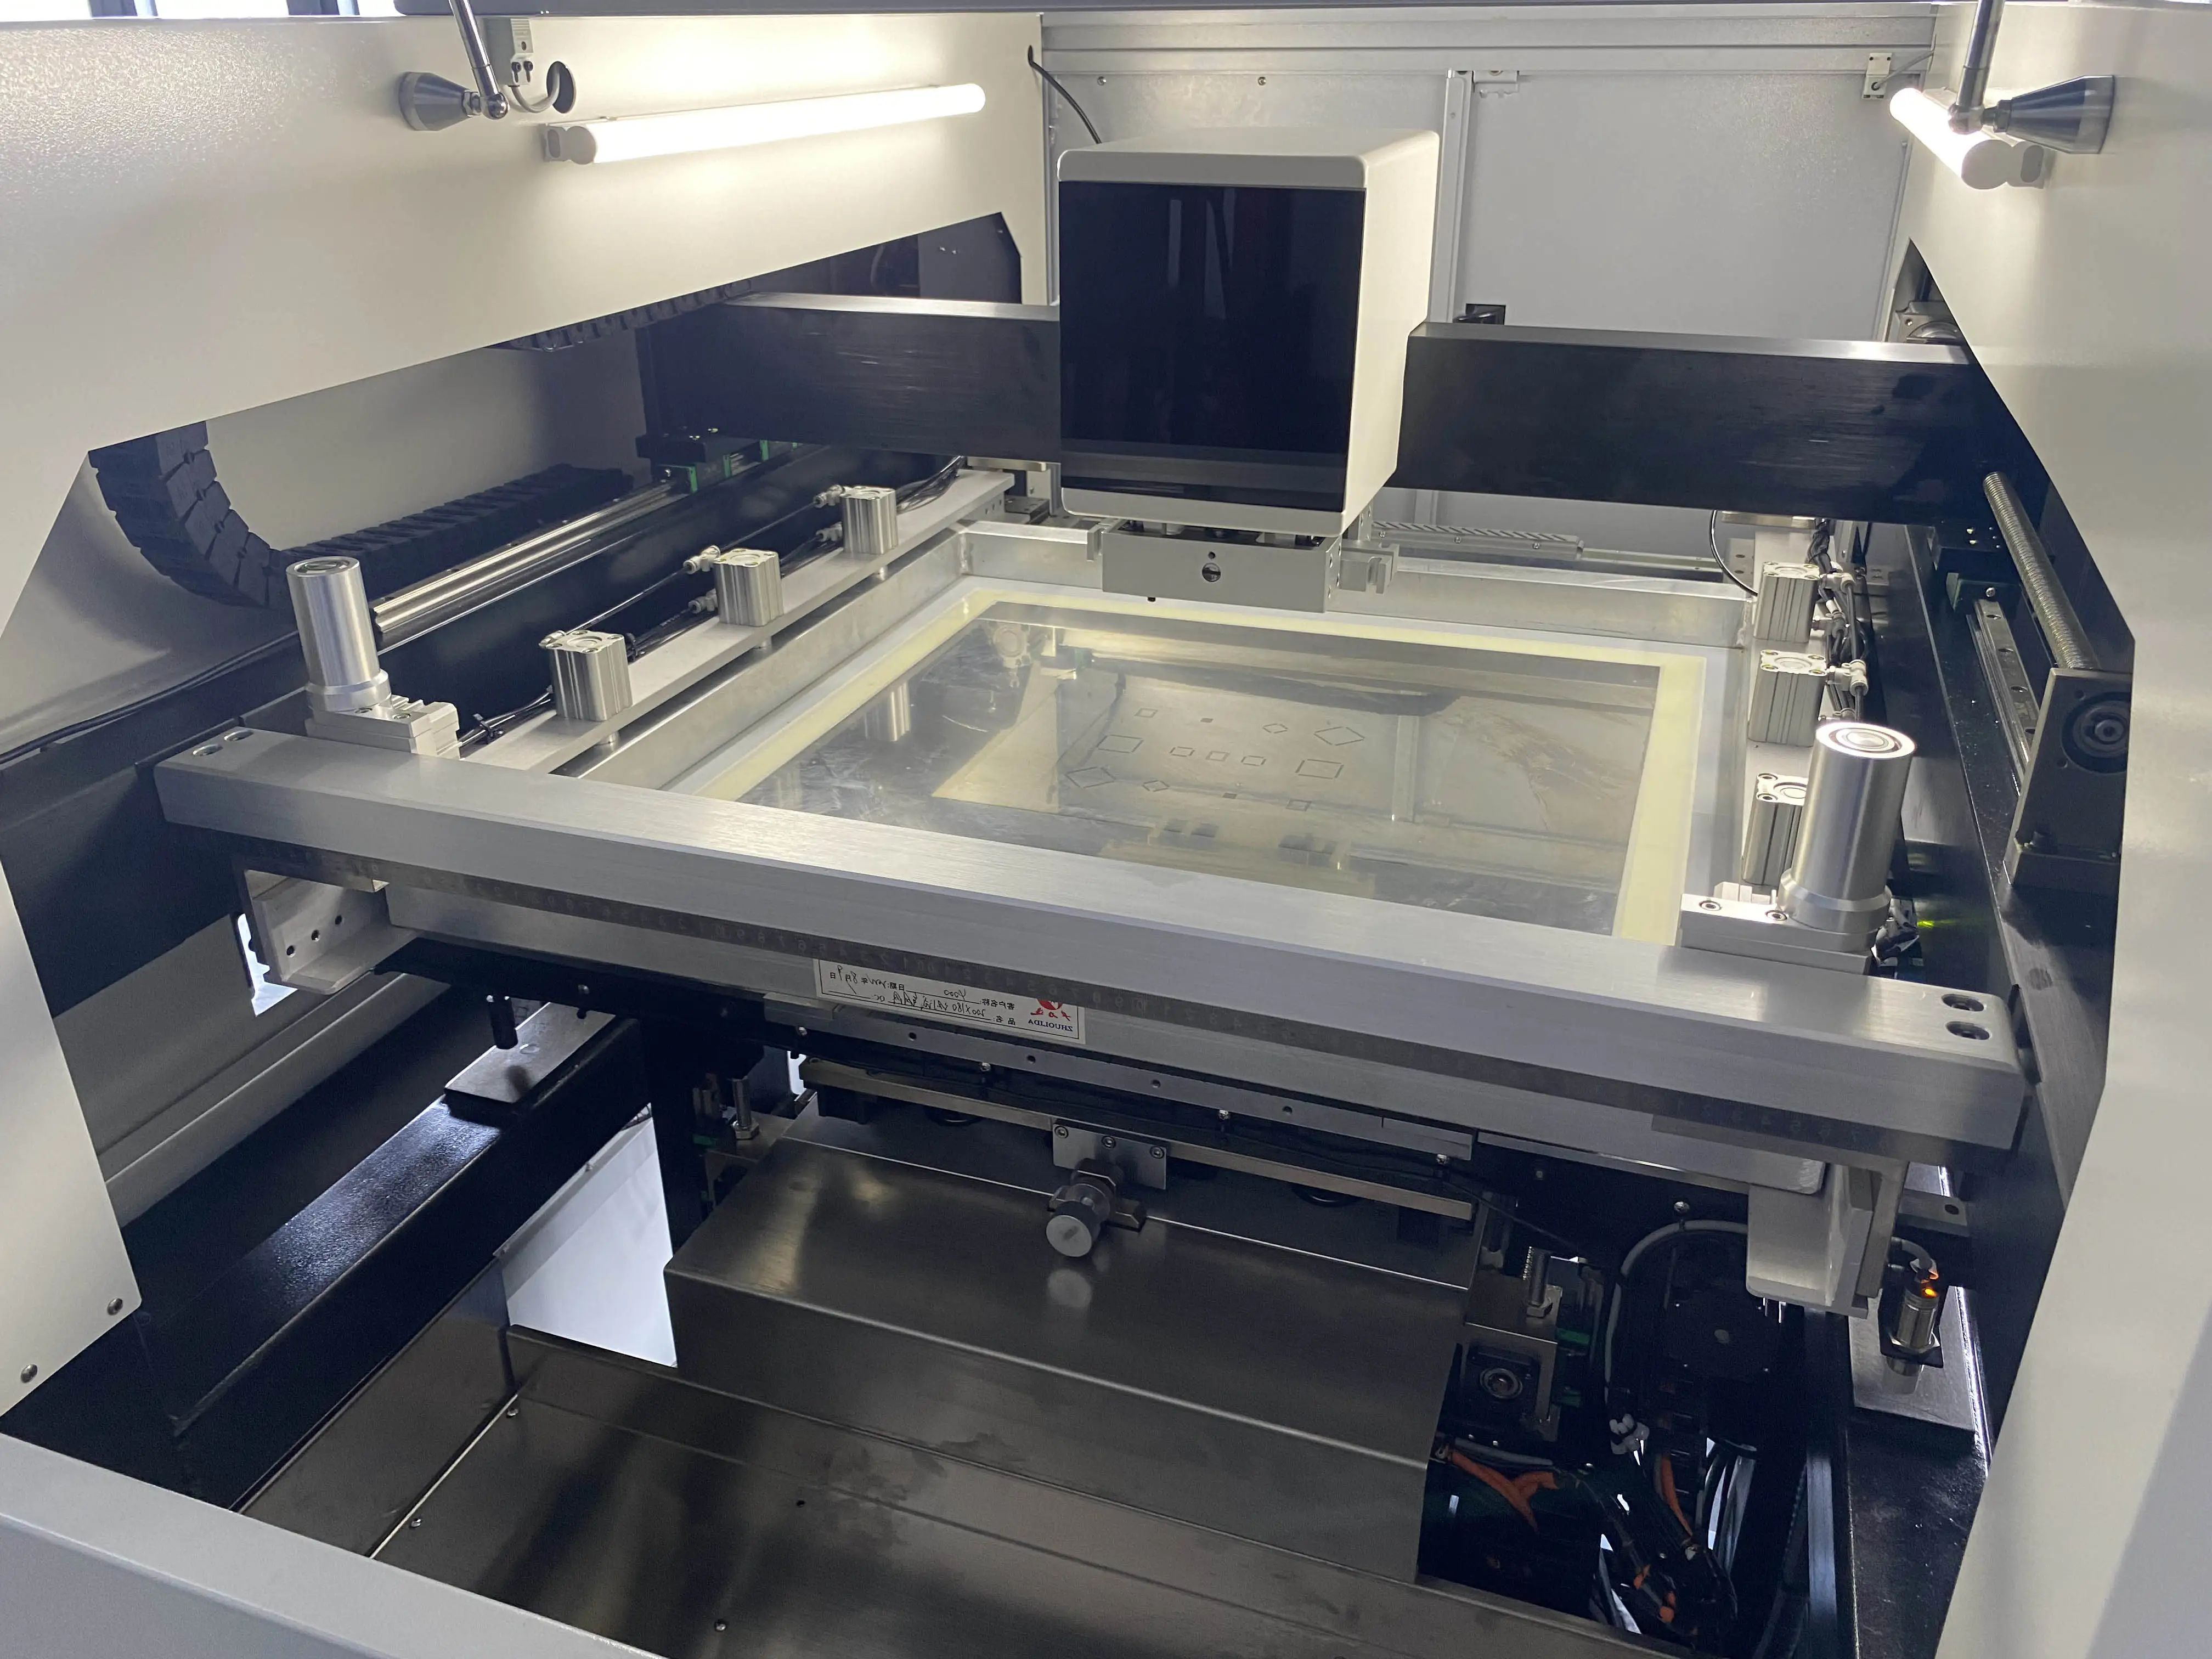
- Compatibility with Automation: Frame stencils are designed for automated stencil printers, which are common in high-throughput environments. Their consistent dimensions (typically standardized to sizes like 23x23 inches or 29x29 inches) ensure seamless integration with machinery.
On the downside, frame stencils are more expensive upfront and heavier, which can be cumbersome for smaller setups. They also require dedicated storage space due to their fixed frames, making them less practical for engineers working on diverse, low-volume projects.
Step-Down Stencil Design: How Frameless and Frame Stencils Differ in Application
Step-down stencil design is all about controlling solder paste volume, and the choice between frameless and frame stencils impacts how effectively this control is achieved. Here's a detailed comparison in the context of SMT assembly:
Precision in Solder Paste Deposition
For step-down designs, where stencil thickness might vary from 0.08mm to 0.15mm across different zones, frame stencils offer better control. Their rigidity ensures that the thinner areas don't flex during printing, maintaining consistent paste height. Frameless stencils, while usable, may experience slight deformation under squeegee pressure (typically 4-6 kg), leading to uneven paste deposits. This can result in defects, especially for fine-pitch components where paste volume tolerance is tight (e.g., ±10% of target volume).
Setup Time and Ease of Use
Frameless stencils shine in rapid prototyping due to their quick setup with universal frames. An engineer can swap out a frameless stencil in under 5 minutes, ideal for testing different step-down configurations during design validation. Frame stencils, while offering plug-and-play compatibility with automated systems, take longer to replace or clean due to their fixed structure, often requiring 10-15 minutes per changeover in a production line.
Cost vs. Volume Trade-Off
For a small run of 50-100 boards, a frameless stencil might cost around $50-$100, keeping project expenses low. In contrast, a frame stencil for the same job could cost $150-$250 but becomes cost-effective when printing 10,000+ boards due to its longevity. Engineers must weigh initial costs against expected production volume when selecting a stencil type for step-down applications.
Practical Tips for Using Frameless Stencils in the Solder Paste Process
If you opt for a frameless stencil for your step-down design, follow these best practices to maximize performance during PCB assembly:
- Ensure Proper Tensioning: Use a compatible universal frame or tensioning system to keep the stencil flat. Uneven tension can lead to paste smearing, especially in thinner step-down areas. Aim for a tension of 35-40 N/cm for optimal results.
- Limit Print Cycles: Monitor usage and replace the stencil after 5,000-7,000 prints to avoid wear that could compromise solder paste accuracy.
- Clean Regularly: Frameless stencils are prone to paste buildup due to their flexibility. Clean them after every 50-100 prints using isopropyl alcohol and a lint-free cloth to prevent clogging of fine apertures.
Best Practices for Frame Stencils in High-Volume SMT
For engineers using frame stencils in larger production runs, these tips will help ensure a smooth solder paste process with step-down designs:
- Verify Alignment: Before starting a print run, use fiducial marks on the stencil and PCB to confirm alignment within 0.025mm. Misalignment can cause paste to deposit outside pads, leading to open circuits or shorts.
- Optimize Squeegee Settings: Adjust squeegee pressure (typically 4-6 kg) and speed (20-50 mm/s) based on the step-down thickness variations to ensure even paste distribution across all zones.
- Store Properly: Store frame stencils vertically in a dry, dust-free environment to prevent frame distortion or foil damage, which could affect long-term performance.
Choosing Between Frameless and Frame Stencils: A Decision Framework
Deciding between frameless and frame stencils for your step-down stencil design depends on several factors. Use this framework to guide your choice:
- Production Volume: For low-volume or prototype runs (under 1,000 boards), frameless stencils are more economical and practical. For high-volume production (over 5,000 boards), frame stencils offer better value and reliability.
- Component Complexity: If your PCB includes fine-pitch components (e.g., 0.5mm or below) or mixed technology requiring precise paste control, frame stencils are the safer bet due to their stability.
- Budget Constraints: If upfront costs are a concern, start with a frameless stencil for initial testing before investing in a frame stencil for full-scale production.
- Equipment Availability: Ensure your stencil printer or tensioning system is compatible with the chosen stencil type. Frameless stencils require adjustable frames, while frame stencils need printers with matching frame dimensions.
Common Challenges and Solutions in Step-Down Stencil Use
Regardless of whether you choose frameless or frame stencils, step-down designs can present unique challenges in the solder paste process. Here are some common issues and how to address them:
- Uneven Paste Volume: If thinner step-down areas receive too much paste, reduce squeegee pressure by 10-20% or adjust the stencil aperture design to restrict flow. For thicker areas with insufficient paste, increase print speed slightly (e.g., from 30 to 40 mm/s).
- Stencil Wear in Step Zones: Repeated printing can wear down transition areas between steps. Use a stencil with a higher hardness rating (e.g., 304 stainless steel) or apply a nano-coating to extend lifespan by up to 20%.
- Alignment Drift: Over long runs, alignment may shift due to thermal expansion or mechanical stress. Implement periodic checks (every 500 prints) using automated optical inspection (AOI) to catch deviations early.
Conclusion: Optimize Your SMT Process with the Right Stencil Choice
Step-down stencils are a game-changer for managing solder paste volume in complex PCB assemblies, but their success hinges on selecting the right type—frameless or frame. Frameless stencils offer affordability and flexibility for engineers working on prototypes or small runs, while frame stencils deliver the durability and precision needed for high-volume SMT production. By understanding the strengths and limitations of each, and applying the practical tips provided, you can enhance your solder paste process and achieve consistent, high-quality results in PCB assembly.
Whether you're fine-tuning a step-down stencil design or scaling up production, the choice between frameless and frame stencils should align with your project's specific needs. With careful planning and attention to detail, you'll minimize defects, reduce costs, and ensure your SMT process runs smoothly from start to finish.