Introduction
For electronic hobbyists venturing into surface mount technology, mastering manual pick and place techniques opens up a world of compact and efficient circuit designs. This guide focuses on SMT assembly at home, offering beginners a clear path to hand placement PCB tasks. Unlike automated systems used in high volume production, manual methods suit low volume PCB assembly, allowing hobbyists to build prototypes or small batches without costly equipment. Understanding these skills ensures precision and reliability in personal projects. Whether you are assembling a custom sensor board or experimenting with microcontrollers, this beginner SMT guide provides practical steps and insights to help you succeed in your endeavors.
What Is Manual Pick and Place and Why It Matters
Manual pick and place refers to the process of placing surface mount components onto a printed circuit board by hand, rather than using automated machines. This method is crucial for hobbyists engaged in SMT assembly at home, where access to industrial equipment is limited. It involves using tools like tweezers to position tiny components accurately on solder paste covered pads before reflow soldering.
The significance of manual pick and place lies in its accessibility. For low volume PCB assembly, it eliminates the need for expensive machinery, making it ideal for prototypes or small projects. It also allows hobbyists to learn the nuances of component handling and placement, fostering a deeper understanding of SMT processes. Precision in hand placement PCB tasks directly impacts the functionality and reliability of the final product, making this skill essential for beginners.
Technical Principles of Manual Pick and Place
The foundation of manual pick and place in SMT assembly at home rests on understanding component types, board preparation, and placement accuracy. Surface mount components vary widely in size and shape, from resistors and capacitors to complex integrated circuits with fine pitch leads. According to standards like IPC-A-610G, Acceptability of Electronic Assemblies, components must align precisely with PCB pads to ensure proper soldering and electrical connections.
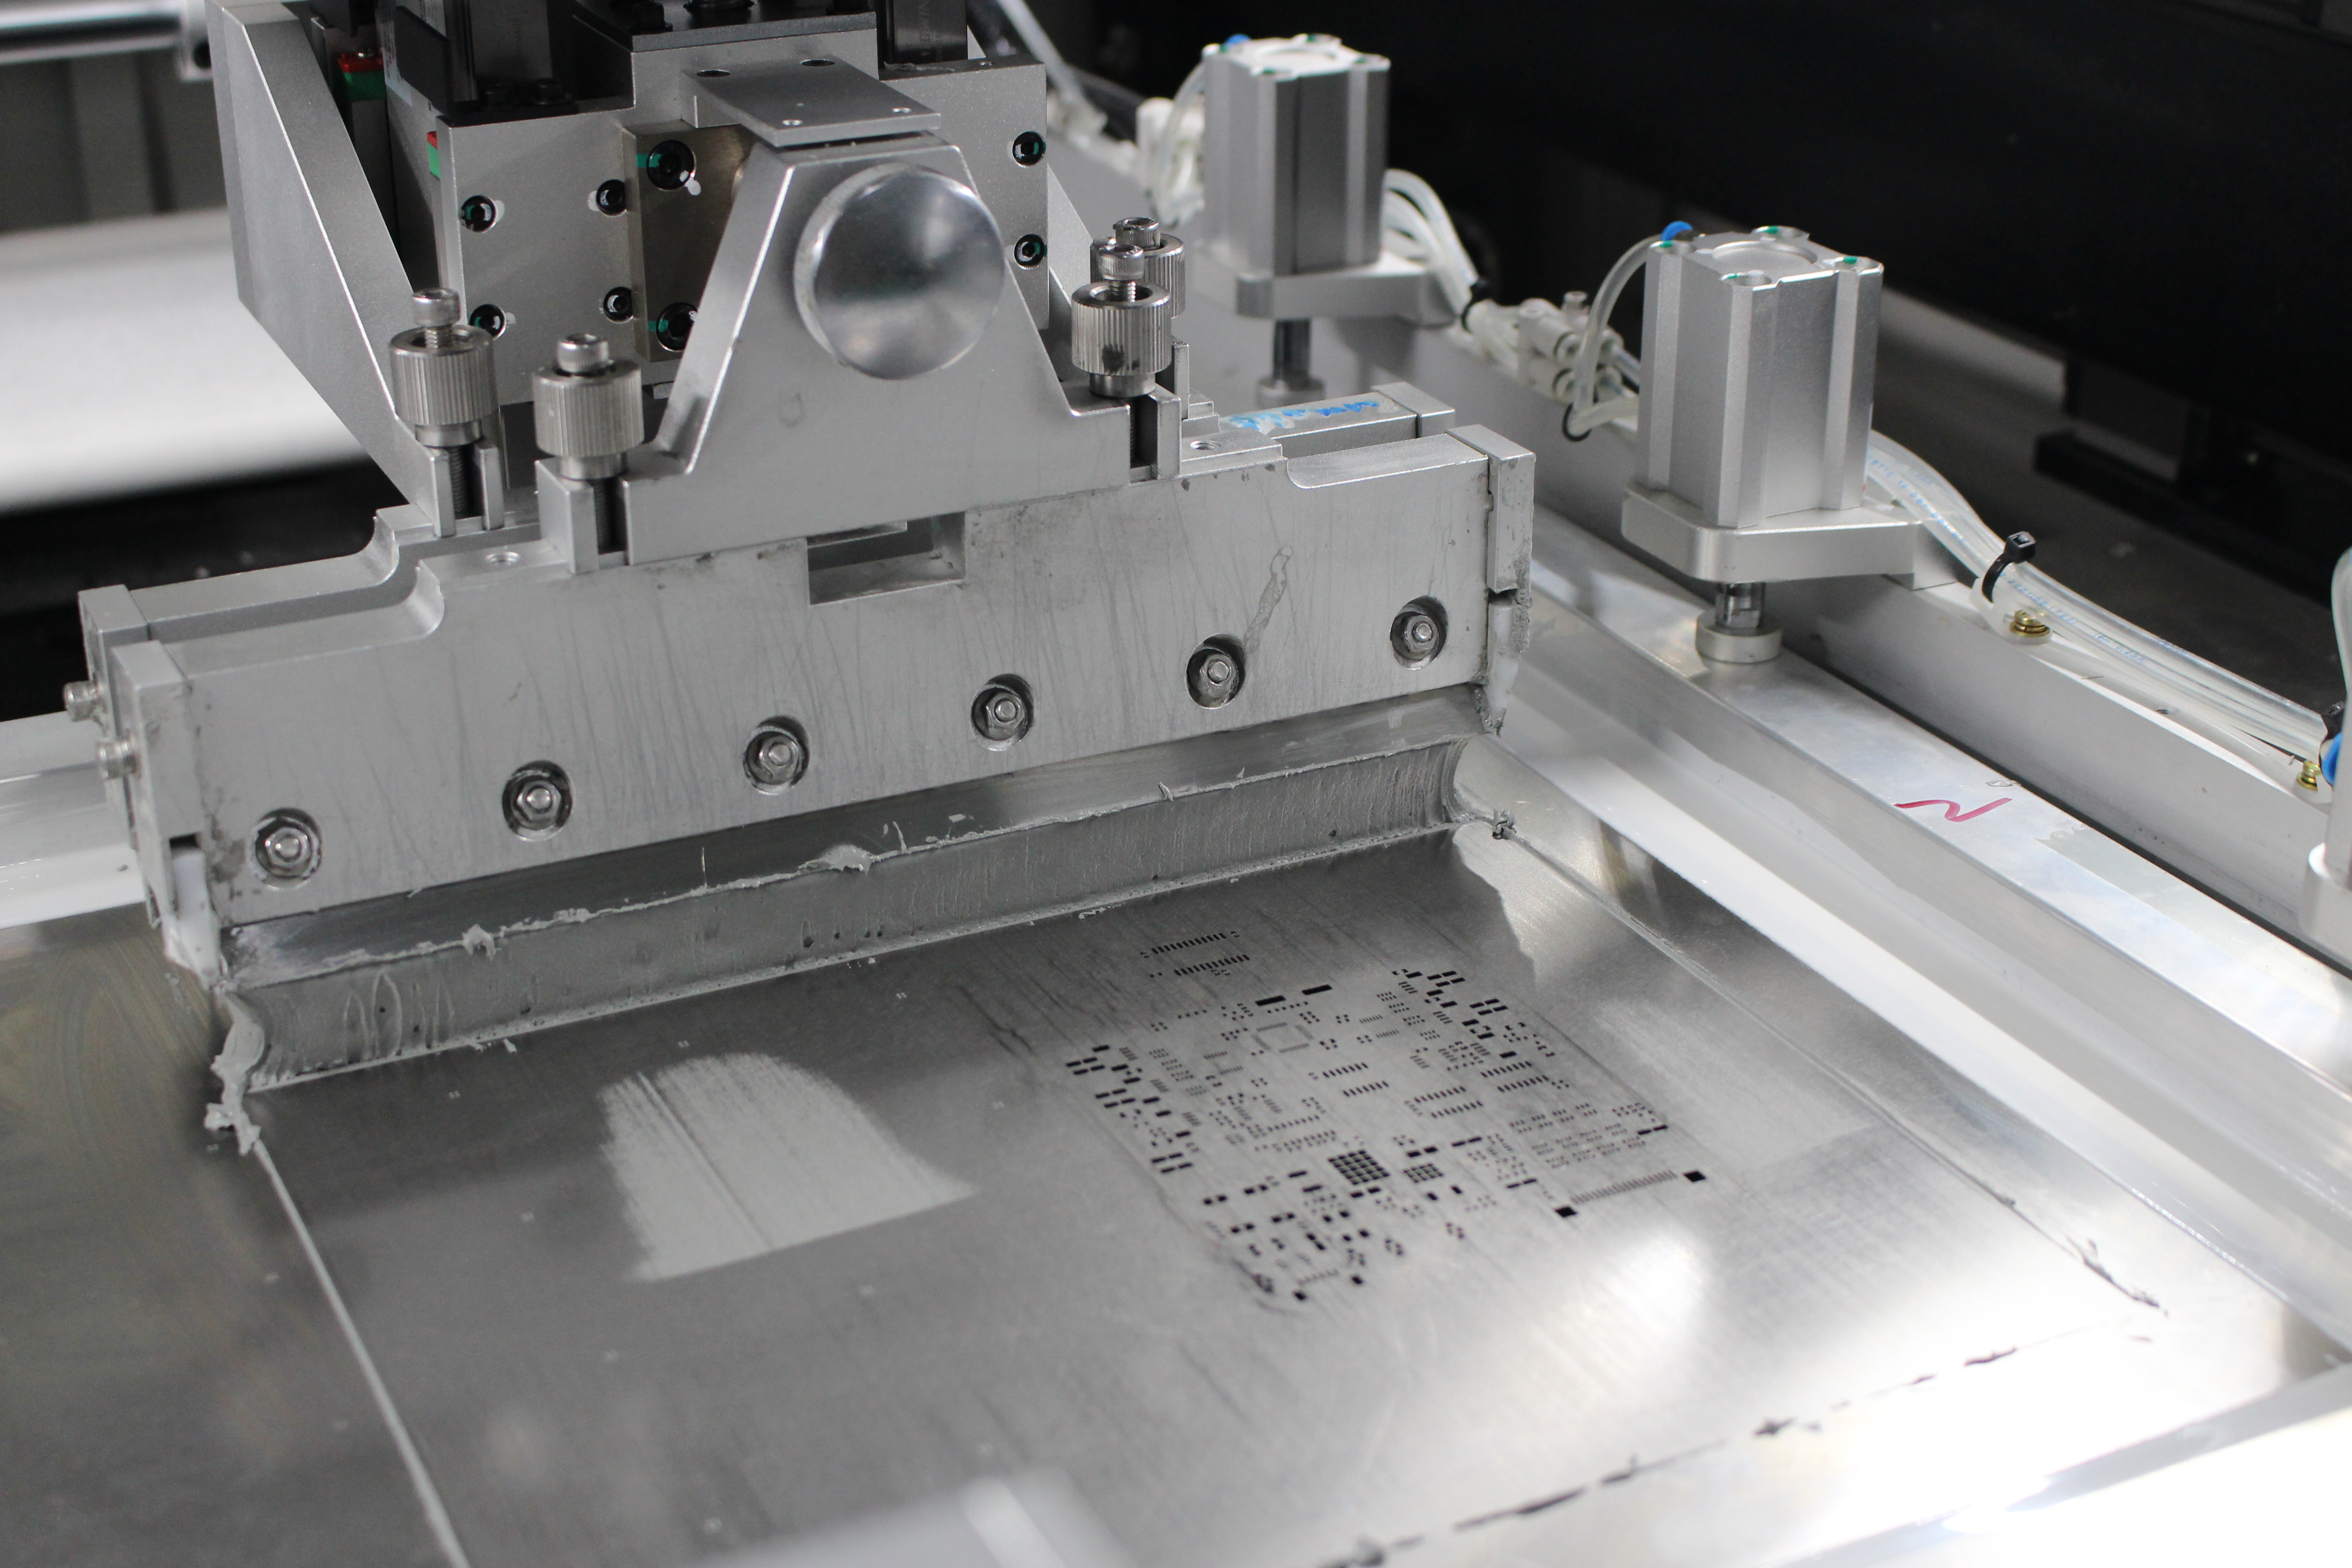
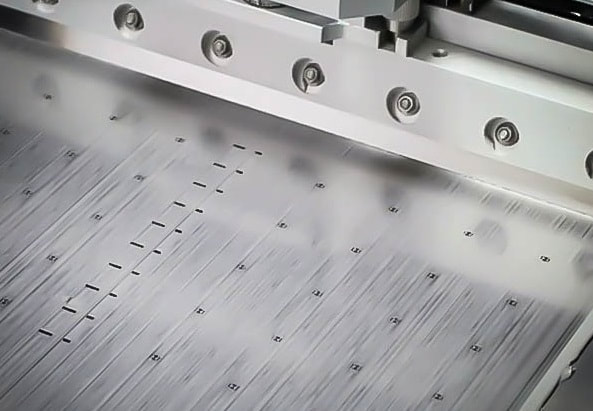
Board preparation involves applying solder paste to pads using a stencil or syringe. The paste acts as an adhesive, holding components in place until reflow. During hand placement PCB tasks, static control is vital to prevent damage to sensitive parts, as outlined in IPC-J-STD-001G, Requirements for Soldered Electrical and Electronic Assemblies. Placement requires steady hands and often magnification tools to handle small parts, especially for packages like 0402 or QFN with no visible leads.
The process also demands attention to orientation and polarity, particularly for diodes and capacitors. Misplacement can lead to circuit failure, emphasizing the need for careful inspection before soldering. These principles form the backbone of a successful beginner SMT guide, ensuring hobbyists achieve reliable results.
Related Reading: Manual Solder Paste Application: A Hobbyist's Guide to DIY PCB Soldering
Practical Steps for Manual Pick and Place at Home
Achieving success in SMT assembly at home requires a structured approach to manual pick and place. Below are actionable steps tailored for beginners working on low volume PCB assembly.
Gather Essential Tools
Start with the right tools to simplify hand placement PCB tasks. A pair of fine tip tweezers is crucial for handling small components. A magnifying glass or microscope helps with visibility, especially for tiny parts. Solder paste, a stencil or syringe for application, and a reflow method like a hot air station or oven are also necessary. Ensure a clean, static free workspace to protect components.
Prepare the PCB
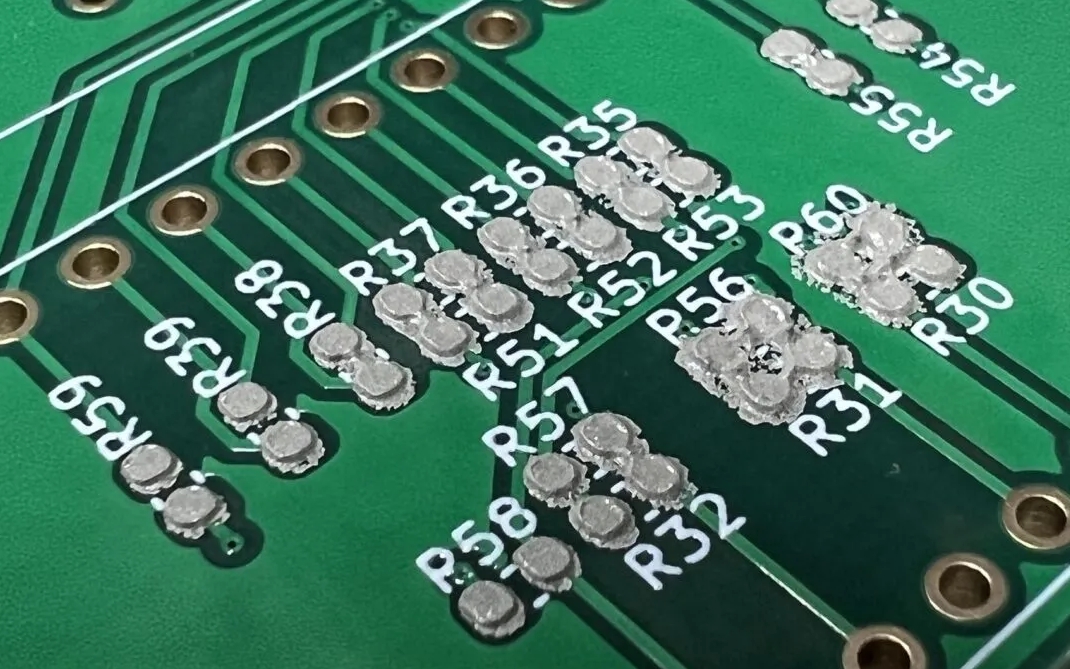
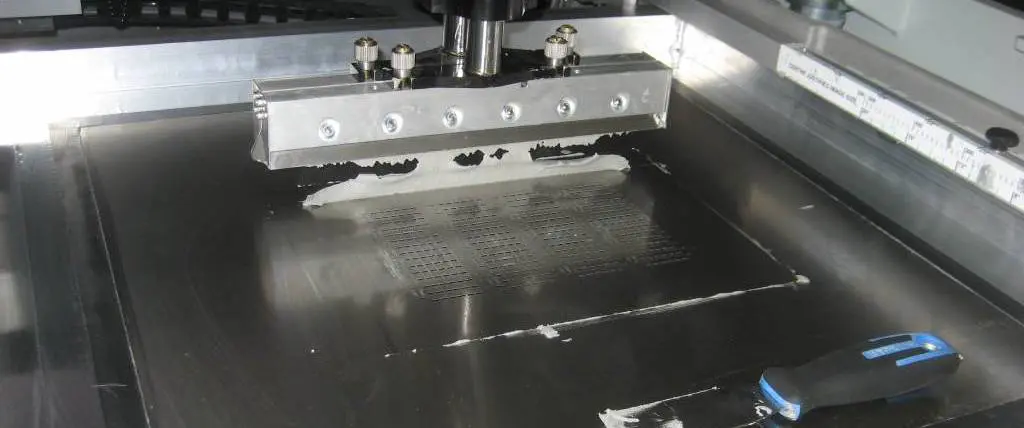
Clean the PCB surface to remove dust or contaminants that could affect soldering. Apply solder paste to the pads using a stencil for precision or a syringe for smaller areas. The paste should cover each pad evenly without excess, following guidelines from IPC-7351B, Generic Requirements for Surface Mount Design and Land Pattern Standard.
Place Components Carefully
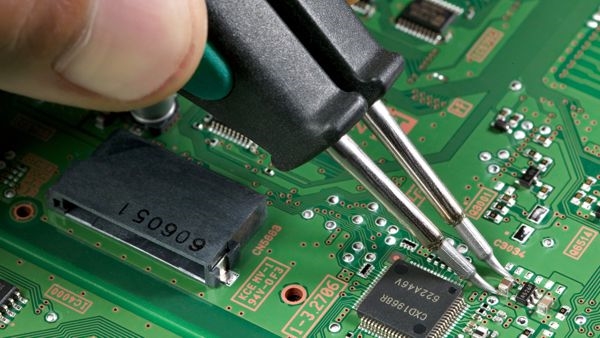
Using tweezers, pick components from their packaging or a tray. Refer to the bill of materials and layout diagram to identify correct positions and orientations. Place each part onto its corresponding pads with steady hands. For fine pitch components, align them with pad markings or use small reference points on the board for accuracy.
Inspect Before Soldering
After placement, inspect the board under magnification. Check for misaligned components or excess paste that might cause shorts. Adjust any parts as needed before moving to reflow. This step is critical in a beginner SMT guide to avoid rework after soldering.
Reflow Soldering
Once satisfied with placement, proceed to reflow soldering. Use a hot air station or a toaster oven modified for this purpose, ensuring the temperature profile aligns with the solder paste specifications. Standards like IPC-J-STD-020E, Moisture/Reflow Sensitivity Classification for Nonhermetic Surface Mount Devices, provide guidance on safe heating to prevent component damage.
Related Reading: The Reflow Soldering Process: A Practical Guide for Electrical Engineer’s Guide
Common Challenges and Troubleshooting Tips
Even with careful preparation, manual pick and place can present challenges for hobbyists. Addressing these issues enhances success in SMT assembly at home.
Component Misalignment
Small components often shift during placement or reflow. To counter this, ensure solder paste is applied evenly and use tweezers to adjust parts before heating. If misalignment occurs post reflow, use a soldering iron with flux to reposition the part.
Tombstoning Effect
Tombstoning happens when one end of a component lifts off the pad during soldering, resembling a tombstone. This often results from uneven heating or paste application. Balance the paste volume on both pads and ensure uniform heat distribution during reflow to mitigate this issue.
Handling Tiny Parts
For extremely small components like 0201 packages, handling can be difficult. Use anti static tweezers and work under magnification. Practice on scrap boards to build confidence in hand placement PCB techniques.
Static Damage
Electrostatic discharge can destroy sensitive components. Work on an anti static mat and wear a wrist strap grounded to prevent static buildup, adhering to precautions in IPC-J-STD-001G.

Best Practices for Low Volume PCB Assembly
For hobbyists focusing on low volume PCB assembly, adopting best practices ensures consistent quality. Start by organizing components in labeled trays or tape strips to avoid confusion during placement. Work in small batches to maintain focus and reduce errors. Always double check polarity and orientation before soldering, as mistakes are harder to correct afterward. Keep a clean workspace to prevent contamination of solder paste or components. Use flux to aid soldering and remove excess paste after reflow to avoid residue buildup, following cleanliness guidelines from IPC-A-610G. Finally, document each step of your process. Notes on placement challenges or soldering outcomes help refine skills for future projects.
Why Manual Pick and Place Suits Hobbyists
Manual pick and place stands out as the most practical choice for electronic hobbyists. It requires minimal investment compared to automated systems, fitting the budget constraints of most beginners. This method also offers hands on learning, allowing users to grasp the intricacies of SMT assembly at home. By mastering hand placement PCB skills, hobbyists gain confidence to tackle more complex designs over time.
Moreover, manual techniques provide flexibility. Whether assembling a single prototype or a small batch, hobbyists can adapt the process to their needs without relying on external services. This independence fosters creativity and innovation in personal electronics projects.
Conclusion
Manual pick and place offers electronic hobbyists an accessible entry into surface mount technology. By following the steps and best practices outlined in this beginner SMT guide, anyone can achieve reliable results in SMT assembly at home. From understanding technical principles to troubleshooting common issues, the process builds essential skills for low volume PCB assembly. With patience and practice, hand placement PCB techniques become second nature, empowering hobbyists to bring their electronic ideas to life. Embrace these methods to enhance precision and creativity in your projects.
FAQs
Q1: What tools do I need for manual pick and place at home?
A1: For manual pick and place in SMT assembly at home, you need fine tip tweezers, a magnifying glass or microscope, solder paste, and a stencil or syringe for application. A hot air station or reflow oven is essential for soldering. An anti static mat and wrist strap protect components. These tools ensure precision and safety during hand placement PCB tasks.
Q2: How can beginners avoid mistakes in SMT assembly at home?
A2: Beginners can avoid mistakes in SMT assembly at home by working slowly and inspecting each step. Use magnification to check component alignment and solder paste application. Follow a layout diagram for correct placement and orientation. Practice on scrap boards to build confidence. Adhering to standards like IPC-A-610G helps maintain quality in low volume PCB assembly.
Q3: Why is manual pick and place ideal for low volume PCB assembly?
A3: Manual pick and place is ideal for low volume PCB assembly because it requires minimal investment compared to automated systems. It suits hobbyists working on prototypes or small batches at home. This method offers hands on control and learning, allowing beginners to master SMT skills without needing industrial equipment for their projects.
Q4: What are common issues in hand placement PCB tasks for beginners?
A4: Common issues in hand placement PCB tasks include component misalignment, tombstoning during reflow, and difficulty handling tiny parts. Static damage is also a risk without proper precautions. Beginners can address these by using proper tools, ensuring even solder paste application, and following anti static guidelines from standards like IPC-J-STD-001G for reliable results.
References
IPC-A-610G — Acceptability of Electronic Assemblies. IPC, 2017.
IPC-J-STD-001G — Requirements for Soldered Electrical and Electronic Assemblies. IPC, 2017.
IPC-7351B — Generic Requirements for Surface Mount Design and Land Pattern Standard. IPC, 2010.
IPC-J-STD-020E — Moisture/Reflow Sensitivity Classification for Nonhermetic Surface Mount Devices. IPC, 2014.