Introduction
For electronic hobbyists, setting up a home lab for batch assembly of printed circuit boards (PCBs) can be a rewarding yet challenging endeavor. The goal of improving DIY assembly lies in creating a workspace that boosts productivity and ensures consistent quality. Optimizing workflow, mastering efficient soldering techniques, and investing in advanced hobbyist tools are key steps to upgrading your home lab. This article provides practical insights and actionable strategies to help hobbyists transform their setup into an efficient assembly environment. Whether you are assembling small batches of prototypes or refining your skills, these tips will guide you in streamlining processes while maintaining precision and safety.
What Is Batch Assembly in a Home Lab and Why It Matters
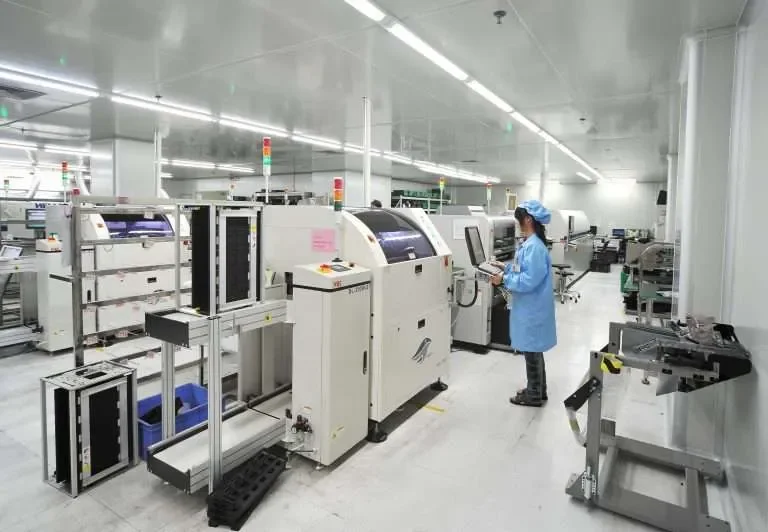
Batch assembly in a home lab refers to the process of assembling multiple PCBs in a single session, often involving repetitive tasks like component placement and soldering. For hobbyists, this approach is essential when working on small production runs or personal projects requiring consistent results. The importance of an efficient setup cannot be overstated, as it directly impacts the quality of the assembled boards and the time spent on each project. A well-organized workspace with the right tools reduces errors, minimizes fatigue, and allows for faster turnaround times. By focusing on improving DIY assembly, hobbyists can achieve professional-grade outcomes without the need for industrial equipment.
Technical Principles Behind Efficient Batch Assembly
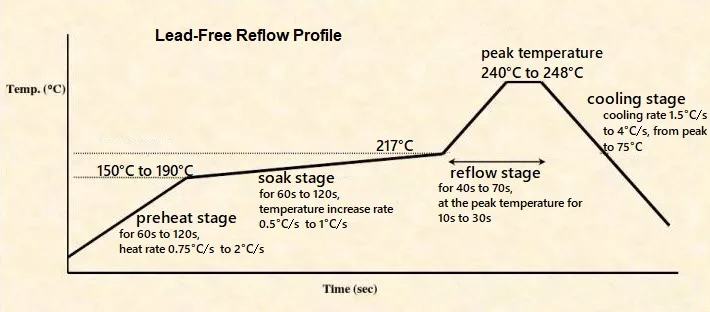
Efficiency in batch assembly hinges on understanding the core principles of workflow design and tool utilization. The first principle is workspace ergonomics, which ensures that tools and components are within easy reach to reduce unnecessary movement. Another key factor is thermal management during soldering, as maintaining consistent heat levels prevents component damage and ensures strong joints. According to industry standards like IPC-A-610, which outlines acceptability criteria for electronic assemblies, proper heat application and solder flow are critical for reliable connections.
Component organization also plays a vital role. Sorting parts by type or value before assembly minimizes errors during placement. Finally, time management through task batching, such as preparing all boards for soldering in one go, reduces setup time between steps. These principles form the foundation for optimizing workflow in a home lab, ensuring that each process is streamlined for maximum productivity.
Practical Solutions for Upgrading Your Home Lab
Workspace Organization for Optimizing Workflow
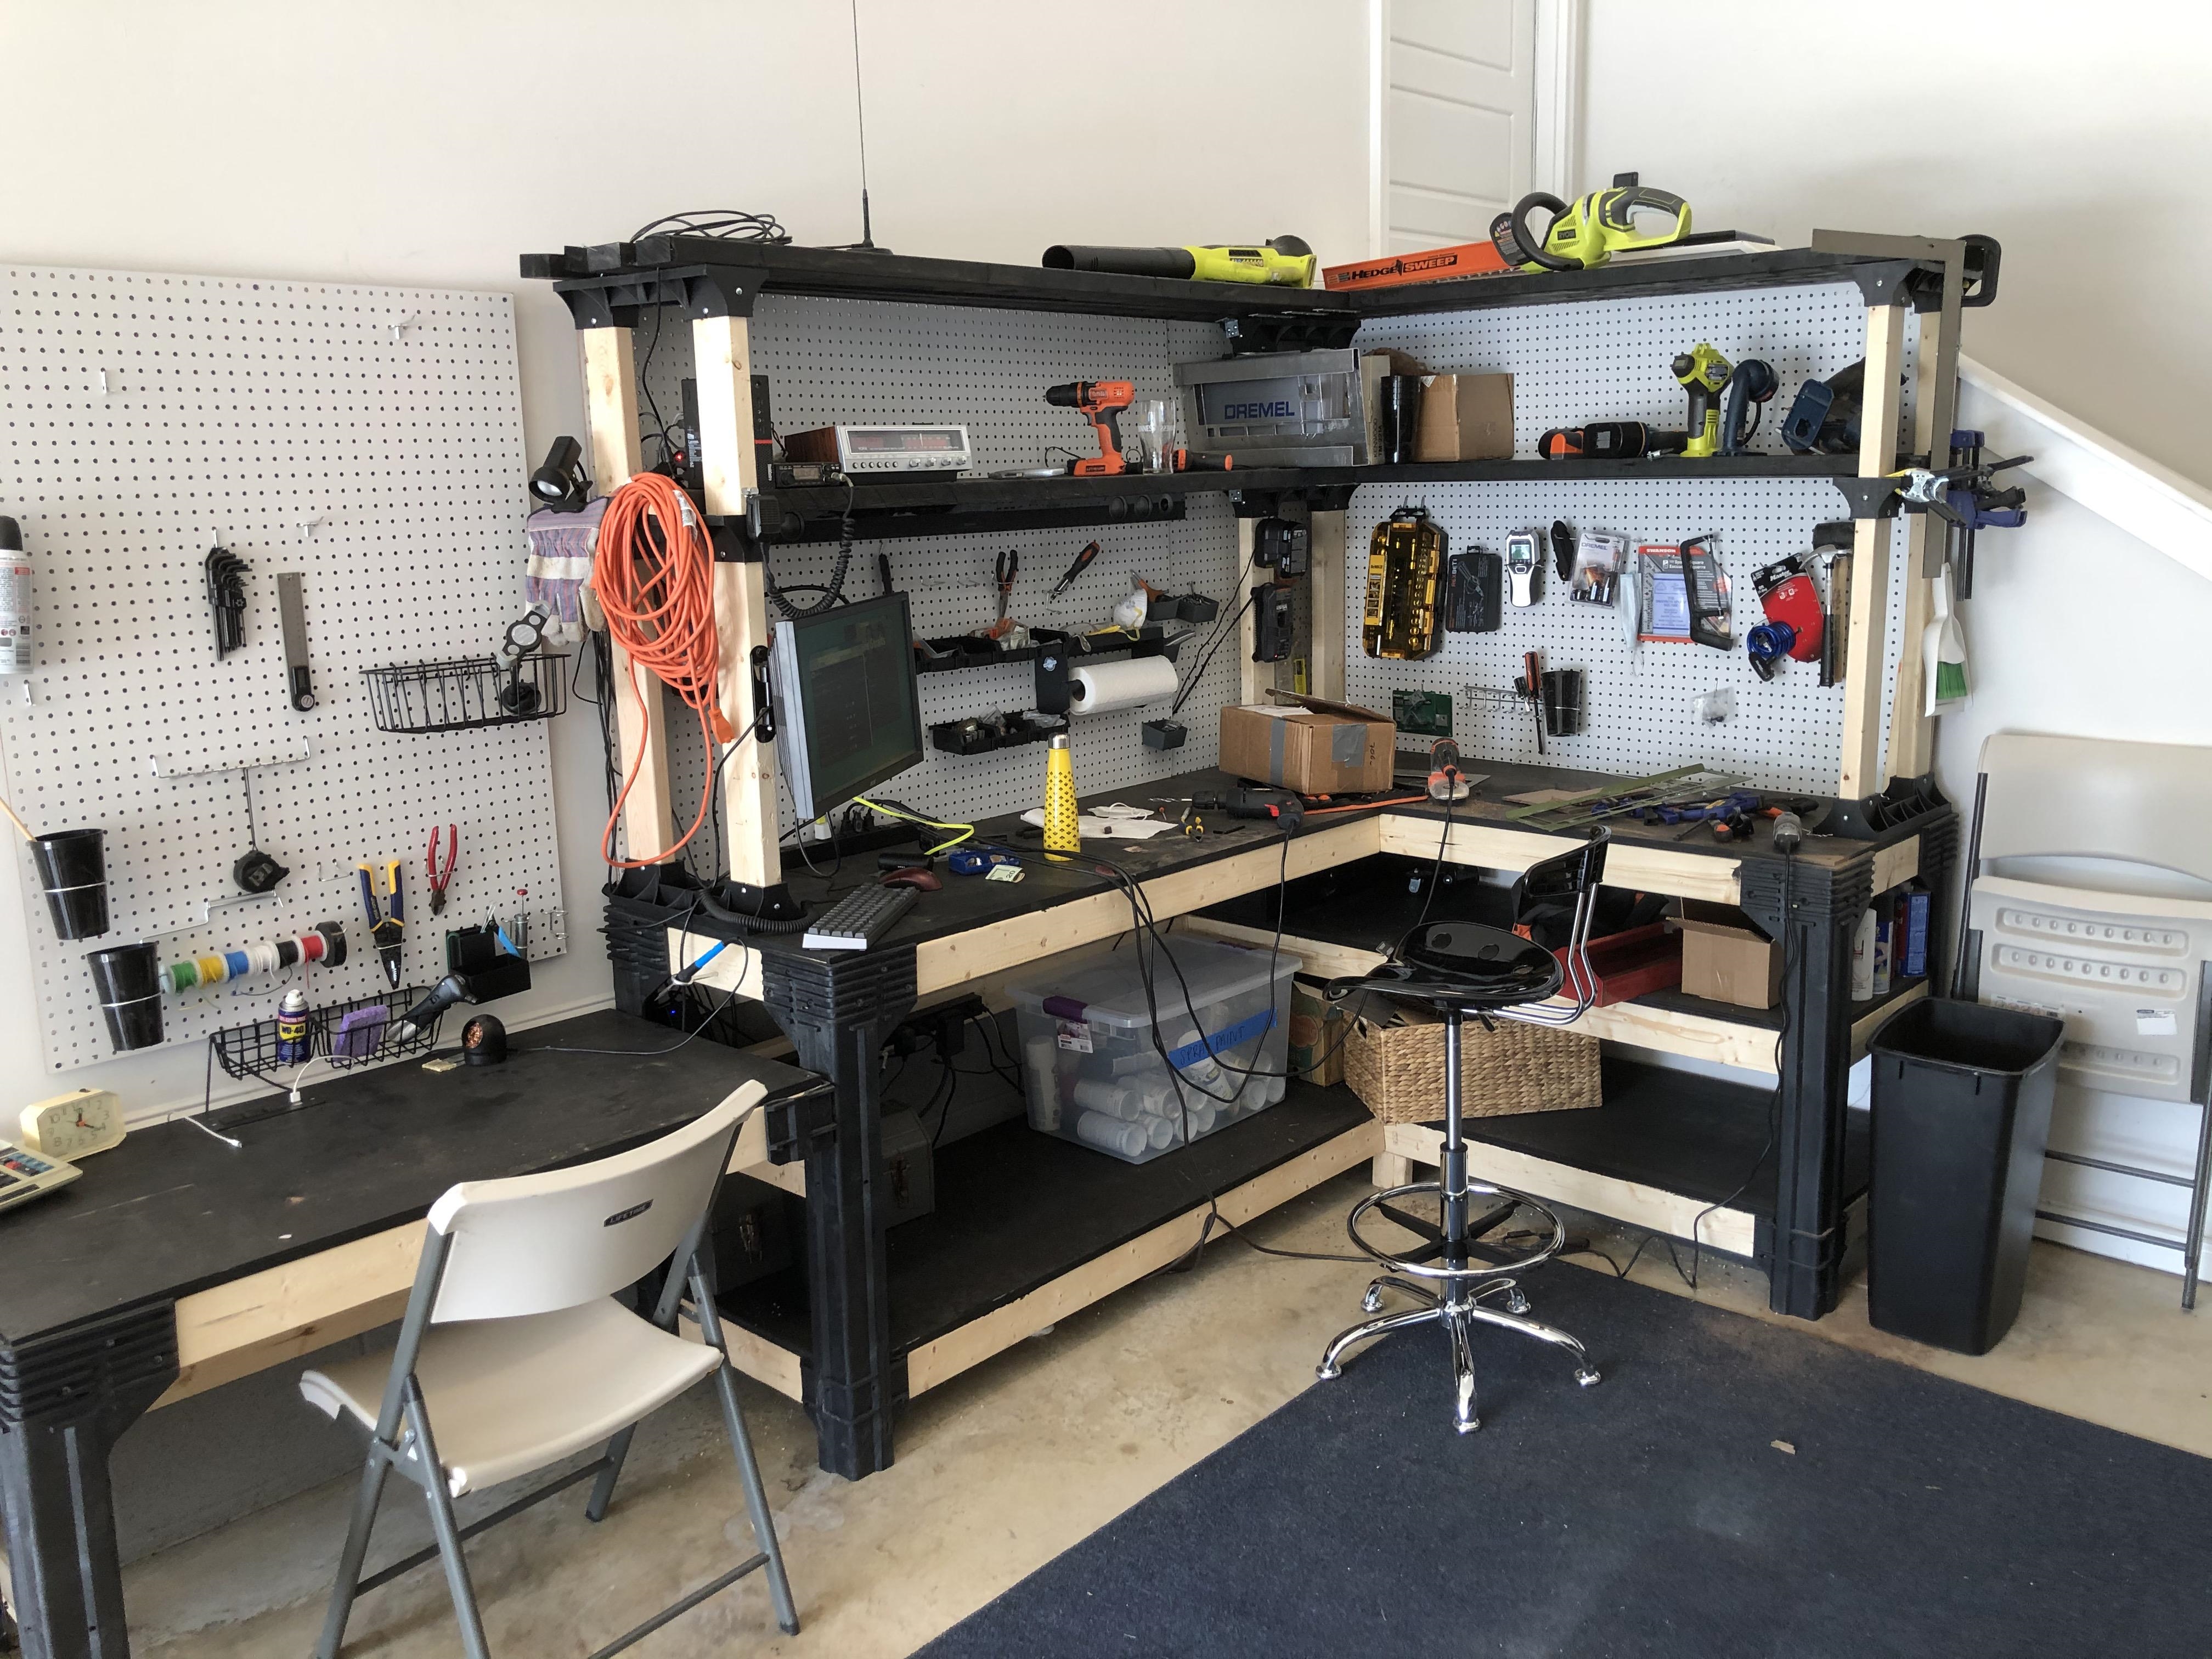
A cluttered workspace can derail even the most skilled hobbyist. Start by designating specific areas for each task, such as component storage, assembly, soldering, and testing. Use labeled containers or trays to sort components by type, ensuring quick access during batch assembly. A pegboard or magnetic strip can hold frequently used tools, keeping your bench clear. Consider investing in a small shelving unit to store larger equipment or documentation. These simple steps are crucial for improving DIY assembly by reducing downtime spent searching for parts or tools.
Investing in Advanced Hobbyist Tools
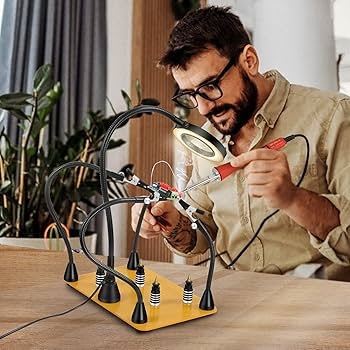
Upgrading your home lab with advanced hobbyist tools can significantly boost efficiency. A temperature-controlled soldering station is a must for precise heat application, especially for surface-mount components. Additionally, a magnifying lamp or microscope aids in inspecting small parts and solder joints, aligning with guidelines in IPC-A-600K for visual acceptability. Other useful tools include anti-static mats to protect sensitive components and digital multimeters for testing continuity. While basic tools suffice for beginners, advanced setups benefit from these investments to handle complex projects with ease.
Mastering Efficient Soldering Techniques
Soldering is often the most time-consuming part of batch assembly, but efficient soldering techniques can save hours. Always clean your soldering iron tip before and after use to ensure proper heat transfer. Use flux to improve solder flow and prevent oxidation, especially on older components. When working on through-hole components, apply heat to the pad and lead simultaneously, then add solder for a smooth joint, as recommended by IPC-A-610G. For surface-mount devices, use a fine tip and minimal solder to avoid bridges. Practice on scrap boards to refine your skills before tackling critical projects.
Streamlining Component Placement for Batch Efficiency
In batch assembly, placing components efficiently can cut down assembly time. Group similar tasks together by preparing all boards with resistors, then capacitors, and so on. Use a component placement chart or printed layout to avoid mistakes. Tweezers with fine tips are ideal for handling small parts, especially in dense layouts. If working on multiple identical boards, consider creating a simple jig or template to align components quickly. These methods are essential for optimizing workflow and ensuring consistency across batches.
Implementing Basic Quality Control
Quality control is often overlooked in home labs, but it is vital for reliable results. After assembly, visually inspect each board for solder joint issues or misaligned components, referencing standards like IPC-A-600K for acceptability criteria. Use a multimeter to check for shorts or open circuits. Keeping a log of errors or defects helps identify recurring issues in your process. This step, while time-consuming initially, saves effort by preventing rework later and aligns with best practices for improving DIY assembly.
Troubleshooting Common Batch Assembly Challenges
Hobbyists often face challenges like inconsistent solder joints, component misalignment, or workspace inefficiencies. For poor solder joints, ensure your iron is at the correct temperature and the tip is clean, as improper heat application often causes cold joints. If components shift during soldering, secure them with tape or a small weight before applying heat. Workspace clutter can be addressed by adopting a five-minute cleanup rule after each session. These troubleshooting tips, grounded in practical experience, help maintain efficiency when upgrading your home lab.
Conclusion
Upgrading your home batch assembly setup for improved efficiency is a transformative step for electronic hobbyists. By focusing on optimizing workflow, adopting efficient soldering techniques, and investing in advanced hobbyist tools, you can achieve consistent, high-quality results in your projects. Simple changes like organizing your workspace and implementing quality checks align with industry standards and ensure reliability. As you continue improving DIY assembly, remember that small, incremental upgrades to your home lab can lead to significant gains in productivity and satisfaction. Start with the basics and build your skills over time for lasting success.
FAQs
Q1: How can I start improving DIY assembly in my home lab?
A1: Improving DIY assembly begins with organizing your workspace for easy access to tools and components. Invest in basic tools like a soldering station and multimeter. Follow a systematic approach by batching tasks and using layout guides for component placement. Regular practice and inspection, aligned with standards like IPC-A-600K, ensure consistent quality over time.
Q2: What are some efficient soldering techniques for batch assembly?
A2: Efficient soldering techniques include using a clean, temperature-controlled iron and applying flux for better solder flow. Heat pads and leads together for through-hole parts, adding solder quickly for strong joints per IPC-A-610G. For surface-mount components, use minimal solder with a fine tip to avoid bridges. Practice on scrap boards to build confidence.
Q3: Which advanced hobbyist tools are worth investing in for my setup?
A3: Advanced hobbyist tools like a temperature-controlled soldering station and magnifying lamp are essential for precision. An anti-static mat protects components, while a digital multimeter aids in testing. These tools, though an initial investment, enhance efficiency and quality when upgrading your home lab for complex projects.
Q4: How do I focus on optimizing workflow in a small home lab space?
A4: Optimizing workflow in a small space involves designating areas for specific tasks like soldering or testing. Use labeled containers for components and keep tools within reach on pegboards. Batch similar tasks to minimize setup time. A clutter-free, ergonomic setup ensures smooth transitions between assembly steps.
References
IPC-A-610G — Acceptability of Electronic Assemblies. IPC, 2017.
IPC-A-600K — Acceptability of Printed Boards. IPC, 2020.