Introduction
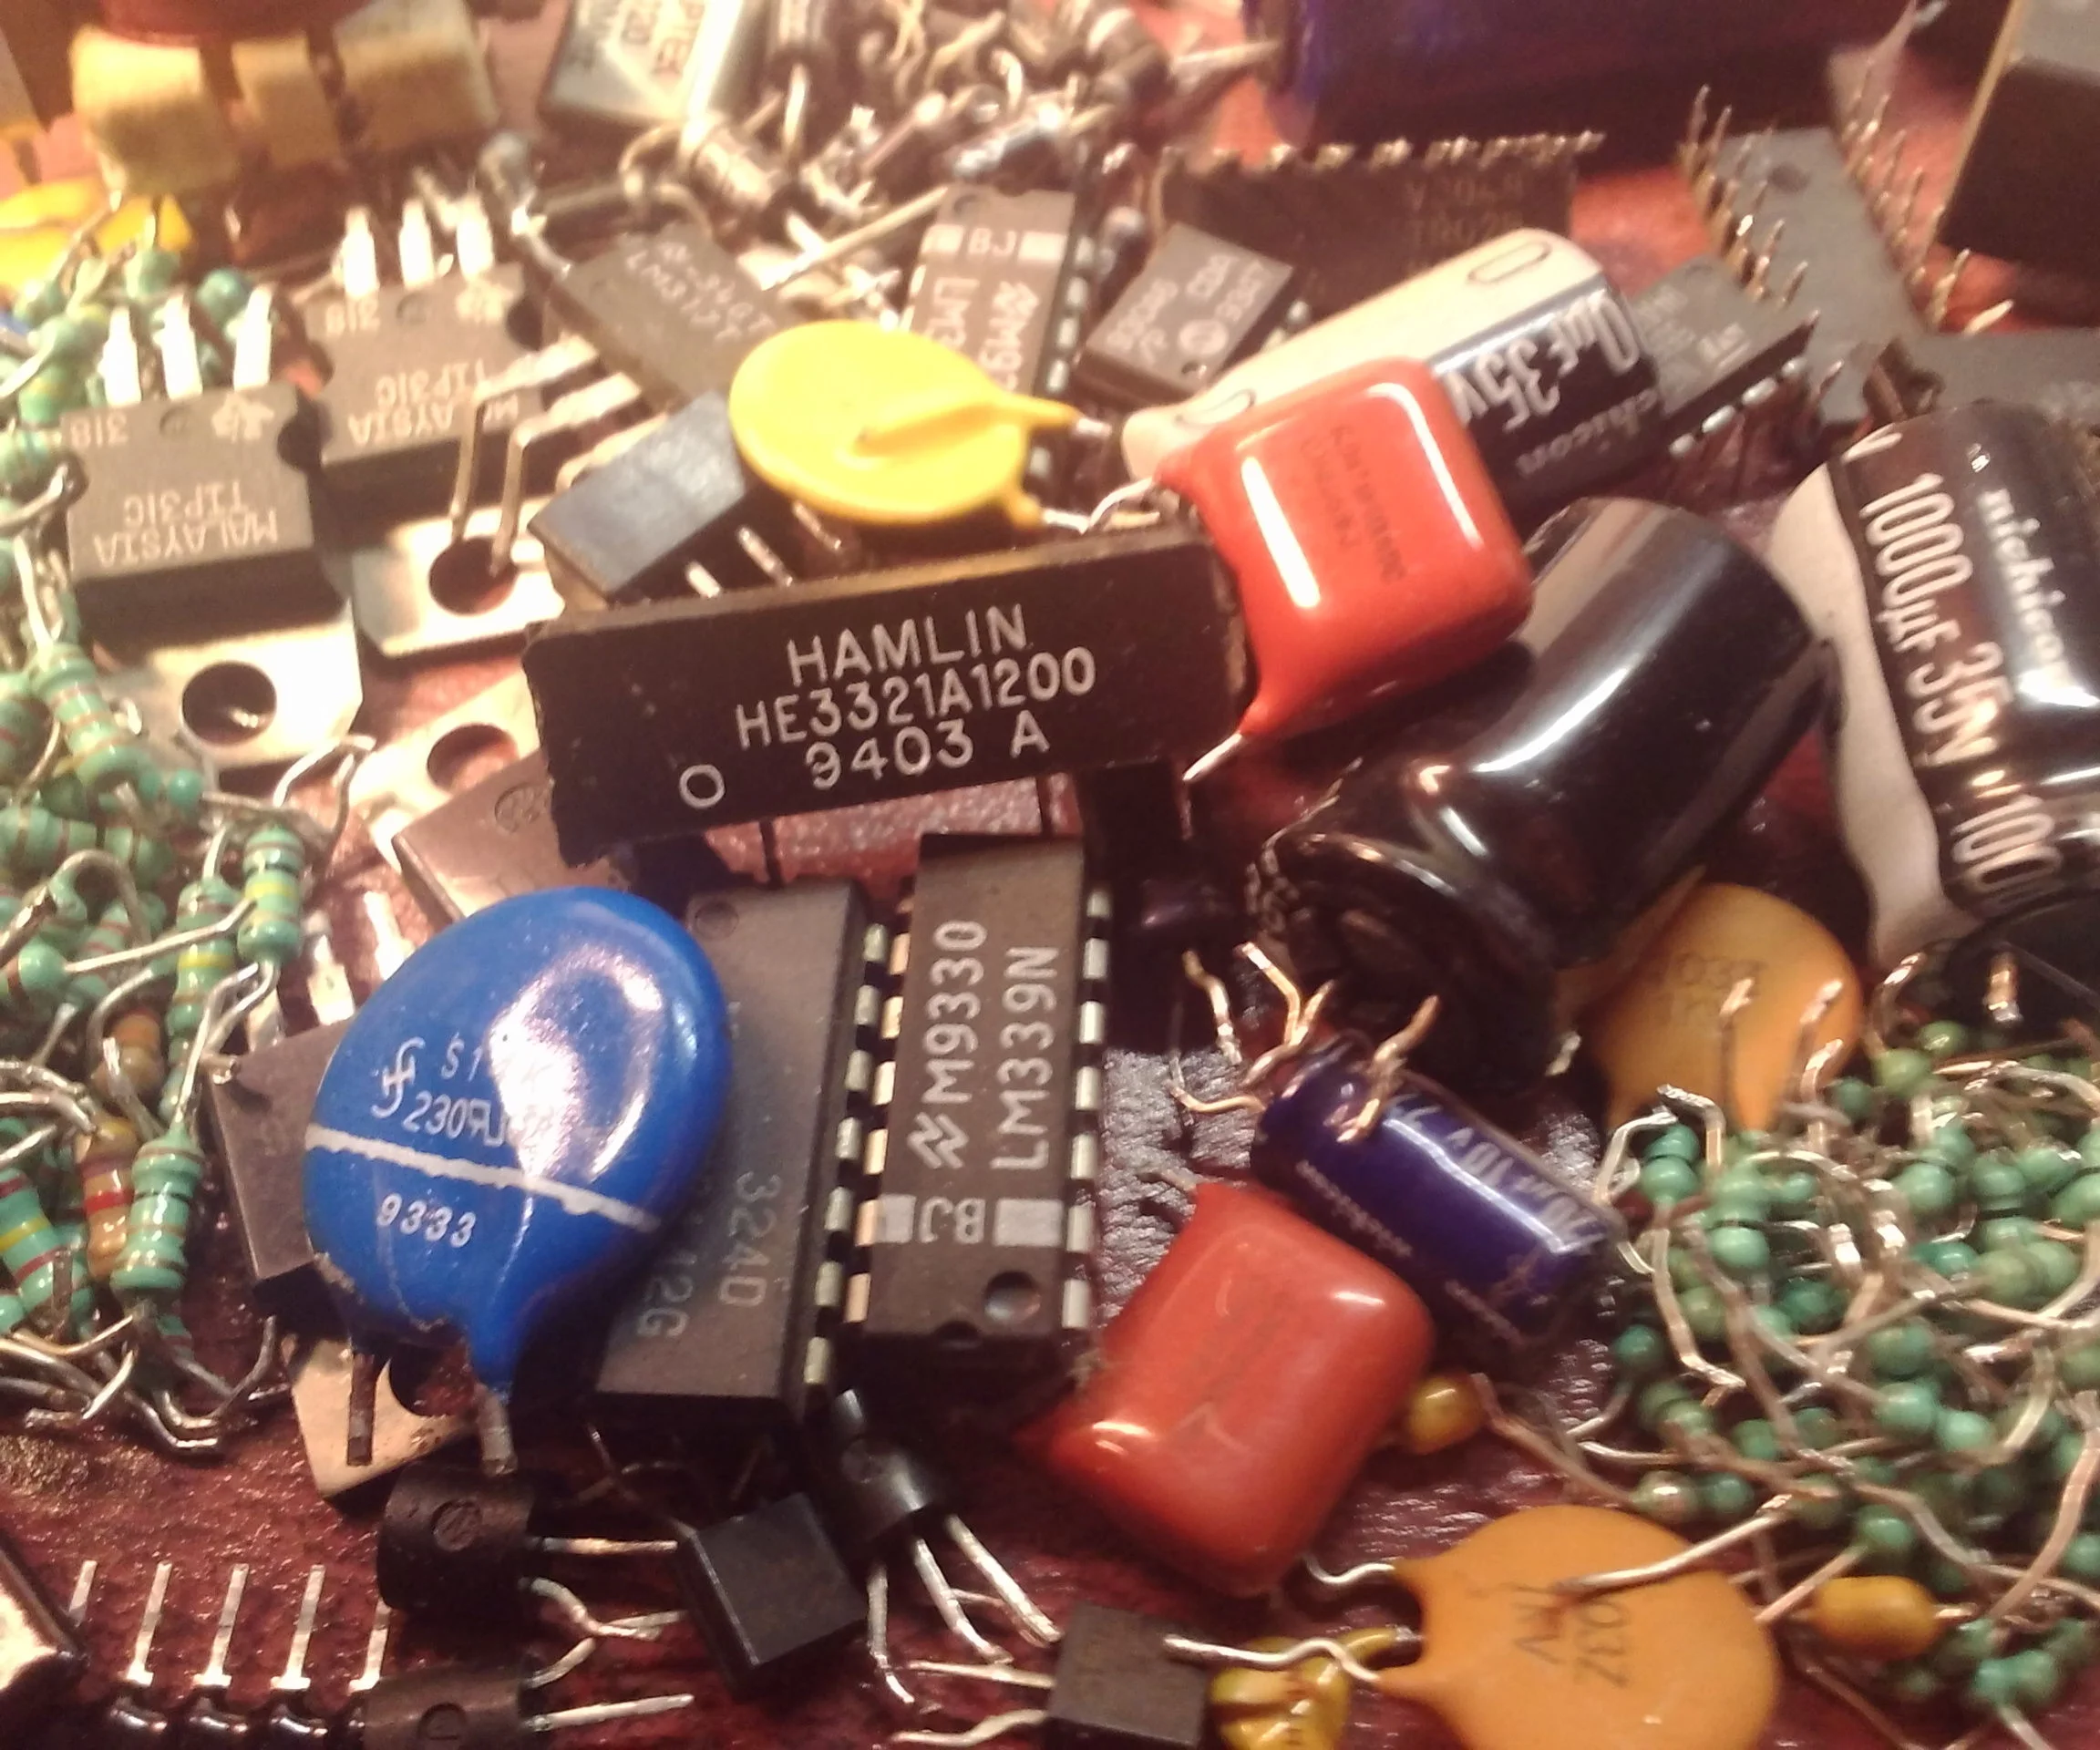
Electronic hobbyists frequently encounter old circuit boards from discarded devices like computers, phones, and appliances. These boards often contain valuable surface-mount technology (SMT) components that can be reclaimed for new projects. Salvaging electronic components not only saves money but also promotes sustainability by reducing electronic waste. This guide focuses on practical techniques for desoldering SMT components and removing SMD components from PCBs safely. With the right tools and methods, you can reuse SMT parts effectively in your builds. Understanding the process helps avoid damage to both the components and the donor board.
What Are SMT Components and Why Salvage Them?
SMT components, also known as surface-mount devices (SMDs), are tiny electronic parts soldered directly onto the surface of printed circuit boards (PCBs). Unlike through-hole components, they lack long leads and enable denser, more compact assemblies common in modern electronics. Salvaging these parts from old electronics appeals to hobbyists because new SMDs can be expensive in small quantities, while donor boards are abundant and free. Reusing SMT parts allows experimentation without high costs and teaches valuable skills in component handling and soldering. Moreover, it aligns with sustainability efforts by extending the life of materials. However, success depends on careful desoldering to prevent heat damage or mechanical stress.
The relevance grows as hobby projects shift toward compact designs mimicking commercial products. Old PCBs from routers, chargers, or toys provide a steady supply of resistors, capacitors, diodes, and even microcontrollers. Component recovery from SMT boards challenges hobbyists to master precision tools, but the rewards include custom prototypes built affordably. Risks like component degradation exist, yet proper techniques minimize them. This practice fosters a deeper appreciation for electronics manufacturing processes.
Understanding the Challenges in Removing SMD Components from PCBs
Desoldering SMT components requires overcoming challenges like small pad sizes, multiple pins, and varying solder alloys. Lead-free solders, prevalent since regulations, have higher melting points around 217-220 degrees Celsius, demanding controlled heat. Components vary: passive parts like 0603 resistors desolder easily, while quad flat no-leads (QFNs) or ball grid arrays (BGAs) risk pad lifts if mishandled. Thermal stress can cause cracking in ceramic capacitors or delamination in multilayer PCBs. Moisture absorbed over time exacerbates issues during heating, as per JEDEC J-STD-020 guidelines for moisture/reflow sensitivity classification.
Heat management is crucial to avoid warping the PCB or damaging nearby parts. Uneven heating leads to tombstoning, where one end of a component lifts prematurely. Solder wick effectiveness diminishes on fine-pitch parts due to capillary action limits. Mechanical methods like scraping risk trace damage. Awareness of these mechanisms ensures better outcomes in salvaging electronic components.
Essential Tools and Materials for Salvaging SMT Parts
Hobbyists need a basic toolkit for effective component recovery from SMT boards. A temperature-controlled soldering iron with fine tips (0.5-1mm) handles most tasks, paired with a hot air rework station for larger components. Solder wick (braided copper), low-melting flux, and flush-cut tweezers are indispensable. Isopropyl alcohol (99%) and a soft brush clean residues post-removal. An ESD-safe mat and wrist strap protect sensitive parts from static discharge.
Optional upgrades include a microscope or magnifier for inspection and a multimeter for testing. Kapton tape shields adjacent areas during heating. No-slip helping hands secure the board. Investing in quality flux prevents oxidation and improves solder flow. These tools enable safe desoldering of SMT components without professional equipment.
Step-by-Step Techniques for Desoldering SMT Components
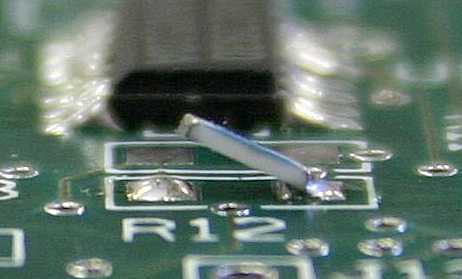
Start with preparation: identify components via markings or datasheets, and document the board layout if reusing the PCB. Apply flux generously to pads for better heat transfer and solder liquidity. For small passives like resistors or capacitors, heat one end with the iron while gently lifting the other with tweezers. Wick away molten solder, then repeat on the second side. This method suits 0402 to 1206 sizes and minimizes pad damage.
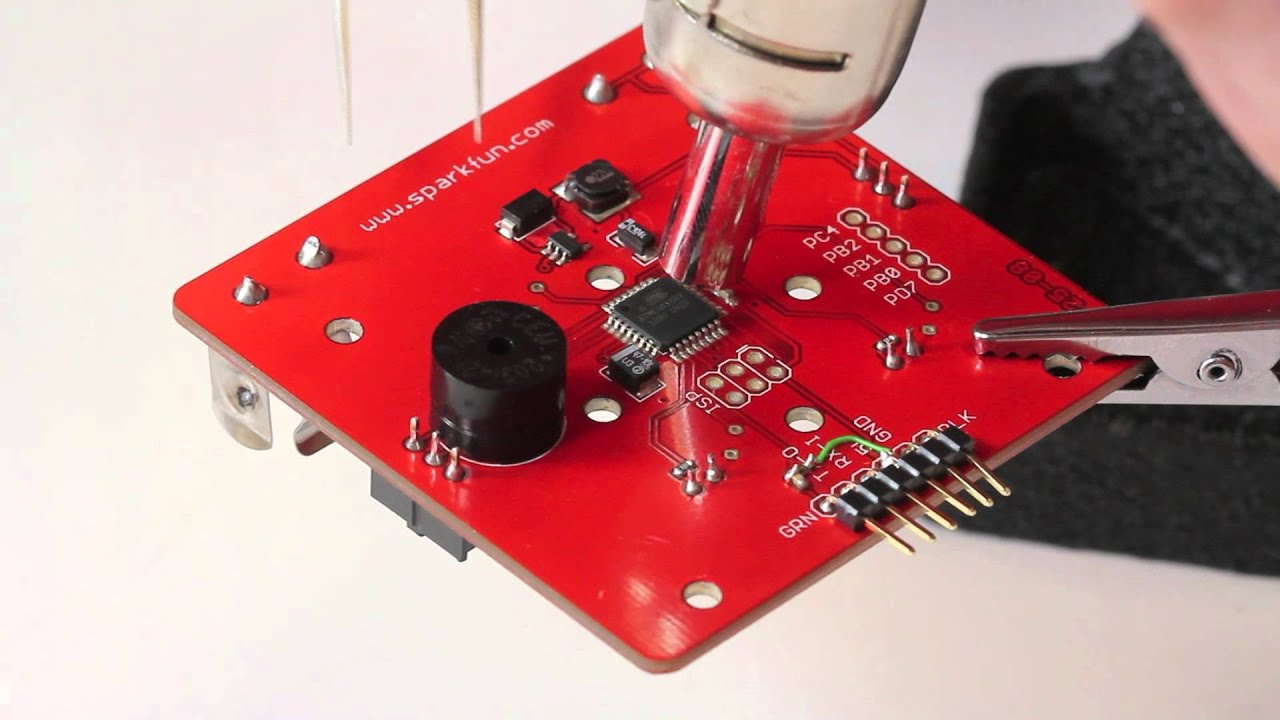
For multi-pin SMDs like SOICs, preheat the underside if possible, then apply hot air at 300-350 degrees Celsius from 2-3 inches away. Direct airflow evenly until solder reflows, then lift with tweezers. Avoid excessive force to prevent pin bending. IPC-7711/7721D outlines procedures for such rework, emphasizing controlled profiles. Clean pads with wick and alcohol afterward.
BGAs and QFNs demand infrared preheaters or professional stations, but hobbyists can approximate with toaster ovens at low settings. Chip quick alloy lowers melting points for easier removal. Always cool components slowly to avoid thermal shock.
Safety Precautions and Best Practices in Component Recovery SMT
Ventilation tops safety priorities, as flux fumes contain irritants; use a fume extractor or work outdoors. Wear eye protection against solder splatter. ESD precautions prevent latent failures in semiconductors. Handle boards by edges to avoid fingerprints on pads. Limit heat exposure to under 10 seconds per joint per IPC rework standards.
Best practices include batch processing similar components for efficiency. Sort salvaged parts immediately by type and value into labeled compartments. Test continuity and values before storage. Avoid overheating donor boards to preserve other parts. Document success rates to refine techniques. Patience yields higher quality reuses.
Testing and Verifying Reclaimed SMT Parts
Post-salvage, inspect visually for cracks, bent leads, or residue. Use a multimeter to check resistors for value and shorts, capacitors for capacitance and ESR, diodes for forward voltage. For ICs, functional testing on breadboards or programmers confirms viability. Bake moisture-sensitive parts at 125 degrees Celsius for 24 hours per J-STD-033 handling guidelines before reuse.
Storage in anti-static bags with desiccant prolongs life. Label with source board and extraction date. Discard obviously damaged parts. This verification step ensures reliability in new projects. Many hobbyists build test jigs for common ICs.
Common Mistakes and Troubleshooting in Reusing SMT Parts
Overheating warps PCBs or degrades electrolytics, causing leaks. Solution: use thermocouples to monitor temperatures. Tombstoning from uneven heat fixes with symmetric airflow. Lifted pads occur from prying; preheat fully first. Insufficient flux leaves oxidized solder, remedied by aggressive cleaning.
ICs failing post-install often stem from ESD or moisture. Bake and test preemptively. Solder bridges on reinstallation clean with wick. Patience and practice resolve most issues. Learning from failures improves salvaging skills.
Conclusion
Salvaging SMT components empowers electronic hobbyists to repurpose old electronics creatively and economically. Mastering desoldering SMT components, removing SMD components from PCBs, and reusing SMT parts demands practice but yields versatile stockpiles. Adhering to standards like IPC-7711/7721D ensures professional results. Prioritize safety, precision, and testing for success. This skill enhances project capabilities while embracing sustainability. Start small and build confidence with each board.
FAQs
Q1: How do I desolder small SMT components like 0402 resistors without damaging the PCB?
A1: Apply flux first, then heat one pad briefly with a fine-tip iron while lifting the free end with tweezers. Wick away solder quickly. Use low temperature around 300 degrees Celsius to avoid pad delamination. Practice on scrap boards builds skill. This method excels for removing SMD components from PCBs in hobby setups.
Q2: What tools are best for beginners salvaging electronic components from old boards?
A2: A temperature-controlled soldering iron, solder wick, flux, tweezers, and magnifier suffice initially. Add hot air for ICs later. Ensure ESD protection. Clean with isopropyl alcohol post-removal. These enable safe component recovery SMT without advanced gear.
Q3: Can I reuse salvaged ICs, and how do I test them?
A3: Yes, but verify functionality. Use a multimeter for power pins, then breadboard or programmer for logic checks. Bake if moisture-exposed per JEDEC standards. Avoid if markings are faded. Reusing SMT parts this way suits many hobby projects reliably.
Q4: What causes failures when reusing SMT parts in new projects?
A4: Common issues include thermal damage, ESD, or residue shorts. Preheat evenly, use ESD mats, and clean thoroughly. Test before install. Following rework guidelines prevents most problems in desoldering SMT components.
References
IPC-7711/7721D — Rework, Modification and Repair of Electronic Assemblies. IPC, 2024
J-STD-001G — Requirements for Soldered Electrical and Electronic Assemblies. IPC, 2017
J-STD-020E — Moisture/Reflow Sensitivity Classification for Nonhermetic Solid State Surface Mount Devices. JEDEC, 2014