Introduction
Surface mount technology has transformed electronics projects, allowing hobbyists to build compact devices with smaller components. Many electronic hobbyists start with through-hole parts but soon discover the advantages of surface mount devices, or SMDs, for modern designs. Hand soldering these small components at home might seem intimidating at first, but with the right techniques, it becomes straightforward and rewarding. This SMD soldering tutorial covers everything from essential tools to step-by-step processes, helping you tackle DIY SMT rework confidently. Whether you are populating a custom PCB or repairing a board, mastering soldering small components opens up endless possibilities for your projects. By following best practices, you can achieve professional-looking results without expensive equipment.
What Is Surface Mount Soldering and Why It Matters for Hobbyists
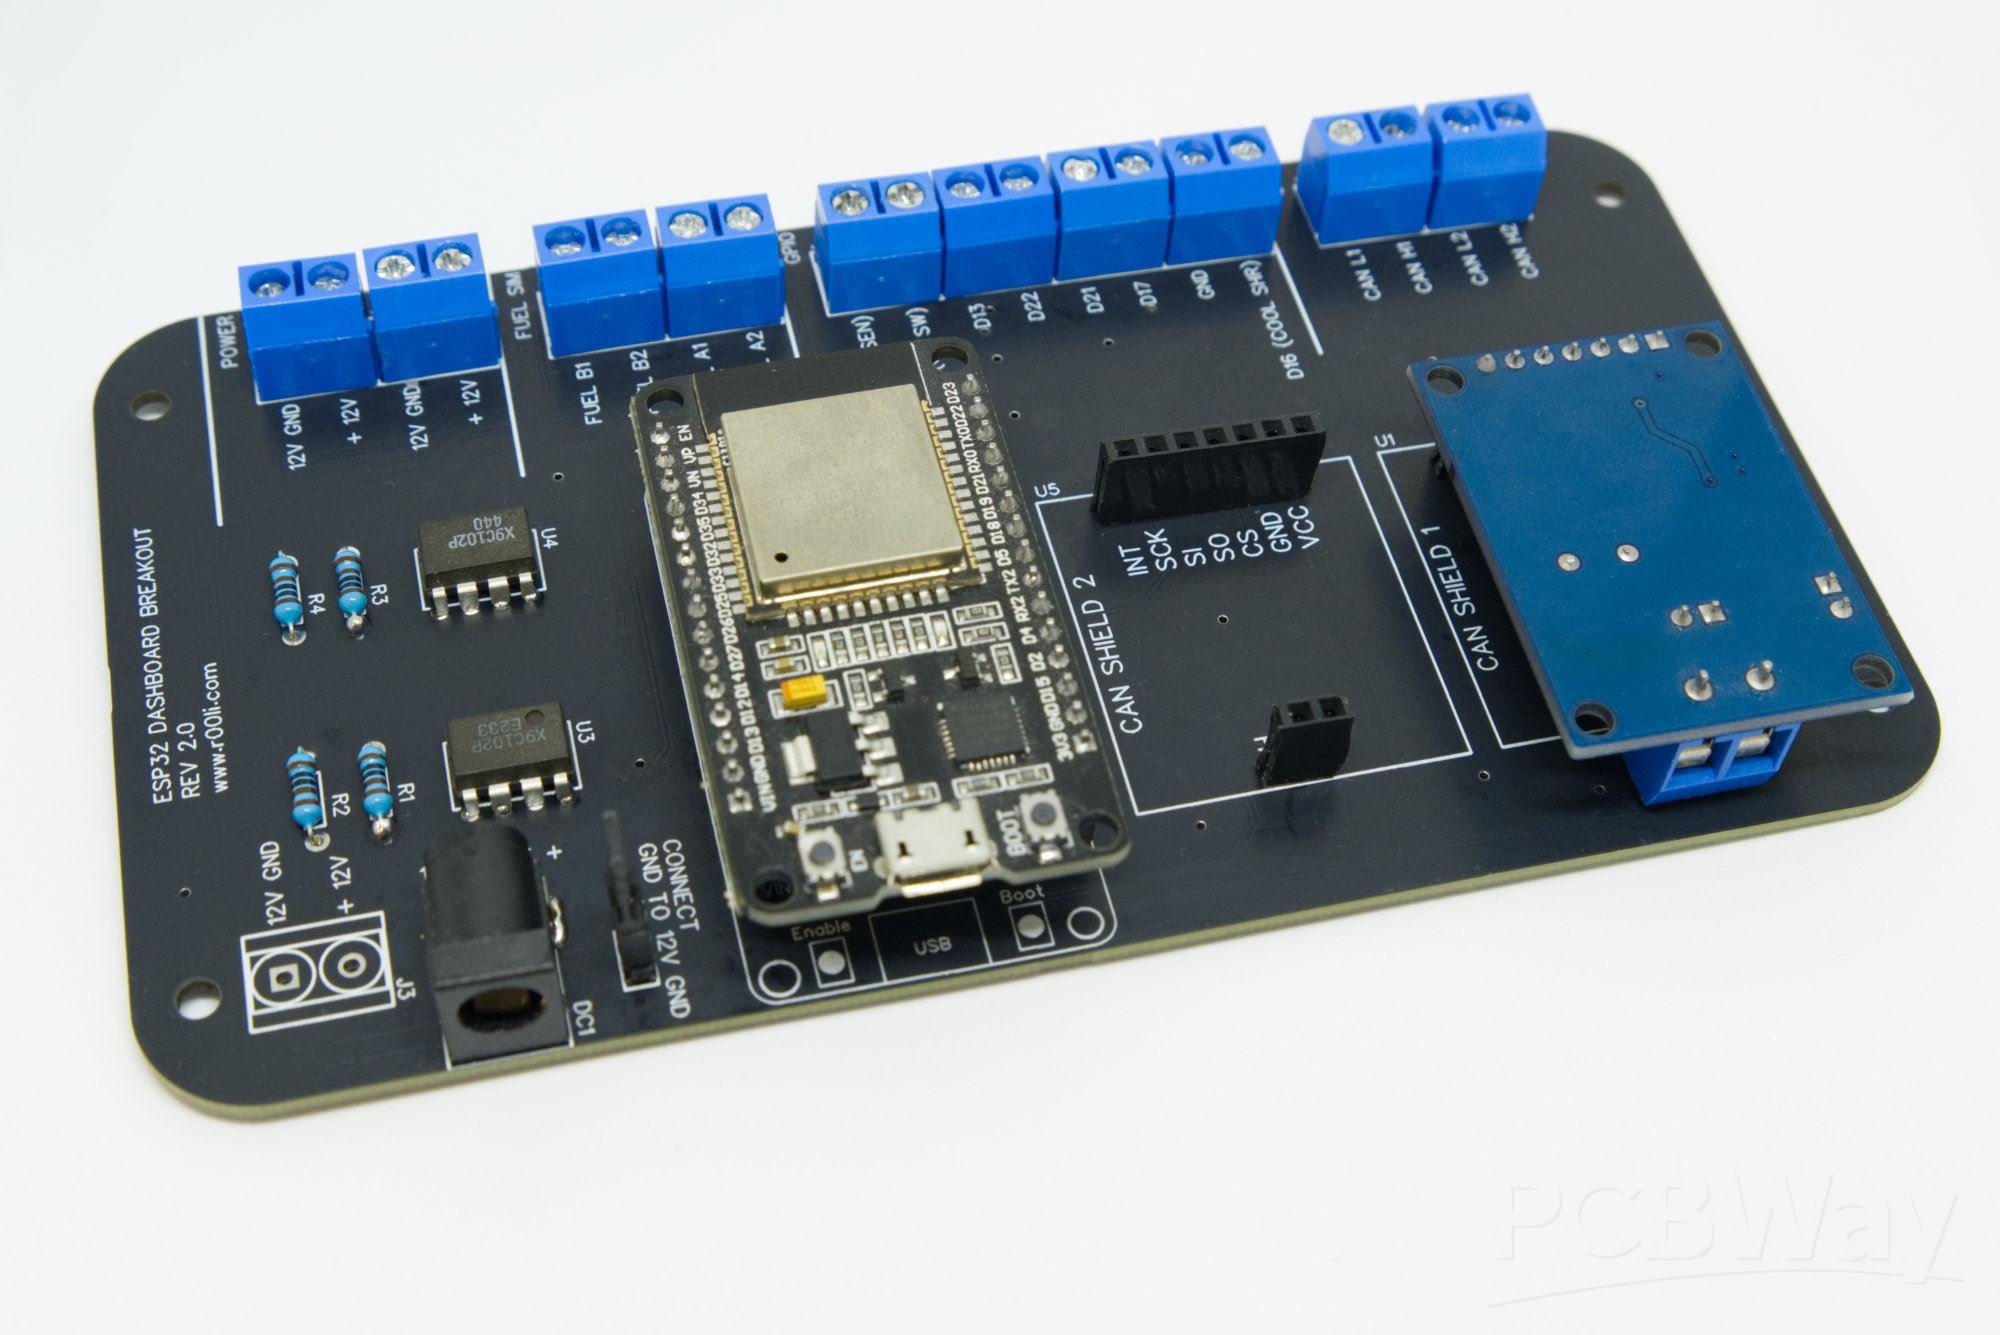
Surface mount soldering involves attaching SMDs directly onto the surface of a printed circuit board, unlike through-hole methods that require leads passing through holes. These components, such as resistors, capacitors, and integrated circuits, come in tiny packages like 0805, 0603, or even 0402 sizes, enabling denser boards. For electronic hobbyists, SMT matters because it matches the scale of commercial electronics, reduces project size, and improves performance through shorter signal paths. Hand soldering at home bridges the gap between prototyping and production, letting you iterate designs quickly. Understanding the basics prevents common issues like poor joints or component damage. As projects grow more complex, skills in soldering small components become essential for reliable assemblies.
Essential Tools and Materials for Home SMD Soldering
A good soldering iron for SMD work features temperature control, adjustable between 300 and 400 degrees Celsius, with fine tips like 0.5mm chisel or conical shapes for precision. Pair it with the best solder for electronics hobbyists: thin wire, typically 0.3 to 0.5mm diameter, in a eutectic alloy for smooth flow and strong joints. Flux, preferably no-clean liquid or paste, cleans surfaces and improves wetting during soldering. Precision tweezers with angled tips help position small components accurately, while a magnifying glass or USB microscope aids inspection. Cleaning supplies like isopropyl alcohol and lint-free wipes ensure pads stay free of residue. Optional extras, such as a hot air rework station, simplify larger parts, but a quality iron handles most hobby tasks.
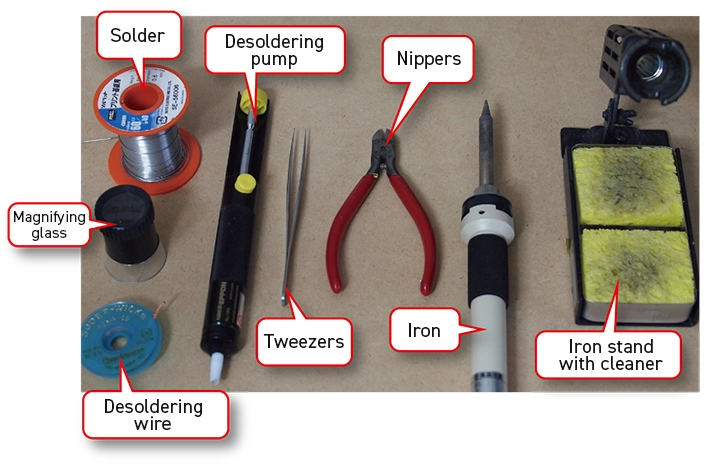
Isopropyl alcohol at 99% concentration removes flux remnants effectively after soldering. Anti-static mats and wrist straps protect sensitive components from electrostatic discharge. A helping hands tool secures the board during placement. These items form a compact kit fitting any home bench.
Preparing Your Workspace for Safe and Effective Soldering
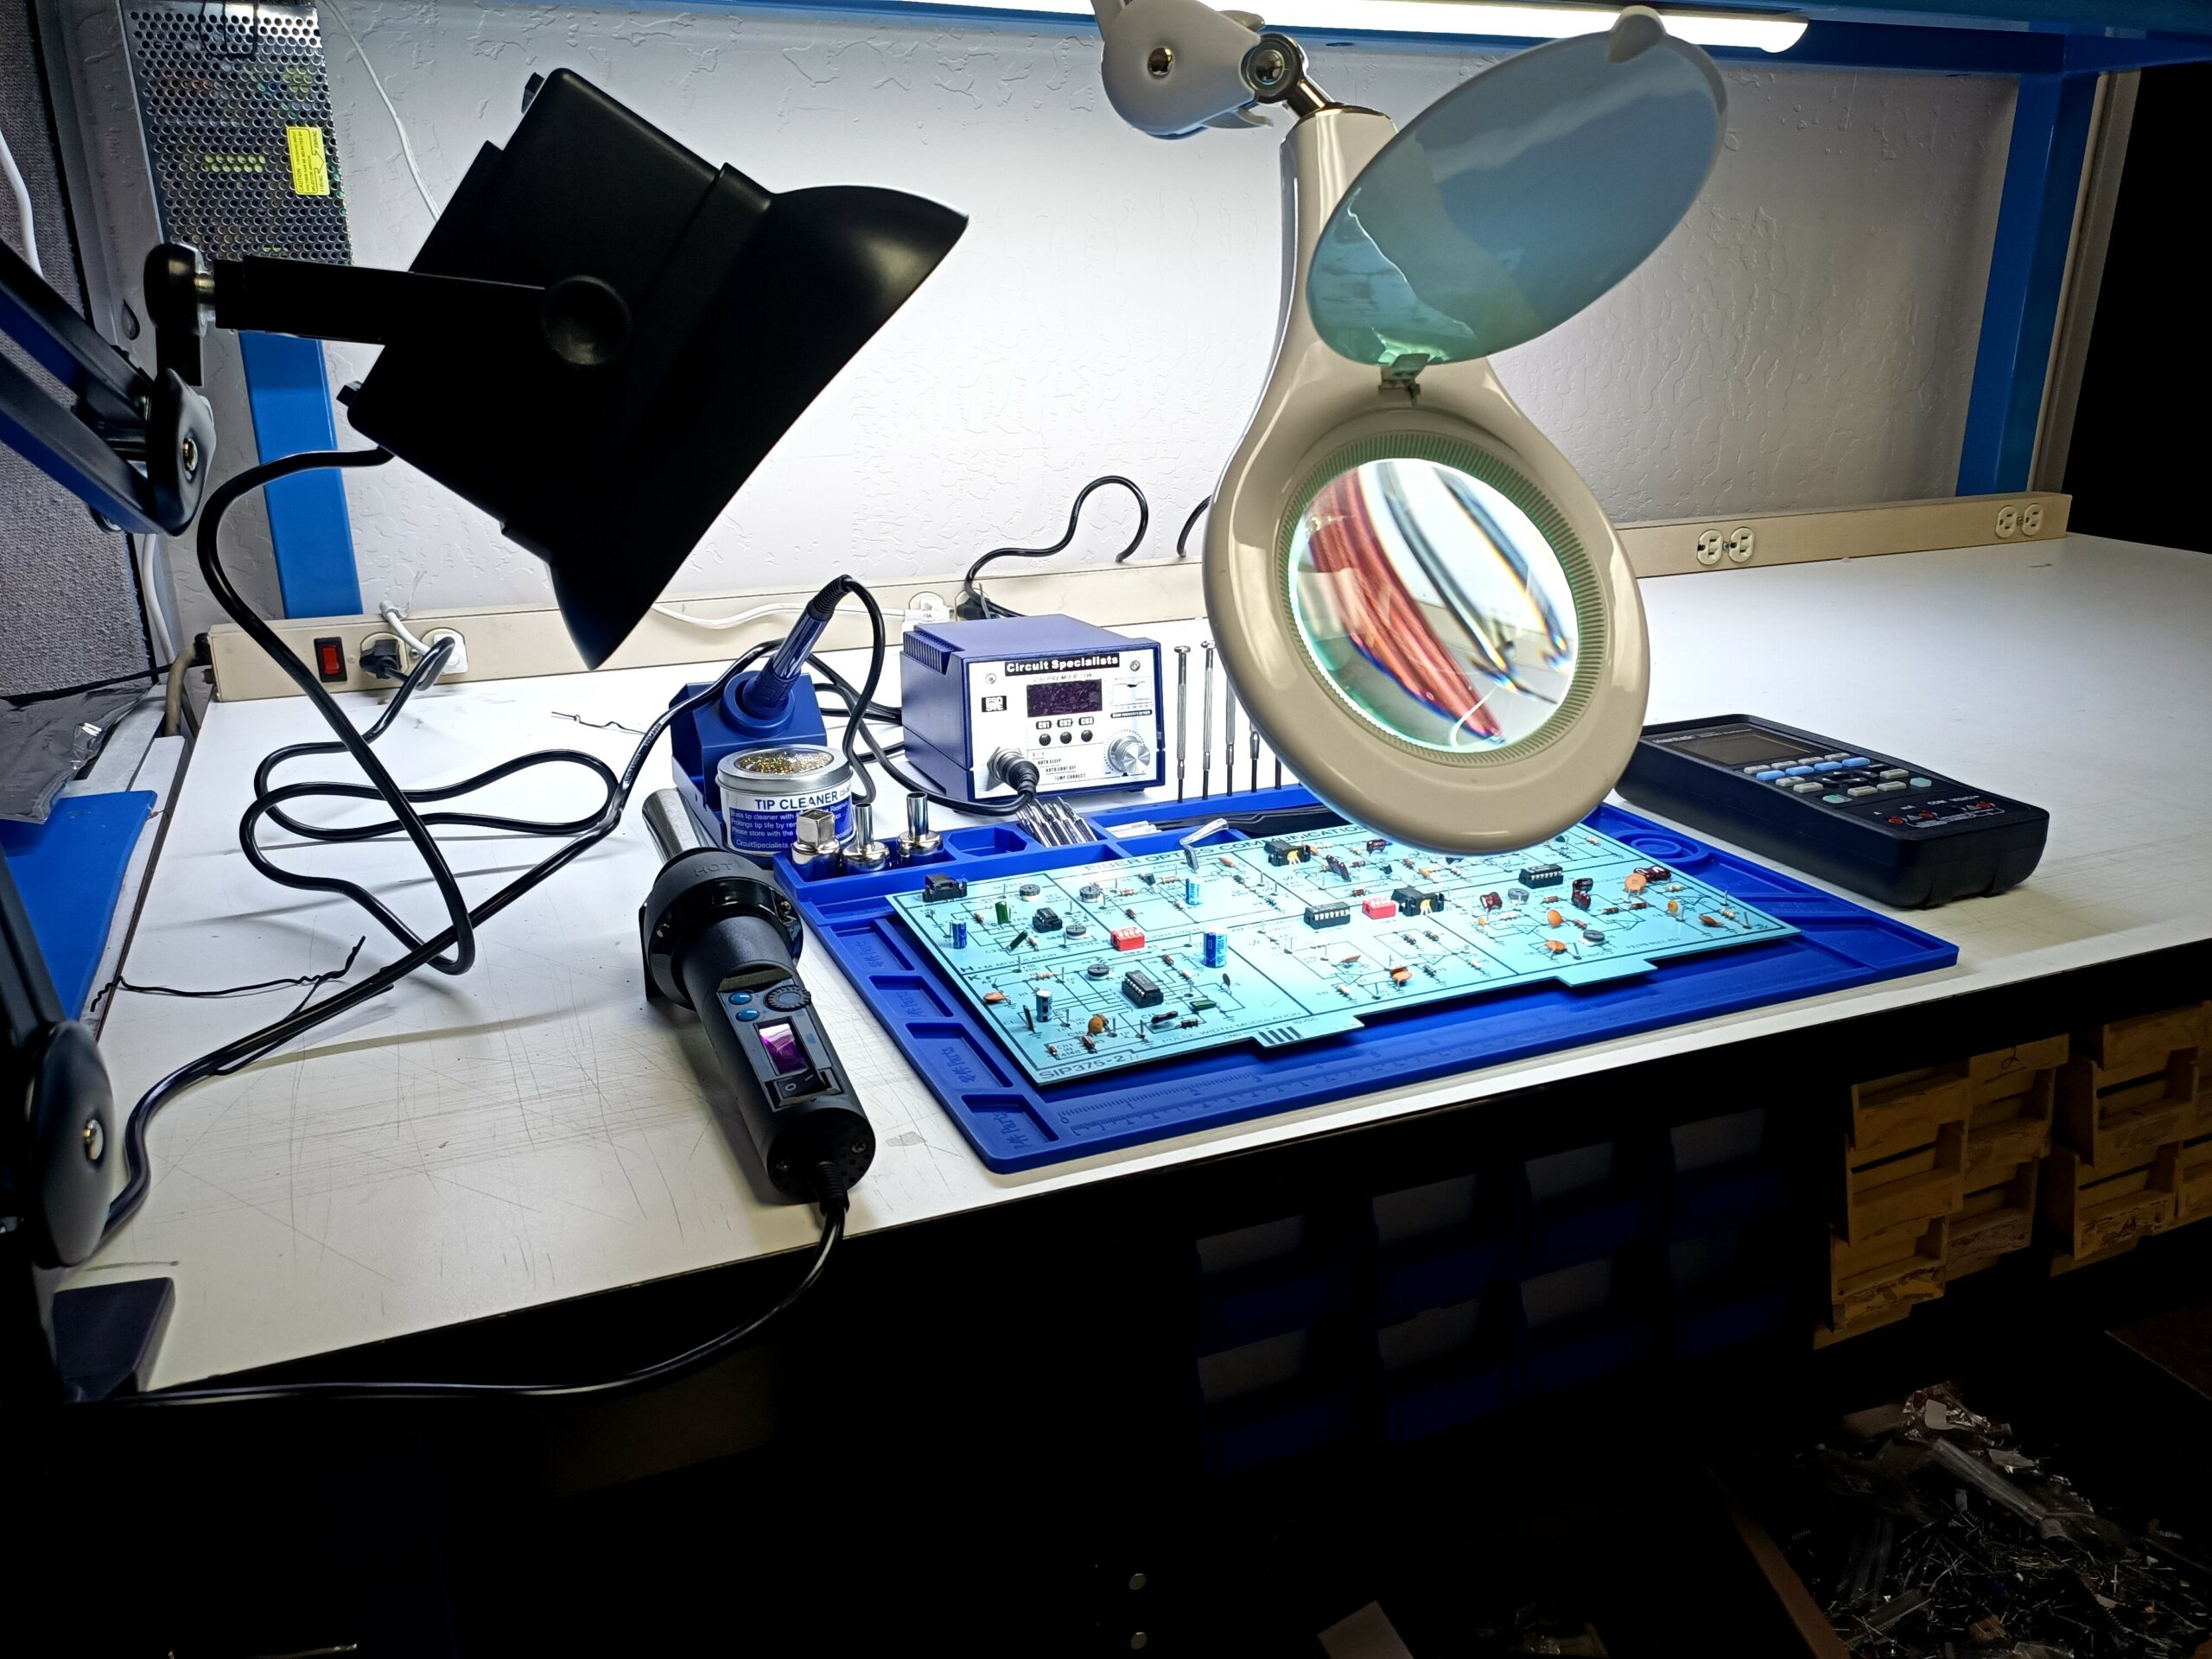
Set up in a well-ventilated area to avoid inhaling fumes from flux and solder, using a fume extractor if possible. ESD-safe surfaces prevent static damage to chips, crucial for modern SMDs. Organize tools within arm's reach to maintain workflow and reduce errors. Preheat your soldering iron and clean the tip with brass wool or a damp sponge for optimal heat transfer. Test temperatures on scrap material to confirm stability. A stable, heat-resistant surface like a silicone mat protects your table from accidental burns.
Clean the PCB thoroughly before starting, removing any oils or contaminants with alcohol. Bake moisture-sensitive components per guidelines to avoid reflow cracks, though hand soldering minimizes this risk. Label components and plan the assembly order to streamline the process.
Step-by-Step SMD Soldering Tutorial for Beginners
Begin by tinning the pads lightly with a thin layer of solder, heating each pad for 1-2 seconds to promote adhesion. Apply flux to the pads for better flow. Position the component using tweezers, holding it steady while soldering one end first. This anchors it, allowing you to align the other side precisely. Heat the pad and lead together, feeding solder until it forms a shiny fillet. Move to resistors or capacitors first, as they are forgiving for practice.

For integrated circuits with multiple pins, use drag soldering: apply flux along the row, tin the tip generously, and drag slowly while wiping excess. This technique fills all pads efficiently without bridges. Inspect each joint under magnification for smooth contours and no voids. According to IPC J-STD-001J, soldered connections must demonstrate proper wetting and fillet formation for reliability. Cool the board naturally before powering up. Practice on breakout boards to build confidence before main projects.
Soldering small components like 0402 parts requires patience and a steady hand. Use minimal solder to avoid blobs, heating from the side opposite the component. Flux generously but sparingly. If bridges form, wick away excess with desoldering braid under flux.
Best Practices for Soldering Small Components and Achieving Reliable Joints
Maintain tip temperature consistently, as fluctuations lead to cold joints with dull appearances. Clean the tip frequently during sessions to preserve heat transfer. Use the right amount of solder: too little causes weak bonds, too much creates shorts. IPC-A-610J outlines acceptability criteria, specifying smooth, concave fillets without cracks or excess for hobby-level class 2 assemblies. Angle the iron at 45 degrees for optimal pad contact. Post-soldering, clean flux with alcohol to prevent corrosion over time.
For dense boards, solder in sections to manage heat buildup, allowing cooling between areas. Preheat the board slightly with the iron to reduce thermal shock on components. Document your process with photos for troubleshooting later. These habits ensure joints withstand vibration and temperature cycles in hobby projects.
DIY SMT Rework: Fixing Common Mistakes at Home
Bridges between pads happen often with small components; apply flux and drag braid across while heating to remove excess solder. Lifted pads require careful reheating and flattening with the iron tip. For removing components, heat all pins simultaneously if possible, lifting with tweezers. IPC-7711/7721C provides procedures for rework, emphasizing controlled heat to avoid board damage. Replace with fresh parts, cleaning pads before reinstalling. Test continuity with a multimeter after fixes.
Cold joints, identifiable by rough surfaces, reflow by reheating with flux and fresh solder. Tombstoning, where one end lifts, stems from uneven heating; balance by starting from the cooler side. Overheating warps boards or delaminates traces, so limit dwell time to seconds. Practice rework on sacrificial boards to hone skills. These troubleshooting steps make DIY SMT rework accessible for hobbyists.
Conclusion
Mastering surface mount soldering at home empowers electronic hobbyists to prototype advanced designs efficiently. From selecting a suitable soldering iron for SMD to applying flux and inspecting joints, each step builds toward reliable assemblies. Referencing standards like IPC J-STD-001J ensures your work meets quality benchmarks. Practice mitigates common pitfalls, turning challenges into successes. Equip your bench thoughtfully, follow methodical processes, and enjoy the satisfaction of functional boards. Your SMT projects will evolve from simple to sophisticated with these foundational skills.
FAQs
Q1: What is the best soldering iron for SMD work at home?
A1: A temperature-controlled soldering iron for SMD with fine tips, such as 0.5mm chisel, excels for precision on small components. Adjustable settings around 350 degrees Celsius prevent overheating delicate parts. Pair it with a stable stand and clean tip maintenance for consistent results. This setup supports everything from 0805 resistors to fine-pitch ICs in your SMD soldering tutorial projects.
Q2: What makes the best solder for electronics hobbyists?
A2: Thin solder wire, 0.3-0.5mm diameter, flows easily for soldering small components without excess buildup. Eutectic alloys wet pads quickly, forming strong joints ideal for DIY SMT rework. Use with flux for optimal performance on home benches. Avoid thicker wires that bridge pads easily. This choice simplifies hand soldering tasks reliably.
Q3: How do I avoid common mistakes in DIY SMT rework?
A3: Apply flux before removing components to loosen solder without excessive heat. Use desoldering braid for bridges and limit dwell time to prevent pad lifts. Inspect under magnification per IPC-A-610J criteria for shiny fillets. Practice on test boards builds skill. Clean residues post-rework to ensure longevity.
Q4: Can beginners handle soldering small components like 0402?
A4: Yes, with magnification, fine-tip iron, and flux, beginners succeed at soldering small components. Tin pads first, place with tweezers, and solder one end to secure. Minimal solder prevents blobs. Steady hands and short heat application are key. This approach fits any SMD soldering tutorial for hobbyists.
References
IPC J-STD-001J — Requirements for Soldered Electrical and Electronic Assemblies. IPC, 2024
IPC-A-610J — Acceptability of Electronic Assemblies. IPC, 2024
IPC-7711/7721C — Rework, Repair and Modification of Electronic Assemblies. IPC, 2021