Introduction
Single-sided PCBs represent one of the simplest forms of printed circuit boards, making them ideal for electronic hobbyists starting with basic projects like LED circuits or simple sensors. The single-sided PCB assembly process involves placing components on one side of the board and soldering them to conductive traces, all without the complexity of multi-layer designs. This guide walks you through every step, from preparation to testing, with a focus on practical techniques that hobbyists can apply at home. Whether you are prototyping a custom gadget or repairing an old device, mastering single-sided PCB assembly opens doors to reliable, low-cost electronics. We will cover essential tools, soldering methods, and troubleshooting tips to ensure your first assembly succeeds. By following these steps, hobbyists can achieve professional results NBSPprofessional results without advanced equipment.
What Is Single-Sided PCB Assembly and Why It Matters
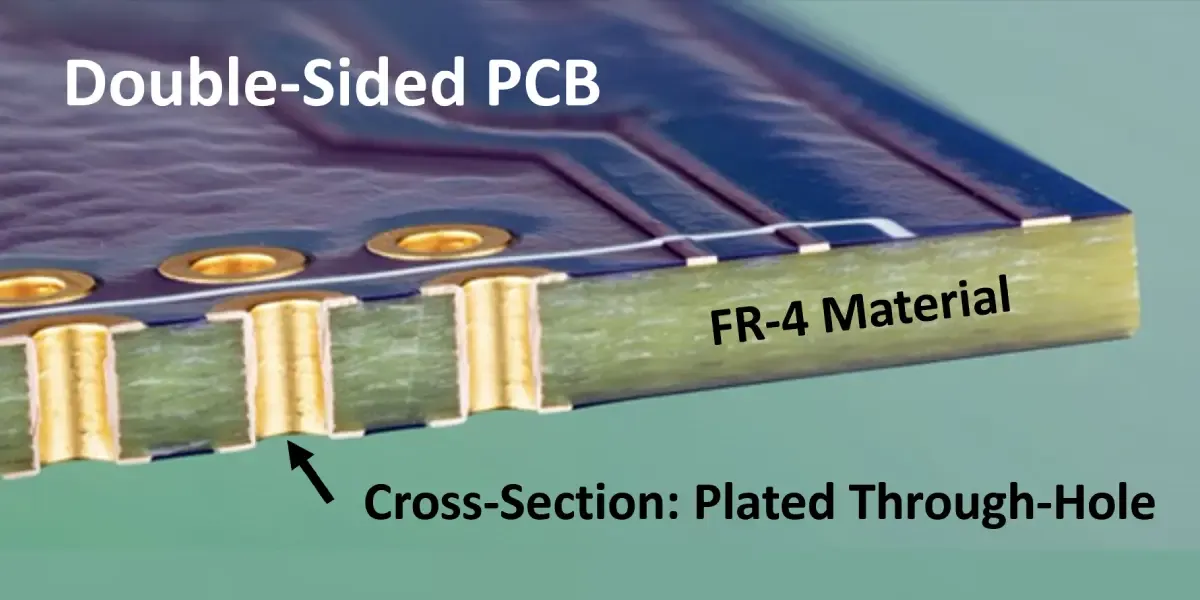
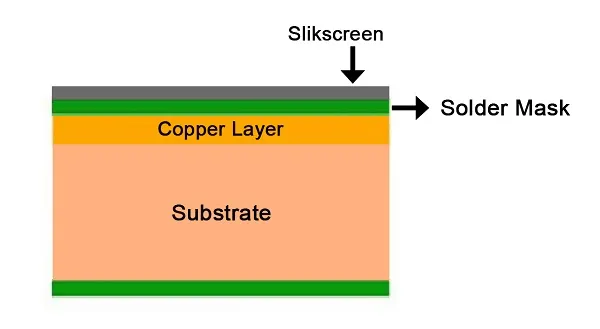
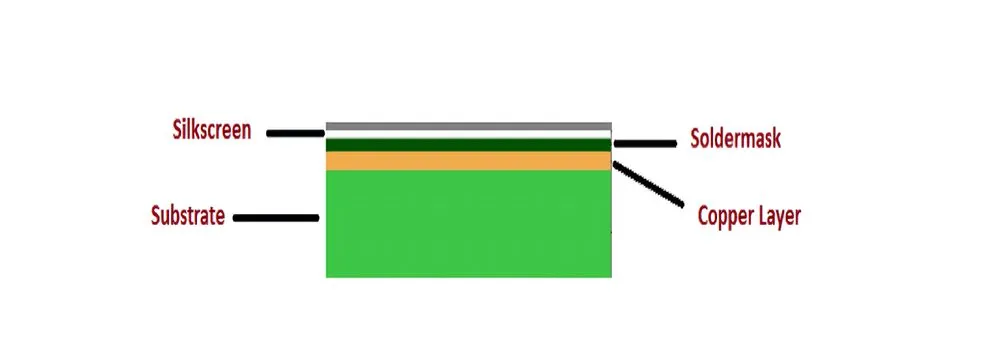
Single-sided PCB assembly refers to the process of mounting electronic components onto a board that has conductive copper traces on only one side, typically the bottom, while the top side holds the components. This design contrasts with double-sided or multi-layer boards, limiting it to simpler circuits with fewer interconnections but offering unmatched affordability and ease for beginners. For electronic hobbyists, single-sided boards matter because they support quick prototyping of projects like battery-powered alarms, basic amplifiers, or hobby robot controllers without needing expensive fabrication services. The simplicity reduces errors during component mounting and soldering, allowing focus on creativity rather than complex routing. In an era of maker spaces and DIY electronics, single-sided PCB assembly empowers hobbyists to turn ideas into functional devices rapidly. Its relevance grows as hobby projects demand reliability without the overhead of advanced manufacturing.
Essential Materials and Single-Sided PCB Assembly Equipment
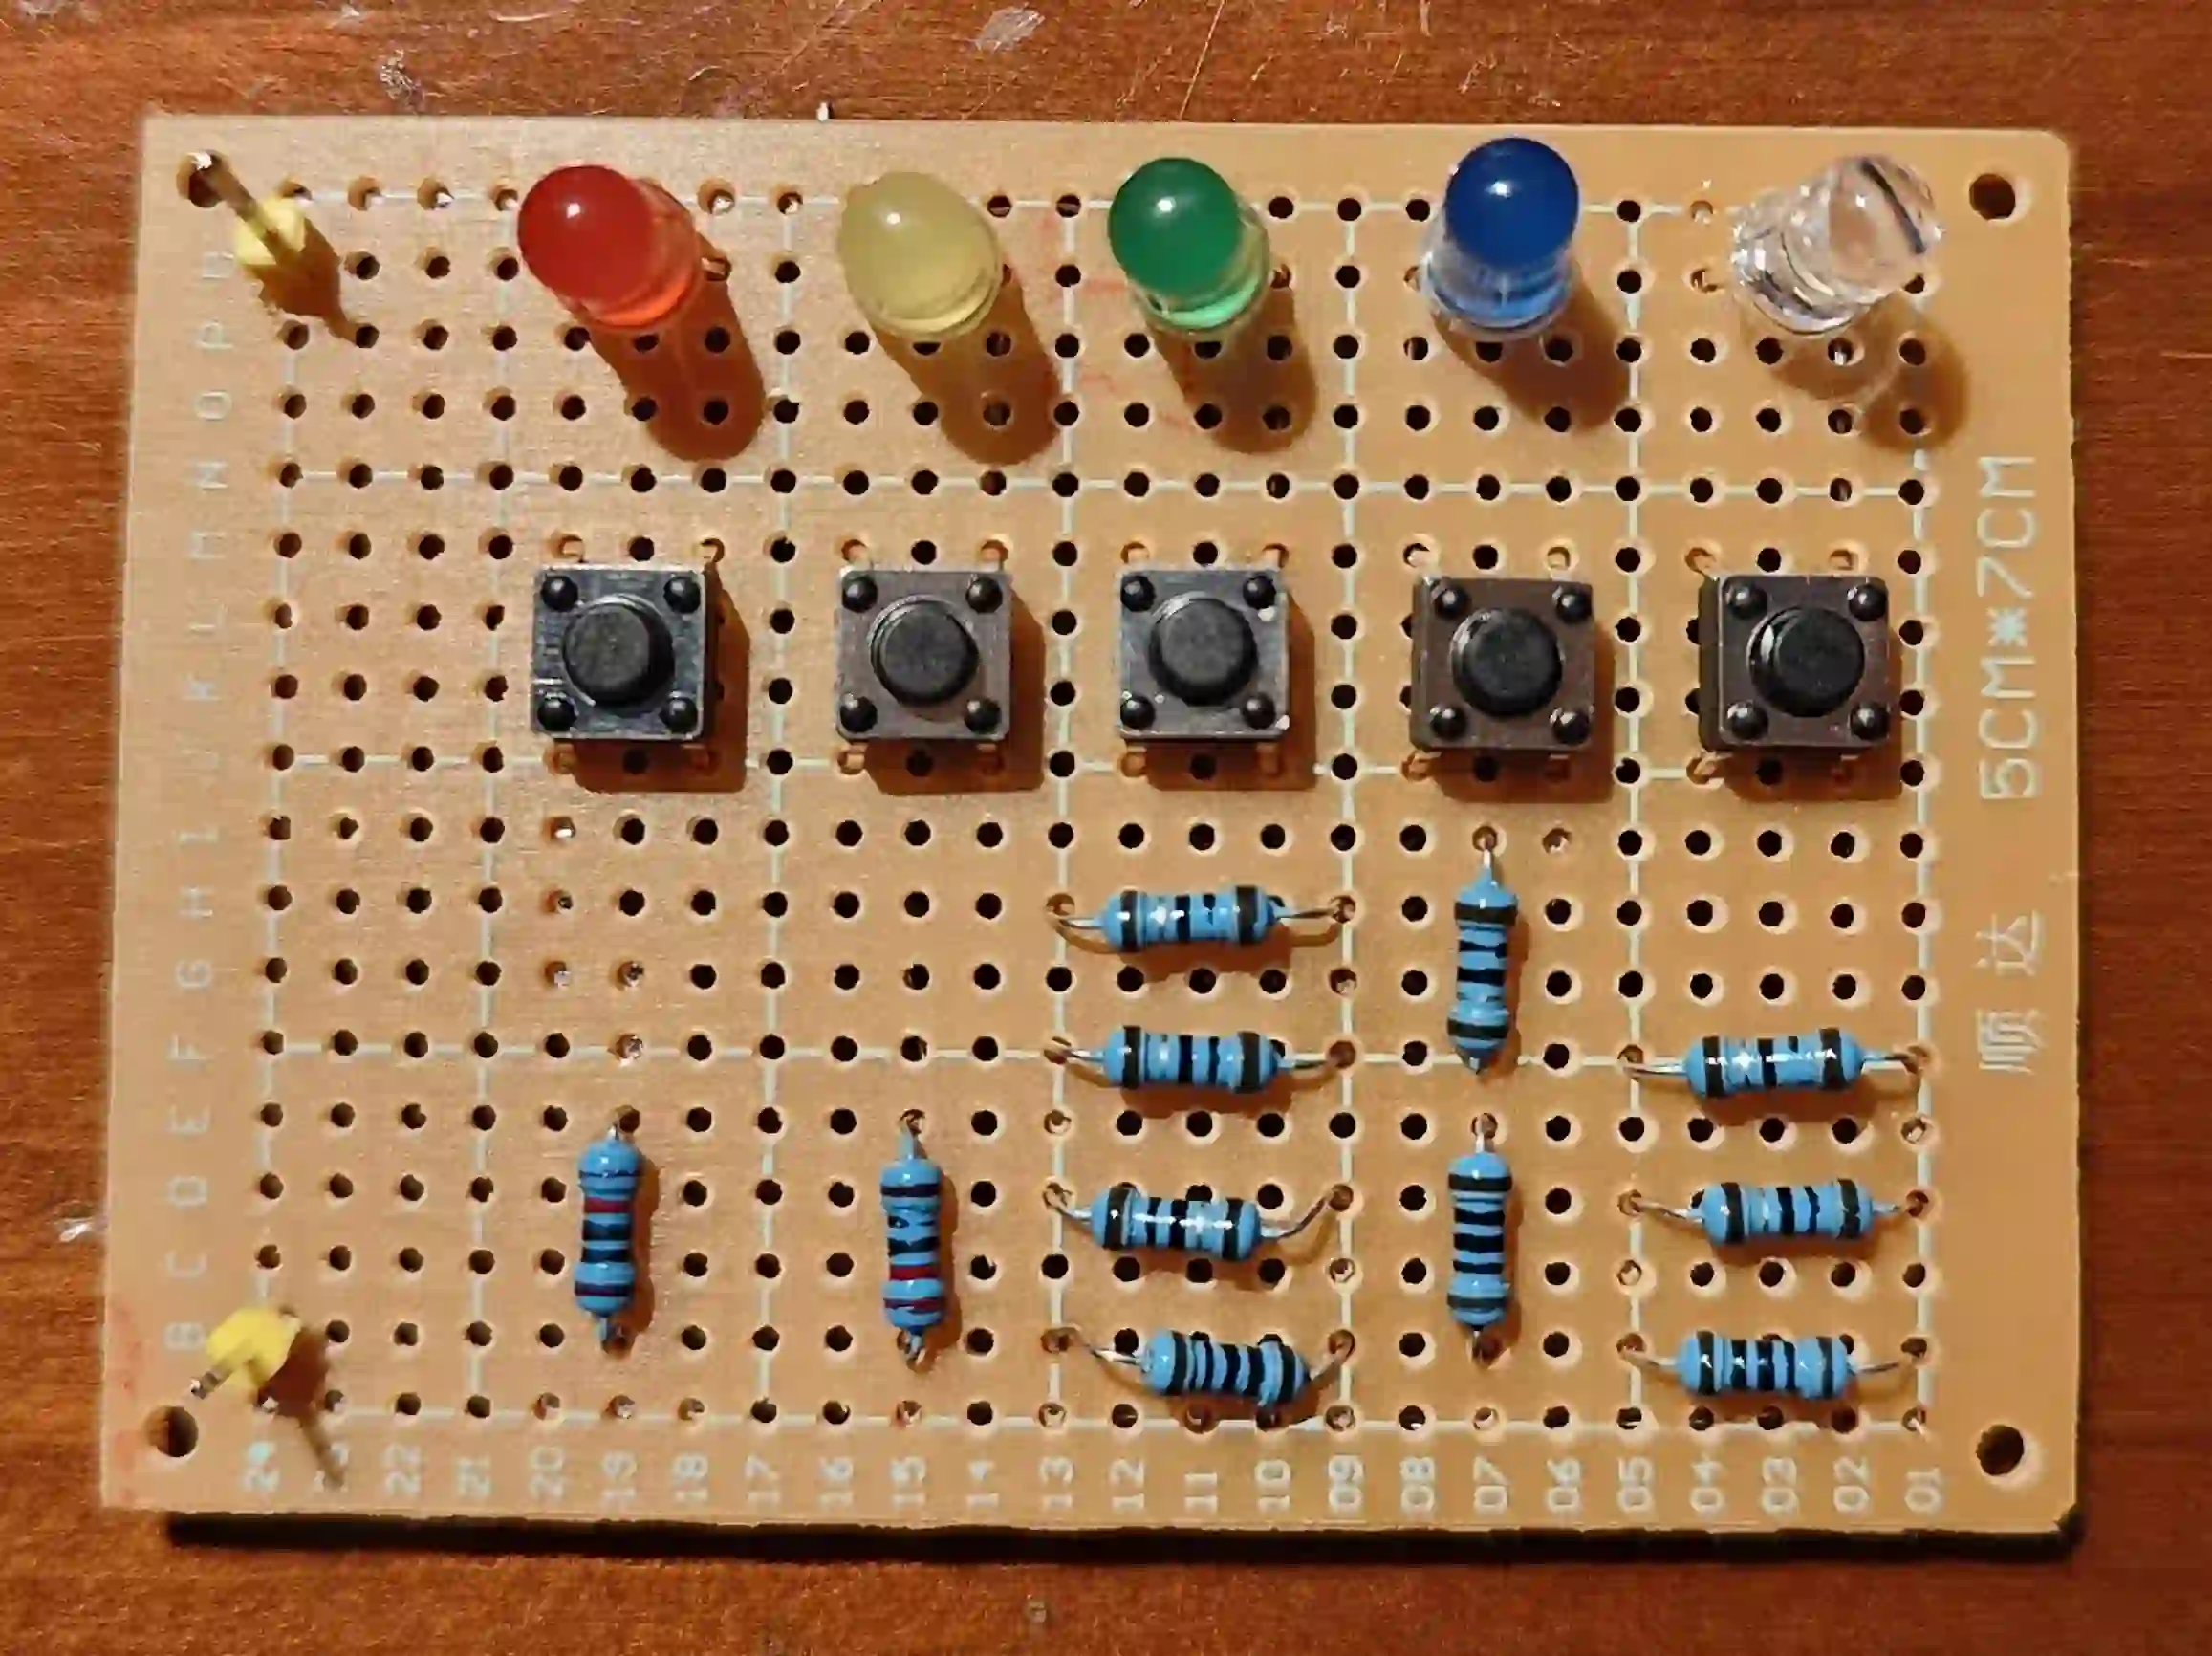
Before diving into the single-sided PCB assembly process, gather the right materials to ensure smooth workflow. Start with a clean, bare single-sided PCB, verified for defects like shorts or opens using a multimeter. Components such as resistors, capacitors, LEDs, and ICs should match your schematic, with leads pre-trimmed if necessary. Essential single-sided PCB assembly equipment includes a temperature-controlled soldering iron set to 300-350 degrees Celsius, 60/40 rosin-core solder wire of 0.8-1.0 mm diameter, flux pen or liquid flux for clean joints, and anti-static tweezers for precise handling.
A magnifying glass or visor helps inspect small pads, while isopropyl alcohol and a brush clean surfaces. Desoldering wick or a solder sucker aids in corrections, and a helping hand tool secures the board during work. For testing, a digital multimeter checks continuity and values post-assembly. Isopropyl alcohol wipes away residues that could cause failures. These tools form a compact kit suitable for any hobbyist's workbench, emphasizing manual methods over automated machinery.
Preparing for Single-Sided PCB Component Mounting
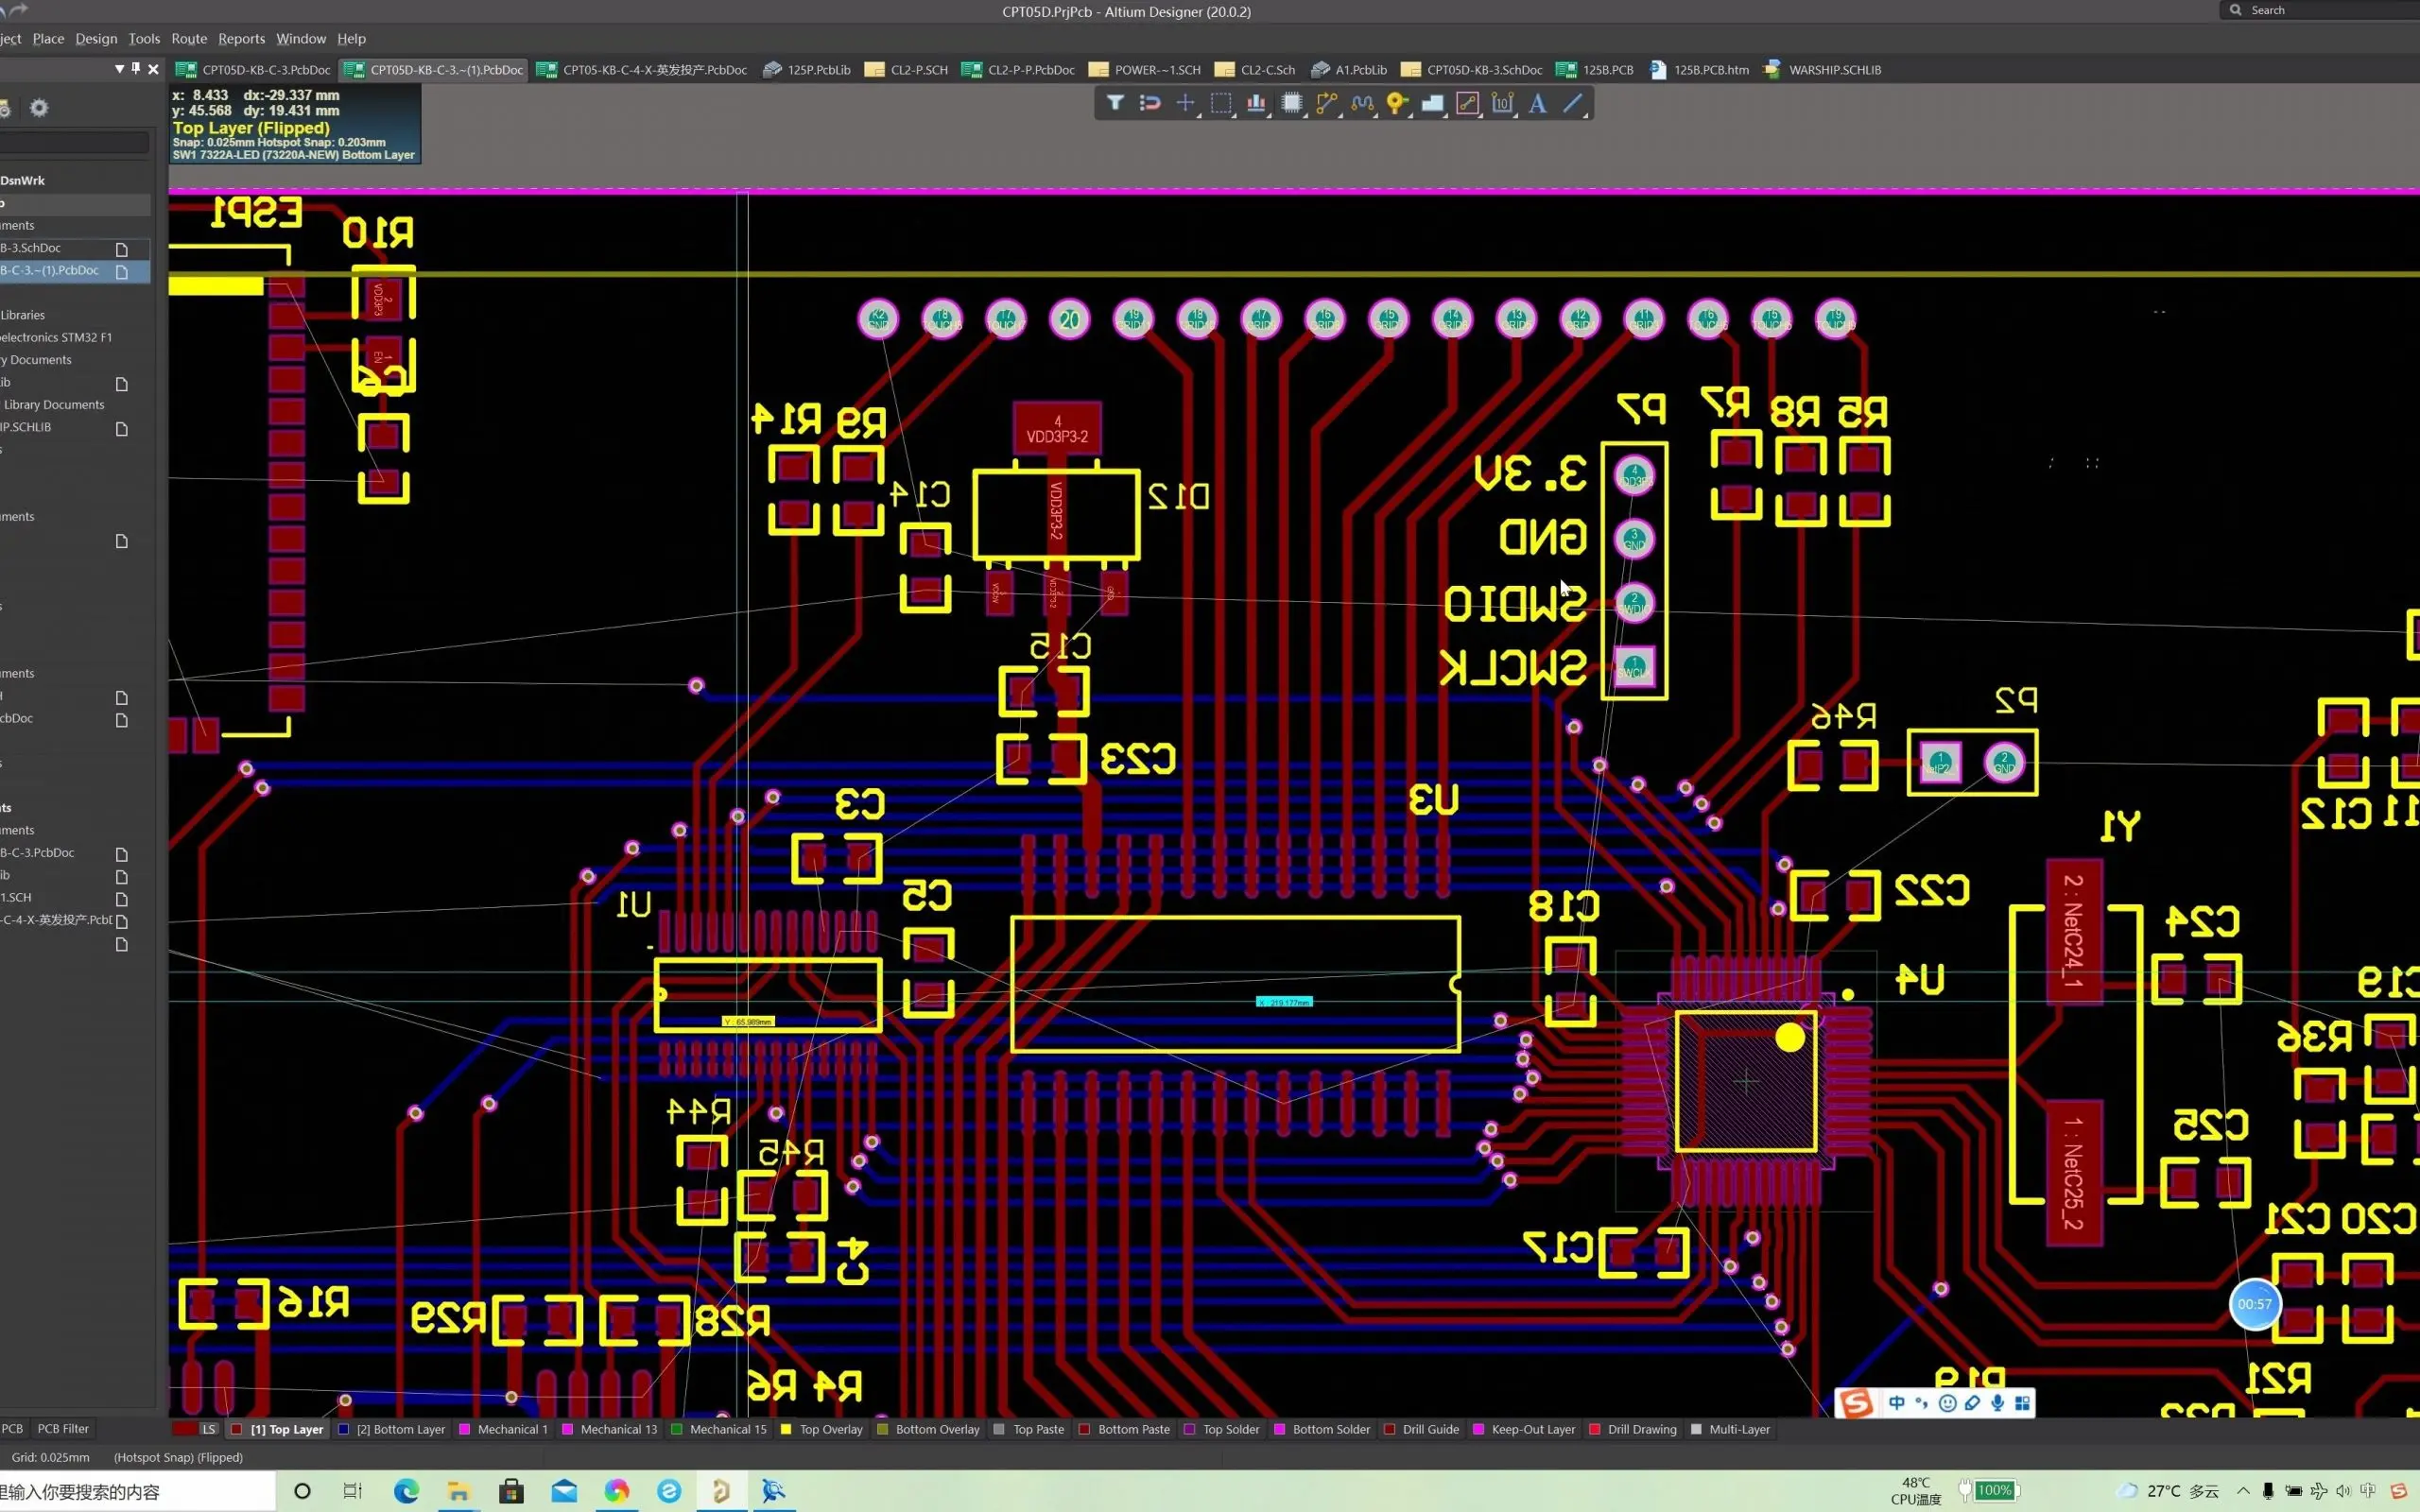
Preparation sets the foundation for successful single-sided PCB component mounting. Begin by reviewing your circuit diagram against the PCB silkscreen layer, which labels component positions clearly on most hobby boards. Inspect the PCB under bright light for manufacturing flaws, such as burrs on pads or contamination, and clean with isopropyl alcohol if needed. Organize components in a labeled tray to avoid mix-ups, bending leads to fit pad spacing without stressing the board. Apply a thin layer of flux to all pads to enhance solder flow and prevent oxidation during heating.
Secure the PCB on a steady workbench using clips or a holder to prevent movement, which is crucial for through-hole components common in single-sided designs. Double-check polarity for parts like diodes and electrolytic capacitors, as errors here lead to immediate failures. Preheat the soldering iron and tin its tip lightly for optimal heat transfer. This methodical prep minimizes rework, saving time for hobbyists new to assembly. A quick continuity test across traces confirms the board's integrity before proceeding.
Step-by-Step Single-Sided PCB Assembly Process
The single-sided PCB assembly process unfolds in clear stages, starting with component mounting. Insert through-hole leads from the top side into corresponding pads on the bottom, ensuring even protrusion of about 2-3 mm for secure soldering. Bend leads slightly outward in a hook shape if pads are tight, but avoid excessive force that warps the board. For surface-mount parts rare on single-sided hobby boards, align carefully with tweezers and tack one side first. Press components firmly to sit flush against the board, using tape if multiple parts need holding.
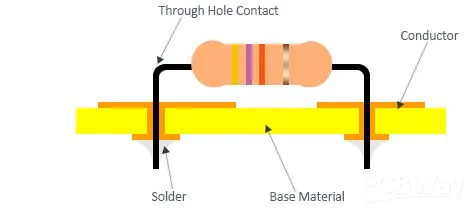
Next, flip the board to expose the bottom copper side and prepare for soldering. Heat each pad-joint pair simultaneously, feeding solder to form a shiny, concave fillet that wets both lead and pad fully. Adhere to J-STD-001 requirements for soldered electrical assemblies, ensuring no cold joints or bridges form between adjacent pads. Work methodically from left to right, clipping excess leads after joints cool slightly to avoid damaging fresh solder. After all components mount, clean flux residues thoroughly to prevent corrosion over time.
Testing follows immediately: power up with a bench supply at low voltage, measuring voltages at key nodes against your schematic. Use the multimeter's diode mode to verify no shorts exist between traces. If issues arise, isolate by dividing the circuit into sections. This iterative process builds confidence for hobbyists tackling larger projects.
Single-Sided PCB Soldering Techniques for Reliable Joints
Mastering single-sided PCB soldering techniques ensures durable connections that withstand vibration and heat in hobby applications. Use the drag-soldering method for rows of pins: apply flux liberally, tin the iron tip, and drag along leads while adding minimal solder to bridge gaps evenly. For individual joints, the iron-lead-solder triangle technique heats both simultaneously for 2-3 seconds, avoiding prolonged contact that lifts pads on thin single-sided copper. Maintain tip cleanliness with a damp sponge or brass wool, re-tinning between joints for consistent heat.
Flux is non-negotiable; it removes oxides and improves wetting, especially on aged hobby PCBs. No-clean flux minimizes post-cleanup, but activated types excel for stubborn joints. Troubleshoot cold joints, identified by dull, grainy appearance, by reheating with fresh flux and solder. Per IPC-A-610 acceptability criteria, good joints show 100% fillet coverage without cracks or voids. Practice on scrap boards refines hand speed and pressure. These techniques elevate hobby assemblies to production quality.
Best Practices and Troubleshooting for Single-Sided PCB Assembly
Adopt best practices to maximize success in single-sided PCB component mounting and beyond. Always work in a well-ventilated area, wearing safety glasses to shield from solder splatter. Preheat the entire board under a heat lamp for 5 minutes if ambient humidity is high, reducing thermal shock risks. Sequence assembly by height: low-profile parts first, then taller ones, preventing toppling. Document each step with photos for future reference, aiding complex hobby projects.
Common pitfalls include solder bridges, fixed by wick absorption after fluxing the area. Overheated components manifest as discolored bodies or lifted leads; replace promptly with desoldering tools. Warped boards from uneven heating cause poor fits, so clamp flat during soldering. If continuity fails post-assembly, probe joints systematically, checking for hidden cracks under magnification. Conformal coating applied post-test protects against moisture in enclosed hobby devices. These troubleshooting steps resolve 90% of issues without starting over.
Advanced Tips for Hobbyists Scaling Up
As hobbyists progress, integrate single-sided PCB assembly equipment like a hot air station for stubborn SMD parts or reflow ovens for batches. However, stick to manual methods for prototypes to control costs. Simulate circuits in free software before committing to boards, verifying trace widths support current loads. Batch multiple identical boards to refine your process, noting variations in solder flow due to batch differences. Collaborate in online forums for feedback on layouts, though always validate empirically.
Environmental controls matter: store PCBs in dry boxes to prevent moisture absorption, tested per JEDEC J-STD-020 guidelines. This proactive approach transitions simple assemblies into robust systems.
Conclusion
Single-sided PCB assembly offers electronic hobbyists an accessible entry to electronics fabrication, balancing simplicity with functionality for countless projects. From meticulous preparation and component mounting to precise soldering techniques, each step builds toward reliable circuits. Key takeaways include using quality flux, adhering to standards like IPC-A-610 for joint inspection, and systematic troubleshooting for flawless results. With basic single-sided PCB assembly equipment, anyone can prototype confidently. Experiment iteratively, and soon complex designs will feel within reach. Embrace this process to fuel your hobbyist journey.
FAQs
Q1: What is the single-sided PCB assembly process?
A1: The single-sided PCB assembly process starts with inspecting and cleaning the board, followed by inserting through-hole components from the top side. Flip to solder pads on the copper side using flux and a controlled iron, forming smooth fillets. Clean residues, then test for continuity and shorts with a multimeter. This manual method suits hobbyists for simple circuits, typically taking 30-60 minutes per board. Follow J-STD-001 for professional joints.
Q2: What are effective single-sided PCB soldering techniques for beginners?
A2: Key single-sided PCB soldering techniques include the triangle method: heat pad and lead together before adding solder for 2-3 seconds. Apply flux first to ensure wetting, avoiding cold joints. Drag solder for pin rows, and clean the tip frequently. Per IPC-A-610, inspect for concave, shiny fillets without bridges. Practice on scraps builds skill quickly for hobby projects.
Q3: What single-sided PCB assembly equipment do hobbyists need?
A3: Essential single-sided PCB assembly equipment comprises a 300-350°C soldering iron, 60/40 solder, flux pen, tweezers, multimeter, and desoldering wick. A helping hand and magnifier aid precision. These tools enable full manual assembly without automation, costing under $50 total. Isopropyl alcohol cleans post-work for longevity.
Q4: How do you troubleshoot issues in single-sided PCB component mounting?
A4: During single-sided PCB component mounting, misalignment causes poor joints; re-seat with tweezers before soldering. Check polarity early to avoid damage. Post-mount, if no continuity, reflow with flux or desolder faulty parts. Inspect under light for lifted pads from overheating. Systematic probing isolates problems efficiently.
References
IPC-A-610H — Acceptability of Electronic Assemblies. IPC, 2019
J-STD-001G — Requirements for Soldered Electrical and Electronic Assemblies. IPC, 2011
JEDEC J-STD-020E — Moisture/Reflow Sensitivity Classification of Nonhermetic Surface Mount Devices. JEDEC, 2014