Introduction
For electronic hobbyists, a broken PCB trace can halt a promising project. Whether it is a cracked line from mishandling or a corroded path due to environmental exposure, damaged traces disrupt circuit functionality. Fortunately, with the right tools and techniques, you can perform DIY PCB repair at home. This guide explores practical methods like soldering traces and copper tape trace repair. Using a PCB trace repair kit, hobbyists can restore their boards without needing professional help. The focus here is on accessible solutions that save time and money. By following this trace repair guide, you will learn to identify damage, gather essential tools, and apply fixes that keep your projects on track.
What Are PCB Traces and Why Do They Matter
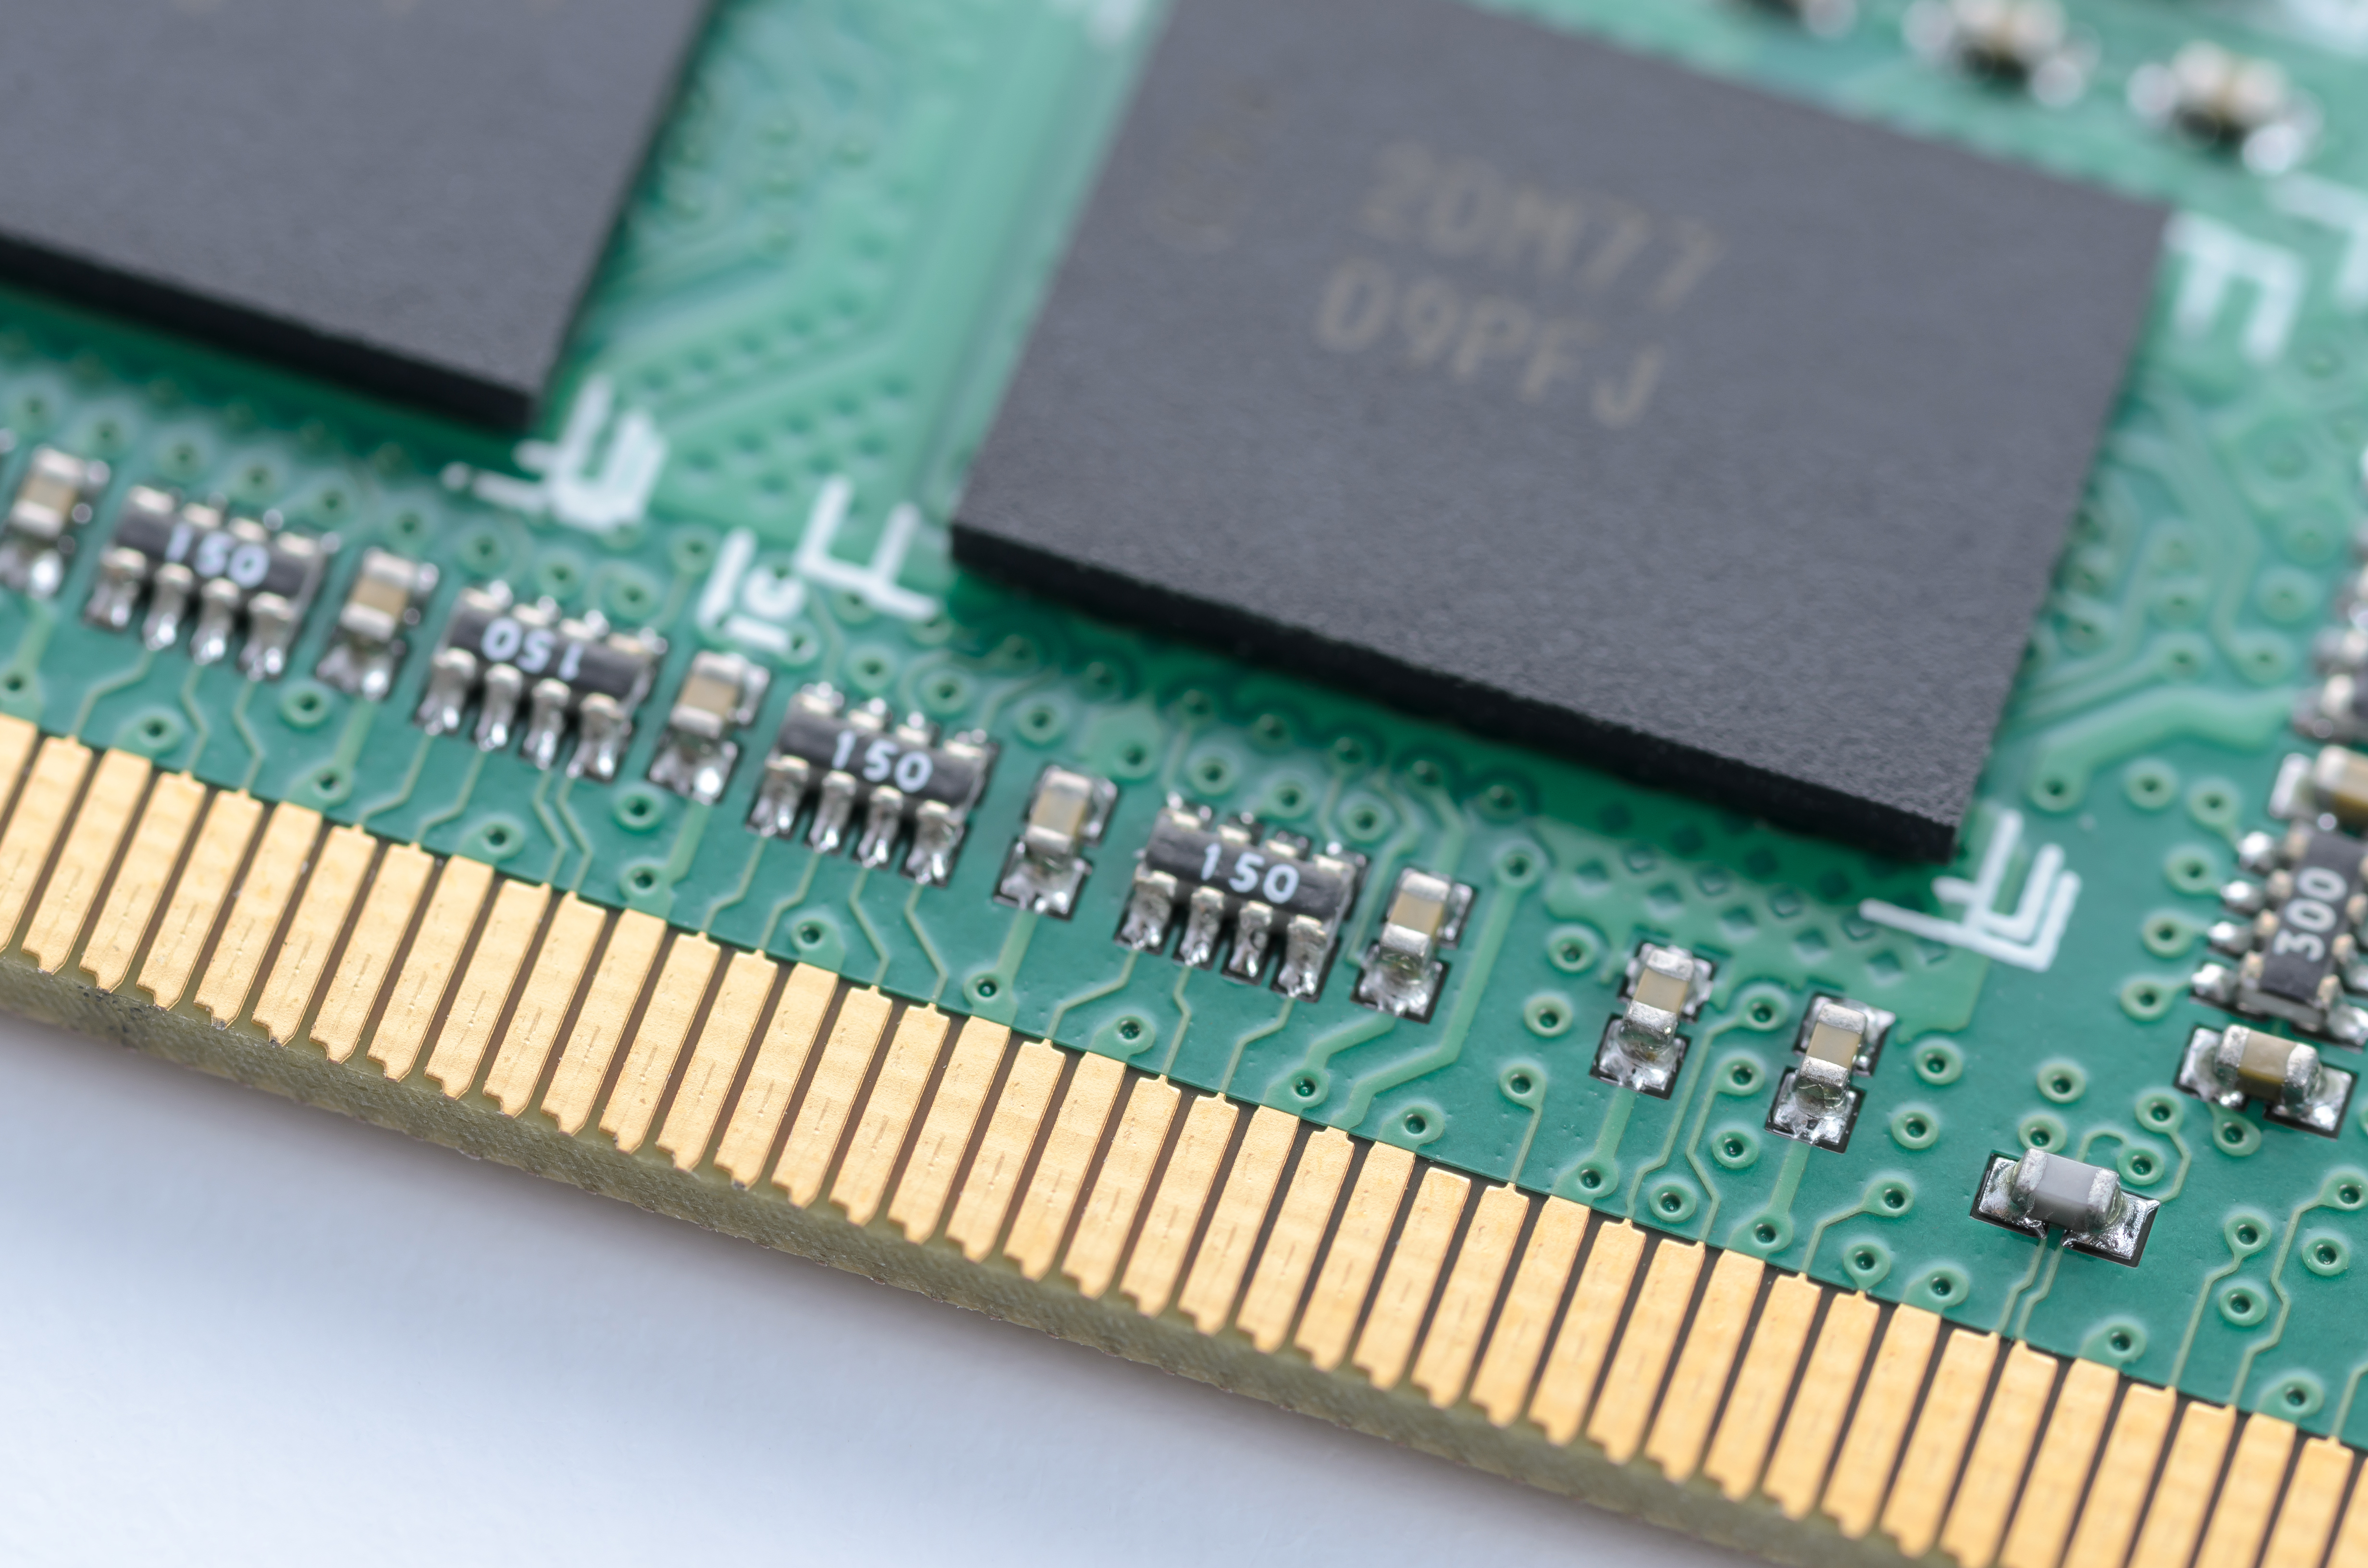
PCB traces are thin copper pathways on a printed circuit board that connect components electrically. They act as wires, carrying signals and power across the board. When a trace breaks, the circuit loses continuity, causing malfunctions or complete failure. Traces can be damaged by physical stress, overheating, or chemical corrosion. For hobbyists, a broken trace often means a stalled project, especially if replacing the board is costly or impractical. Understanding how to perform DIY PCB repair is crucial for maintaining project momentum. Repairing traces not only saves resources but also builds valuable skills in electronics troubleshooting. With the right approach, restoring a damaged trace can be straightforward and effective.
Related Reading: Understanding PCB Basics: Layers, Traces, and Vias Explained
Common Causes of PCB Trace Damage
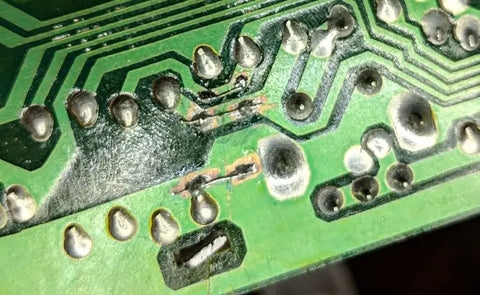
Understanding why traces fail helps in preventing future issues. Physical damage often occurs during handling or assembly, where excessive force cracks the copper. Overheating from high current or poor design can burn traces, weakening their structure. Moisture and chemicals can corrode copper over time, especially in humid environments. Manufacturing defects, though less common for hobbyists using pre-made boards, can also lead to weak traces. Identifying the root cause of damage guides the repair method, whether it is soldering traces or using copper tape trace repair. Recognizing these factors equips hobbyists to take preventive measures, like proper storage and careful handling, alongside mastering repair techniques.
Tools and Materials for DIY PCB Repair
Before starting a trace repair, gather the necessary tools and materials. A well-stocked PCB trace repair kit simplifies the process for hobbyists. Essential items include:
- Soldering iron with a fine tip for precise work
- Solder wire, preferably with flux core for better adhesion
- Desoldering braid or pump to remove old solder
- Copper tape with conductive adhesive for quick fixes
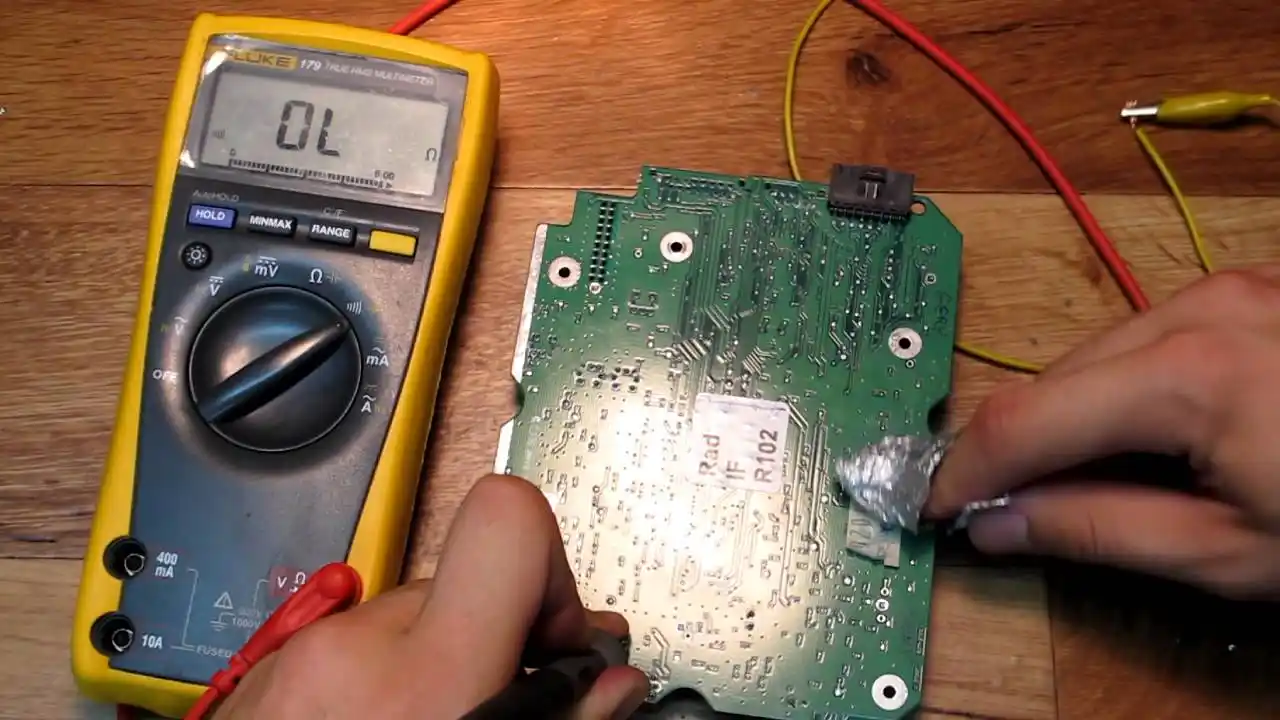
- Multimeter to test continuity after repair
- Small wire cutters and tweezers for handling components
- Isopropyl alcohol and cotton swabs for cleaning
- Magnifying glass or microscope for detailed inspection
Optional but helpful items include conductive ink pens for minor repairs and epoxy for securing larger fixes. Ensure your workspace is clean and well lit to avoid errors during DIY PCB repair. Having these tools ready ensures a smoother trace repair process.
Related Reading: Essential Tools for DIY ECU PCB Repair: A Comprehensive Guide
Step by Step Trace Repair Guide
Assessing the Damage
Begin by inspecting the PCB under good lighting. Use a magnifying glass to locate breaks or cracks in the traces. Test continuity with a multimeter by placing probes on either side of the suspected damage. If there is no reading, the trace is broken. Note the width and length of the damaged area to choose the right repair method. Cleaning the area with isopropyl alcohol removes dirt or residue that could interfere with repairs. This initial step is critical for effective DIY PCB repair and ensures you address all issues.
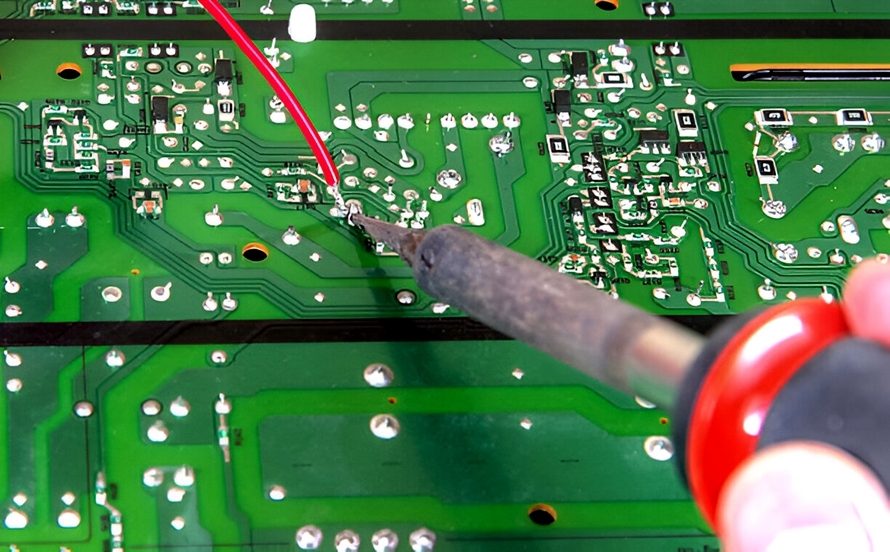
Method 1: Soldering Traces for Small Breaks
For small breaks, soldering traces is often the most reliable fix. Set your soldering iron to a low temperature, around 300 degrees Celsius, to avoid damaging the board. Apply flux to the broken area to improve solder flow. Touch the iron tip to the trace and add a small amount of solder to bridge the gap. Ensure the solder forms a smooth, shiny connection without blobs. After cooling, test continuity with a multimeter. If the connection holds, clean excess flux with alcohol. This method works best for minor damage and requires steady hands.
Method 2: Copper Tape Trace Repair for Larger Damage
For wider or longer breaks, copper tape trace repair offers a practical solution. Cut a piece of conductive copper tape slightly larger than the damaged area. Clean the trace with alcohol to ensure adhesion. Carefully place the tape over the break, pressing it down firmly to avoid air bubbles. Trim excess tape with a craft knife for a neat finish. Test continuity to confirm the repair. Copper tape works well for hobbyists lacking advanced soldering skills and is a quick fix in a PCB trace repair kit.
Method 3: Using Jumper Wires for Complex Breaks
When traces are severely damaged or cross multiple layers, jumper wires can bypass the issue. Strip a small insulated wire and solder one end to a point before the break. Route the wire to a point after the break and solder the other end. Secure the wire with epoxy or tape to prevent movement. This method is less aesthetically pleasing but highly effective for complex damage. Always verify the connection with a multimeter after completing the repair.
Best Practices for Durable Repairs
To ensure long lasting repairs, follow industry guidelines like those outlined in IPC standards. Clean the repaired area thoroughly to remove flux or debris that could cause corrosion. Avoid excessive heat during soldering to prevent lifting nearby traces. If using copper tape, check for secure adhesion over time, as it may loosen with temperature changes. Test the board under operating conditions to confirm functionality. Applying a thin layer of conformal coating after repair protects against moisture and dust. These practices align with standards such as IPC-A-600K, which emphasizes acceptability criteria for printed boards.
Troubleshooting Common Repair Issues
Repairs can sometimes fail if not done correctly. If a soldered trace does not conduct, check for cold solder joints, which appear dull and uneven. Reheat the joint and apply fresh solder. For copper tape trace repair, poor adhesion can cause intermittent connections. Ensure the surface is clean and dry before application. If a jumper wire repair shorts with nearby traces, insulate it properly with tape or sleeving. Always retest with a multimeter after adjustments. These troubleshooting steps help hobbyists refine their DIY PCB repair skills.
Conclusion
Repairing a broken PCB trace is a valuable skill for electronic hobbyists. With methods like soldering traces and copper tape trace repair, you can salvage projects that might otherwise be discarded. A well equipped PCB trace repair kit and a clear trace repair guide make the process accessible even to beginners. By understanding damage causes and applying best practices, you ensure durable fixes. Following standards like those from IPC enhances repair quality. With patience and practice, DIY PCB repair becomes a rewarding part of any electronics journey, keeping your projects alive and functional.
FAQs
Q1: What tools are essential in a PCB trace repair kit for hobbyists?
A1: A PCB trace repair kit should include a soldering iron, solder wire, desoldering tools, copper tape, a multimeter, tweezers, and isopropyl alcohol for cleaning. A magnifying glass helps with precision. These tools cover most DIY PCB repair needs, ensuring you can handle small breaks or larger trace damage effectively.
Q2: How effective is copper tape trace repair compared to soldering?
A2: Copper tape trace repair is effective for larger breaks and quicker to apply, requiring less skill than soldering. However, soldering traces often provides a more durable and conductive connection for small breaks. Copper tape may loosen over time, so it is best for temporary fixes or non critical applications.
Q3: Can beginners follow a trace repair guide without prior experience?
A3: Yes, beginners can follow a trace repair guide with basic tools and patience. Start with simple repairs like copper tape application before attempting soldering. Practice on scrap boards to build confidence. Online tutorials and guides can supplement learning, making DIY PCB repair accessible to all hobbyists.
Q4: What precautions should I take when soldering traces on a PCB?
A4: When soldering traces, use a low temperature to avoid damaging the board or nearby components. Work in a well ventilated area to avoid inhaling fumes. Keep the soldering iron tip clean and apply flux for better results. Always test continuity after repair to ensure a solid connection.
References
IPC-A-600K — Acceptability of Printed Boards. IPC, 2020.
IPC-6012E — Qualification and Performance Specification for Rigid Printed Boards. IPC, 2017.