Why Is Drying Printed Circuit Boards Crucial for Electronic Reliability?
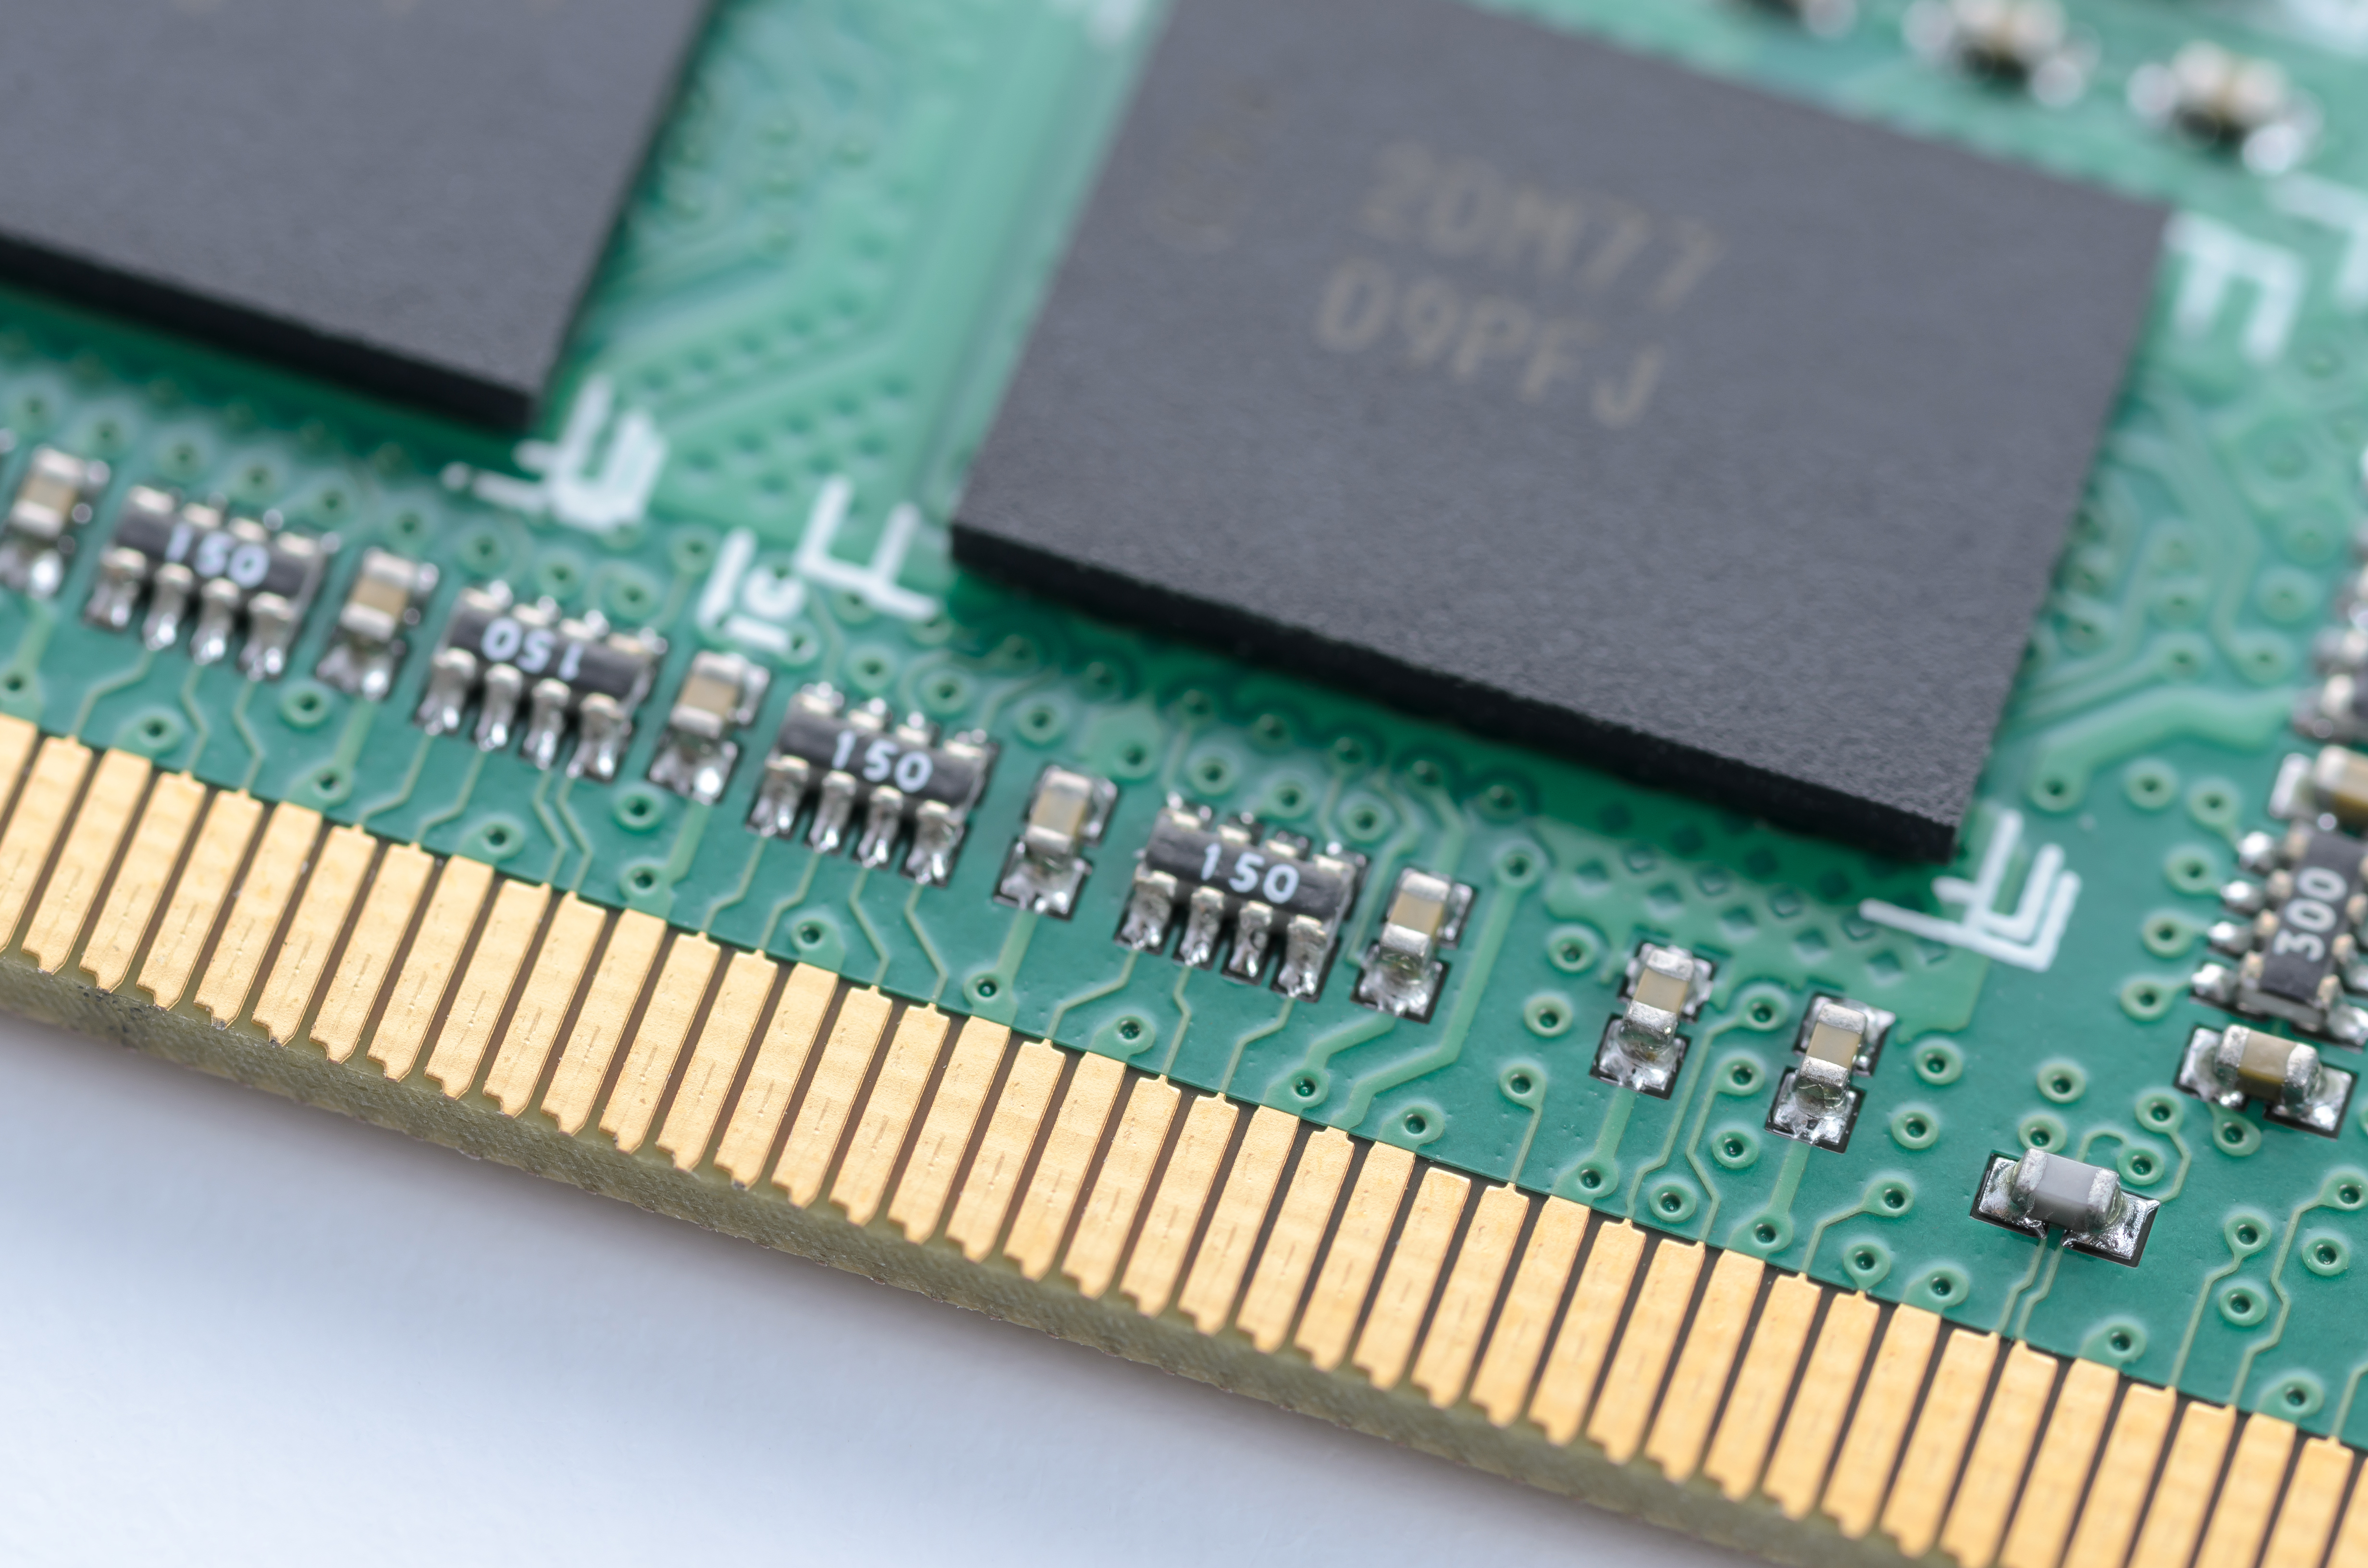
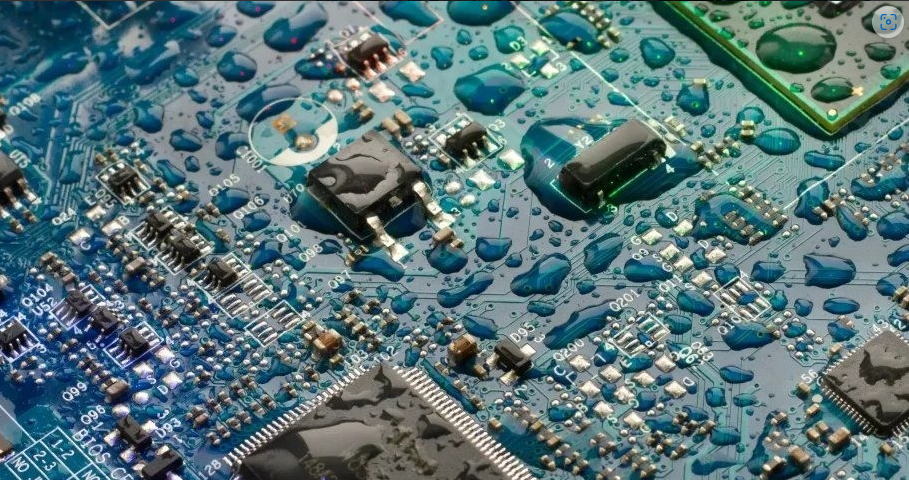
Printed circuit boards (PCBs) form the foundational structure of nearly all electronic devices, and their vulnerability to moisture is a significant concern. Water or even high humidity can severely compromise a PCB's integrity and functionality. This exposure often leads to detrimental effects such as the corrosion of delicate metal traces, which impedes electrical conductivity and can eventually cause complete circuit failure.
Furthermore, trapped moisture within a PCB poses a substantial risk during the soldering process. When heated rapidly, this internal moisture can vaporize explosively, leading to what is commonly known as "popcorning," where components can delaminate, crack, or even detach from the board. This issue is particularly prevalent following aqueous cleaning processes, where water-based solutions are used to remove flux residues. Proper drying is therefore not just a best practice, but a critical step to ensure long-term performance and prevent costly failures.
How Does Oven Baking Effectively Remove Moisture from PCBs?
The method of baking PCBs in an oven stands out as a highly effective and accessible technique for moisture removal. This process involves exposing the boards to controlled heat, which facilitates the evaporation of water molecules from both the surface and the internal layers of the PCB material.
The core principle relies on the physical transformation of water into vapor under specific temperature conditions. Most PCBs are constructed from materials like PCB FR4 material, a composite of fiberglass and epoxy resin, which is designed to withstand moderate thermal exposure. However, it is paramount to manage the temperature precisely. Excessive heat can lead to irreparable damage, such as board warping, degradation of the solder mask, or harm to sensitive electronic components. Adhering to carefully calibrated temperature and duration guidelines is essential for successful and damage-free drying.
Key Advantages of Oven-Based Drying
Using an oven for PCB drying offers several distinct benefits, making it a popular choice for both enthusiasts and professionals.
● Widespread Availability: Ovens are common appliances, eliminating the need for expensive, specialized equipment.
● Consistent Heat Distribution: Ovens provide a stable thermal environment, ensuring uniform moisture evaporation across the entire board.
● Precision Control: Modern ovens allow for accurate temperature settings, significantly reducing the risk of overheating and component damage.
● Versatile Application: This method is suitable for varies types of PCBs, from simple single-layer designs to complex multi-layer assemblies.
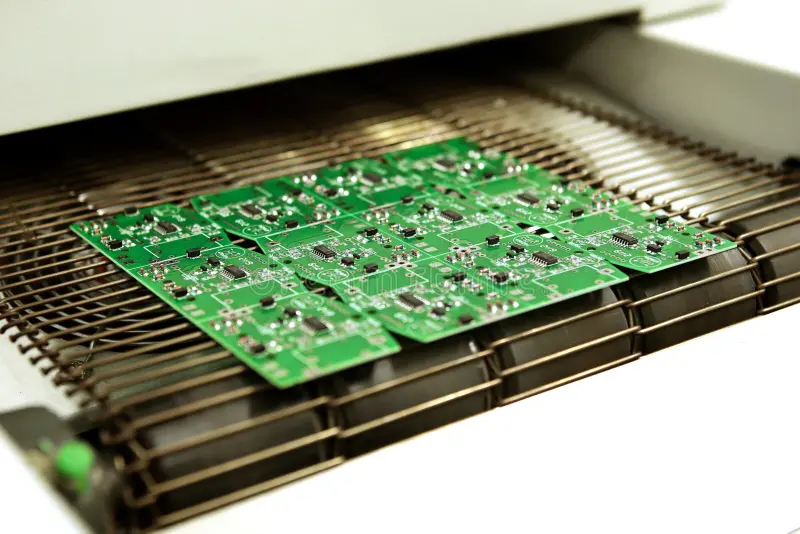
A Step-by-Step Guide to Drying PCBs in an Oven
Effectively drying PCBs requires a systematic approach to ensure safety and optimal results. This beginner-friendly guide outlines the necessary steps for using an oven to remove moisture from your boards.
Step 1: Preparing Your PCB for the Drying Process
Before placing your PCB into the oven, a thorough preparation is essential. If the board has been exposed to liquids, gently blot away any superficial moisture with a lint-free cloth. Avoid paper products, as they can leave undesirable fibers. Utilizing compressed air can be beneficial for dislodging water from intricate areas, such as beneath components or between closely spaced traces.
Inspect the board for any visible debris. If necessary, a light cleaning with isopropyl alcohol (minimum 90% concentration) and a soft brush can be performed. Allow the alcohol to fully evaporate before proceeding.
Step 2: Configuring Your Oven Settings
Designate a clean oven or toaster oven exclusively for drying electronic components, thereby preventing contamination from food residues. Preheat the oven to a moderate temperature, ideally within the range of 85°C (185°F) to 105°C (221°F). These temperatures are generally safe for most PCB materials and are highly effective for moisture evaporation without causing undue thermal stress.
Line a clean, heat-resistant tray or baking sheet with parchment paper or a silicone mat. This barrier prevents direct contact between the PCB and the metal surface, which helps avoid scratches or static buildup.
Step 3: Executing the Baking Process
Carefully place the PCB onto the prepared tray, ensuring it lies flat and maintains clearance from oven walls or other objects. If drying multiple boards, arrange them with adequate spacing to facilitate air circulation. Close the oven door and set a timer for 2 to 4 hours. The duration depends on the board's physical size and the extent of moisture absorption; smaller or single-layer boards may dry within 2 hours, while larger or multi-layer boards might require closer to 4 hours.
During the baking period, minimize opening the oven door to prevent temperature fluctuations. If your oven features a fan or convection setting, activating it can promote more even heat distribution.
Step 4: Cooling Down and Final Inspection
Upon completion of the baking cycle, switch off the oven and allow the PCB to cool naturally within the oven for a minimum of 30 minutes. Premature removal can induce thermal shock, potentially leading to cracks in the board or its components. Once cooled, carefully retrieve the PCB and conduct a thorough visual inspection for any signs of damage, such as warping or discoloration of the solder mask.
A dry, undamaged board is ready for subsequent assembly or storage. Should you detect any residual moisture or suspect incomplete drying, repeat the baking process for an additional hour at the same temperature.
Recommended Temperature and Time Parameters for PCB Drying
Selecting the correct temperature and duration is paramount when using an oven to dry PCBs. These guidelines are based on industry standards and material tolerances.
Temperature Specifications
A temperature range of 85°C to 105°C (185°F to 221°F) is considered safe for the majority of standard PCBs constructed from FR-4 material. It is critical to avoid exceeding 125°C (257°F), as higher temperatures can lead to the degradation of the epoxy resin or damage sensitive components.
Duration Guidelines
Typically, 2 to 4 hours is sufficient for effective moisture removal. For boards with pre-mounted components, it is advisable to use the lower end of this range to prevent heat stress on delicate parts. In instances where PCBs incorporate highly moisture-sensitive components (such as certain integrated circuits or LEDs), always consult the manufacturer's datasheet for specific temperature limitations. Some components may necessitate baking at lower temperatures (e.g., 75°C or 167°F) for extended durations, potentially up to 48 hours.
Always err on the side of caution. If uncertain about a board's material composition or component tolerances, begin with lower temperatures. Overheating can cause irreversible damage, including the delamination of layers in multi-layer PCBs.
Essential Safety Measures and Alternative Drying Techniques
While oven drying is a straightforward process, observing crucial safety precautions is vital for protecting both the user and the electronic components.
Key Precautions During Baking
● Temperature Adherence: Never exceed the recommended temperature limits, as this can cause board warping or melting of solder joints.
● Adequate Ventilation: If the PCB was cleaned with volatile chemicals like isopropyl alcohol, ensure the drying area is well-ventilated to prevent inhalation of fumes.
● Careful Handling: Always use heat-resistant gloves or tongs when handling hot trays or PCBs to avoid burns.
● Constant Monitoring: Do not leave the oven unattended for extended periods. Periodically check for any signs of overheating or smoke.
● Component Removal: If feasible, remove any exceptionally heat-sensitive components before baking. If removal isn't possible, verify their specifications to ensure they can withstand the baking temperature.

Alternative Drying Methods
While oven baking is a highly effective method, other techniques exist depending on available resources and specific project needs.
● Desiccator Cabinets: These enclosures utilize desiccant materials, such as silica gel, to absorb ambient moisture. While slower, this method is ideal for boards containing extremely heat-sensitive components.
● Compressed Air: For superficial moisture, compressed air can effectively clear water from difficult-to-reach areas. However, it may not adequately dry internal layers of multi-layer boards.
● Heat Guns/Hair Dryers: Used on a low-heat setting, these tools can provide quick drying for localized areas, but they offer less precise control and can lead to uneven heating compared to an oven.
Best Practices for Storing Dried PCBs and Avoiding Common Pitfalls
After successfully drying your PCBs, proper storage is paramount to prevent reabsorption of moisture.
Optimal Storage Conditions
Store dried boards in a cool, dry environment, preferably within airtight containers equipped with desiccant packets to absorb any ambient humidity. Avoid storage in damp locations like basements or garages, as even minimal moisture can gradually seep back into the board over time. For long-term storage, consider vacuum-sealing PCBs in moisture-barrier bags to provide enhanced protection.
Common Mistakes to Avoid
Even with a simple drying process, certain errors can compromise results.
● Excessive Temperatures: Baking above 125°C (257°F) can cause irreversible damage to PCB materials or components.
● Neglecting Cool-Down: Removing a hot board too quickly can induce thermal shock, potentially causing cracks.
● Ignoring Component Limits: Failing to check the heat tolerance of mounted components can lead to their failure during baking.
● Overcrowding: Placing too many boards too closely in the oven restricts airflow, leading to uneven drying.
Concluding Thoughts on Effective PCB Moisture Removal
Mastering the technique of oven-baking PCBs for moisture removal is an invaluable skill for anyone involved with electronics. By meticulously following the outlined steps—from preparing the board and setting precise temperatures to baking for the appropriate duration and ensuring a gradual cool-down—you can achieve consistently reliable results. This drying method not only conserves resources and time but also guarantees the enduring quality and functionality of your electronic boards, whether for immediate assembly or extended storage.