Elevating Your DIY PCB Projects with Manual Solder Paste Application
If you’re a hobbyist aiming to enhance your DIY Printed Circuit Board (PCB) projects, mastering manual solder paste application is a transformative skill. This technique enables you to confidently work with miniature surface-mount components directly from your home workshop, achieving professional-level results without the need for expensive industrial equipment. This comprehensive guide will walk you through every stage of using solder paste for home soldering, from selecting the appropriate tools like a solder paste syringe to applying it with meticulous precision using methods such as the solder paste toothpick technique. Whether your goal is soldering for DIY PCBs or executing delicate repairs, this resource provides actionable advice and detailed instructions to ensure your success.
The Advantages of Solder Paste for DIY PCBs and Home Soldering
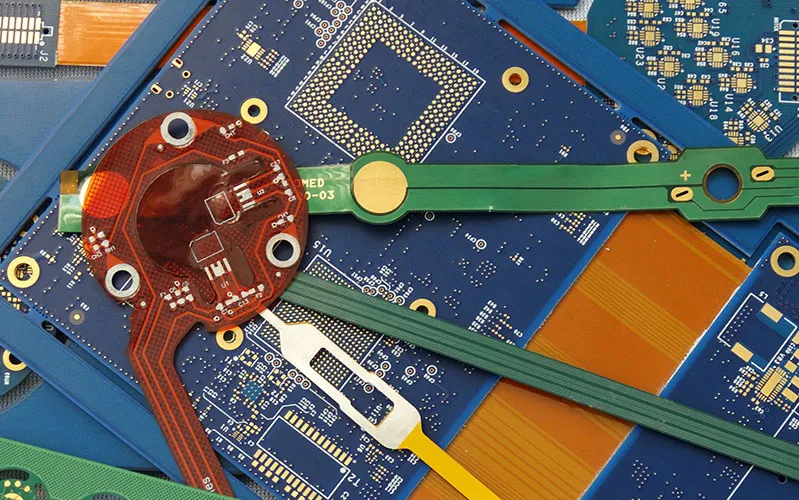
Solder paste is a sophisticated blend of microscopic solder particles and flux, engineered to simplify the process of soldering Surface-Mount Devices (SMDs). Unlike conventional soldering, which involves using a wire solder and an iron, solder paste allows you to pre-apply solder directly onto PCB pads before component placement. This method is particularly beneficial for hobbyists dealing with DIY PCBs featuring small, densely packed components. By incorporating solder paste into your home soldering routine, you can significantly reduce PCB assembly time, minimize errors, and achieve cleaner, more robust electrical connections.
The manual application of solder paste is an ideal choice for hobbyists because it bypasses the need for costly automated machinery like stencil printers. With just a few basic tools and learned techniques, you can produce excellent results right on your workbench. Let’s delve into the fundamental aspects of getting started with hand soldering using solder paste.
Essential Tools for Manual Solder Paste Application
Before you begin the application process, it is crucial to assemble all the necessary tools and materials. Having everything prepared in advance will ensure a smooth workflow and mitigate the potential for errors. Here’s a checklist of essentials for successful manual solder paste application:
● Solder Paste: Choose either lead-free or leaded solder paste based on your preference and any applicable local regulations. Opt for a paste with a fine particle size (Type 3 or Type 4) to ensure superior control when working with small components.
● Solder Paste Syringe: A syringe fitted with a fine needle tip is indispensable for precise application, allowing you to dispense minute quantities of paste exactly where needed.
● Precision Tools: For intricate work, especially the "solder paste toothpick method," a simple toothpick or a small, fine probe is invaluable for spreading or adjusting paste on tiny pads.
● PCB and Components: Ensure your DIY PCB is meticulously cleaned and ready, alongside all the SMD components designated for soldering.
● Reflow Equipment: While a standard soldering iron can be used for larger components, a hot air rework station or a small reflow oven is highly recommended for uniformly melting solder paste.
● Flux Pen: An additional flux pen can improve paste flow and help prevent oxidation during the heating process.
● Tweezers: High-precision tweezers are absolutely essential for accurately placing small components onto the paste.
● Cleaning Supplies: Keep isopropyl alcohol, a soft brush, and lint-free wipes on hand for thorough cleaning of the PCB before and after soldering.

Step-by-Step Guide to Manual Solder Paste Application
With your tools now assembled, let’s navigate the process of manually applying solder paste. This detailed, step-by-step guide emphasizes practical techniques tailored for hobbyists using solder paste in their DIY PCB projects.
Step 1: Preparing Your Workspace and PCB
Begin by establishing a clean, brightly lit workspace. Any dust or debris present on your fast turn PCB can adversely affect soldering quality. Therefore, use isopropyl alcohol and a soft brush to meticulously clean the board. Ensure all copper pads are free from oxidation; shiny pads indicate better solder adhesion. If the pads appear dull, a gentle scrub with a fine abrasive pad can restore their luster.
Secure the PCB firmly on a flat surface using a PCB holder or double-sided tape to prevent any movement during paste application. A stable board is critical for achieving precision when utilizing a solder paste syringe.
Step 2: Selecting and Preparing Your Solder Paste
Solder paste is available in various compositions and viscosities. For hobbyists, "no-clean" solder paste is frequently the preferred choice, as it leaves minimal residue and negates the need for extensive post-soldering cleanup. Always verify the paste's shelf life and recommended storage conditions; most pastes require refrigeration and should be allowed to reach room temperature (around 25°C or 77°F) for approximately one hour before use to ensure optimal consistency.
If you are using a solder paste syringe, attach a fine needle tip (typically 0.5mm to 1mm in diameter) to enhance control. Gently extrude a small amount of paste onto a piece of scrap paper to test the flow and expel any trapped air bubbles.
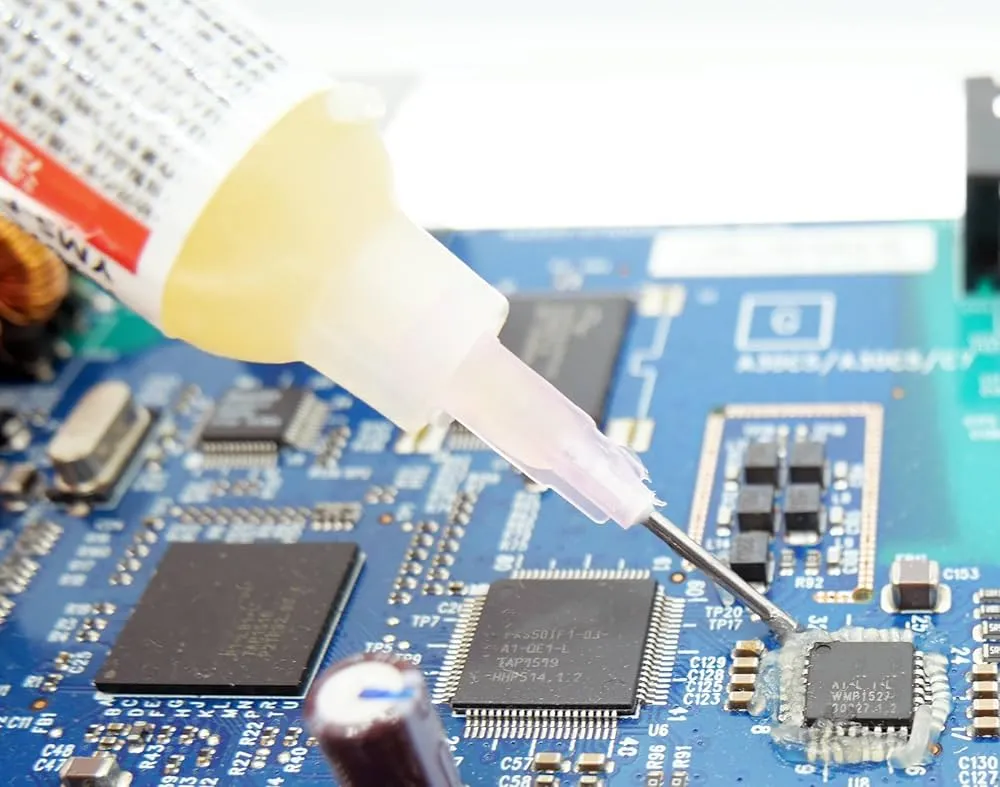
Step 3: Applying Solder Paste to PCB Pads
This stage is central to successful manual solder paste application. Hold the syringe at a 45-degree angle relative to the PCB surface and gently squeeze the plunger to dispense a small, controlled dot of paste onto each pad. The precise amount of paste required will vary with pad size; for a standard 0603 resistor pad (1.6mm x 0.8mm), a dot approximately 0.5mm in diameter is usually sufficient. Applying too much paste risks creating bridges between adjacent pads, whereas too little can lead to weak or incomplete solder joints.
For extremely small or closely spaced pads, consider employing the "solder paste toothpick method." After dispensing a tiny amount of paste, use a toothpick to carefully spread it evenly across the pad or to remove any excess. This technique provides an extra layer of control, making it ideal for intricate designs.
Work methodically across the board, applying paste to all pads for a single component before moving on to the next. This approach helps maintain consistency and prevents the paste from drying prematurely.
Step 4: Placing Components onto the Paste
Using precision tweezers, meticulously place each SMD component onto its corresponding paste-covered pads. The inherent tackiness of the solder paste will temporarily hold the component in position. Align the component's leads or contacts precisely with the paste, ensuring correct orientation (especially critical for polarized components like capacitors and LEDs). Apply light downward pressure to embed the component slightly into the paste, but avoid excessive force that could displace the paste.
For PCBs with high component density, follow a placement hierarchy: begin with smaller components such as resistors and capacitors before moving to larger integrated circuits (ICs). This strategy reduces the chance of accidentally dislodging already placed parts.
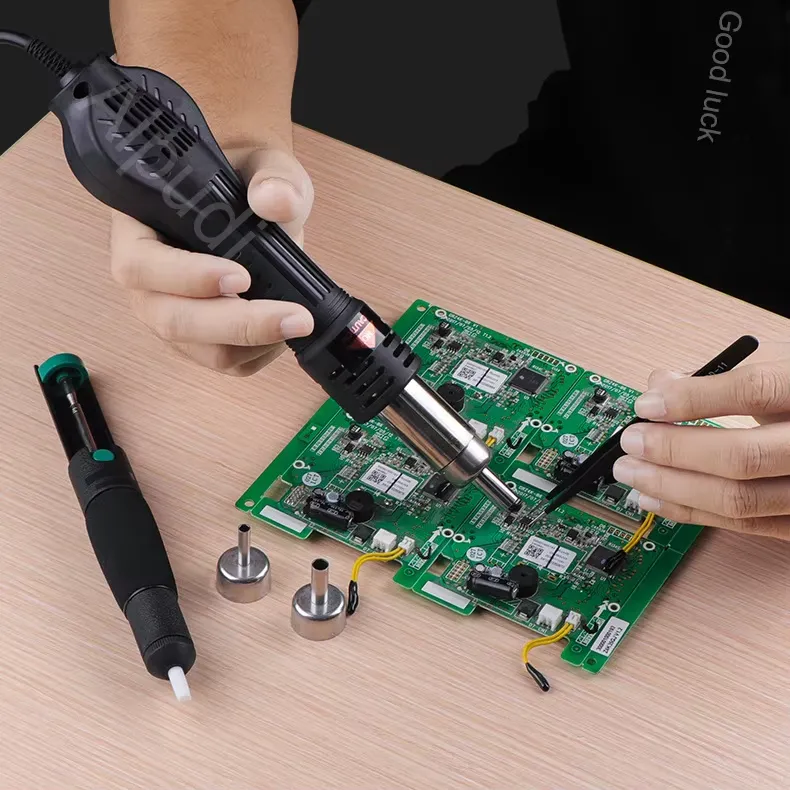
Step 5: Reflowing the Solder Paste
Once all components are securely placed, it’s time to melt the solder paste to create permanent electrical connections. For hand soldering with solder paste, a hot air rework station is the most accessible and effective tool for hobbyists. Set the temperature to approximately 220-250°C (428-482°F) for lead-free solder paste, or 180-200°C (356-392°F) for leaded paste, always consulting the manufacturer's specific recommendations.
Hold the hot air nozzle about 2-3 inches (5-7 cm) above the board and move it in slow, continuous circular motions to ensure even heat distribution across the area. You will observe the paste transition to a shiny, molten state—this typically takes 30-60 seconds per section. Exercise caution to prevent overheating, which can damage sensitive components or cause pads to lift from the PCB.
If a dedicated hot air tool is unavailable, a small toaster oven can be adapted as a makeshift reflow oven. Preheat the oven to the appropriate temperature and adhere to a gradual reflow profile (controlled heating and cooling stages) to prevent thermal shock to the components. Always monitor the process very closely to avoid scorching the board.
Step 6: Inspecting and Cleaning the Finished Board
After the reflow process, allow the PCB to cool naturally for several minutes. Conduct a thorough visual inspection of all solder joints using a magnifying glass or a microscope. Look for joints that are shiny, smooth, and exhibit complete wetting of both the pads and component leads. Should you identify any solder bridges (solder inadvertently connecting adjacent pads) or "cold joints" (which appear dull, grainy, or uneven), apply additional flux to the problematic area and reheat it with either a fine-tipped soldering iron or the hot air tool to correct the defect.
Finally, clean the entire board with isopropyl alcohol and a soft brush to remove any residual flux. Even with "no-clean" pastes, this cleaning step enhances the board's aesthetic appeal and helps prevent potential long-term corrosion.
Expert Advice for Successful Home Soldering with Solder Paste
To consistently achieve excellent results when using solder paste for home soldering, incorporate these practical tips:
● Work Efficiently and Meticulously: Solder paste can dry out if exposed to air for too long. Aim to apply the paste and place components within a 10-15 minute window to prevent issues.
● Proper Paste Storage: Store any unused solder paste in the refrigerator (at approximately 5-10°C or 41-50°F) to significantly extend its shelf life, typically 6-12 months. Always allow it to reach room temperature before use.
● Practice on Test Boards: If you are new to manual solder paste application, practice your technique on a spare PCB or test board. This will help you develop a feel for both the syringe and toothpick methods before working on your critical project.
● Apply Minimal Paste: A common novice error is applying too much paste. Remember that a thin, uniform layer (approximately 0.1-0.2mm thick) is generally sufficient for most SMD pads.
● Consult Component Datasheets: Certain components have specific reflow profiles or maximum temperature limits. Review their datasheets to prevent damage during the heating process.
Troubleshooting Common Challenges in Hand Soldering with Solder Paste
Despite careful preparation, you may encounter some obstacles during hand soldering with solder paste. Here are frequent issues and their corresponding solutions:
● Solder Bridging: If solder inadvertently connects adjacent pads, use a fine-tipped soldering iron with solder wick to absorb the excess material. Applying fresh flux before reheating the area can often help separate the joint cleanly.
● Uneven Paste Application: If the paste dots appear inconsistent, refine your technique with the solder paste syringe by maintaining steady, even pressure. The toothpick method can also be employed to smooth out minor discrepancies.
● Component Shifting During Reflow: If components move during the reflow process, ensure the solder paste possesses sufficient tackiness to hold them securely before heating. For larger components, applying a small additional dab of paste can provide extra grip.
● Cold Solder Joints: Dull or fractured solder joints typically indicate insufficient heat during reflow. Reheat the affected area with a hot air tool or soldering iron, adding a small amount of flux to improve solder flow and wetting.
Why Manual Solder Paste Application is Ideal for Hobbyists
For hobbyists, utilizing solder paste for DIY PCBs offers an economical pathway to successfully undertake complex projects without requiring a substantial investment in professional-grade equipment. Techniques such as the solder paste toothpick method and the use of a solder paste syringe make this advanced soldering approach accessible to anyone equipped with basic tools and a degree of patience. Moreover, mastering manual solder paste application cultivates valuable skills that are transferable to more intricate electronics work, thereby opening up opportunities for tackling highly detailed designs and repairs.
In comparison to traditional wire soldering, solder paste significantly reduces the risk of localized overheating components, as the heat is applied more uniformly across the board during the reflow process. It also streamlines assembly for boards densely populated with multiple components, allowing for simultaneous paste application and component placement before a single heating cycle.
Conclusion: Solder with Precision and Confidence
Mastering manual solder paste application is an indispensable skill for any hobbyist engaged in DIY PCB projects. By diligently following this step-by-step guide, you can consistently achieve clean, robust solder joints using straightforward tools like a solder paste syringe or the versatile solder paste toothpick method. From meticulously preparing your workspace to the final stages of reflowing and inspecting your work, each phase contributes to producing professional-quality results in your home soldering endeavors.
With dedicated practice, you will steadily build confidence in hand soldering with solder paste, making even the most miniature components manageable. So, gather your tools, begin with smaller projects, and watch your electronics creations come to life with newfound precision and ease. We are committed to supporting your journey with valuable resources and expert guidance for all your PCB-related requirements.