Why Is Hand Soldering Micro-Components Essential for PCB Work?
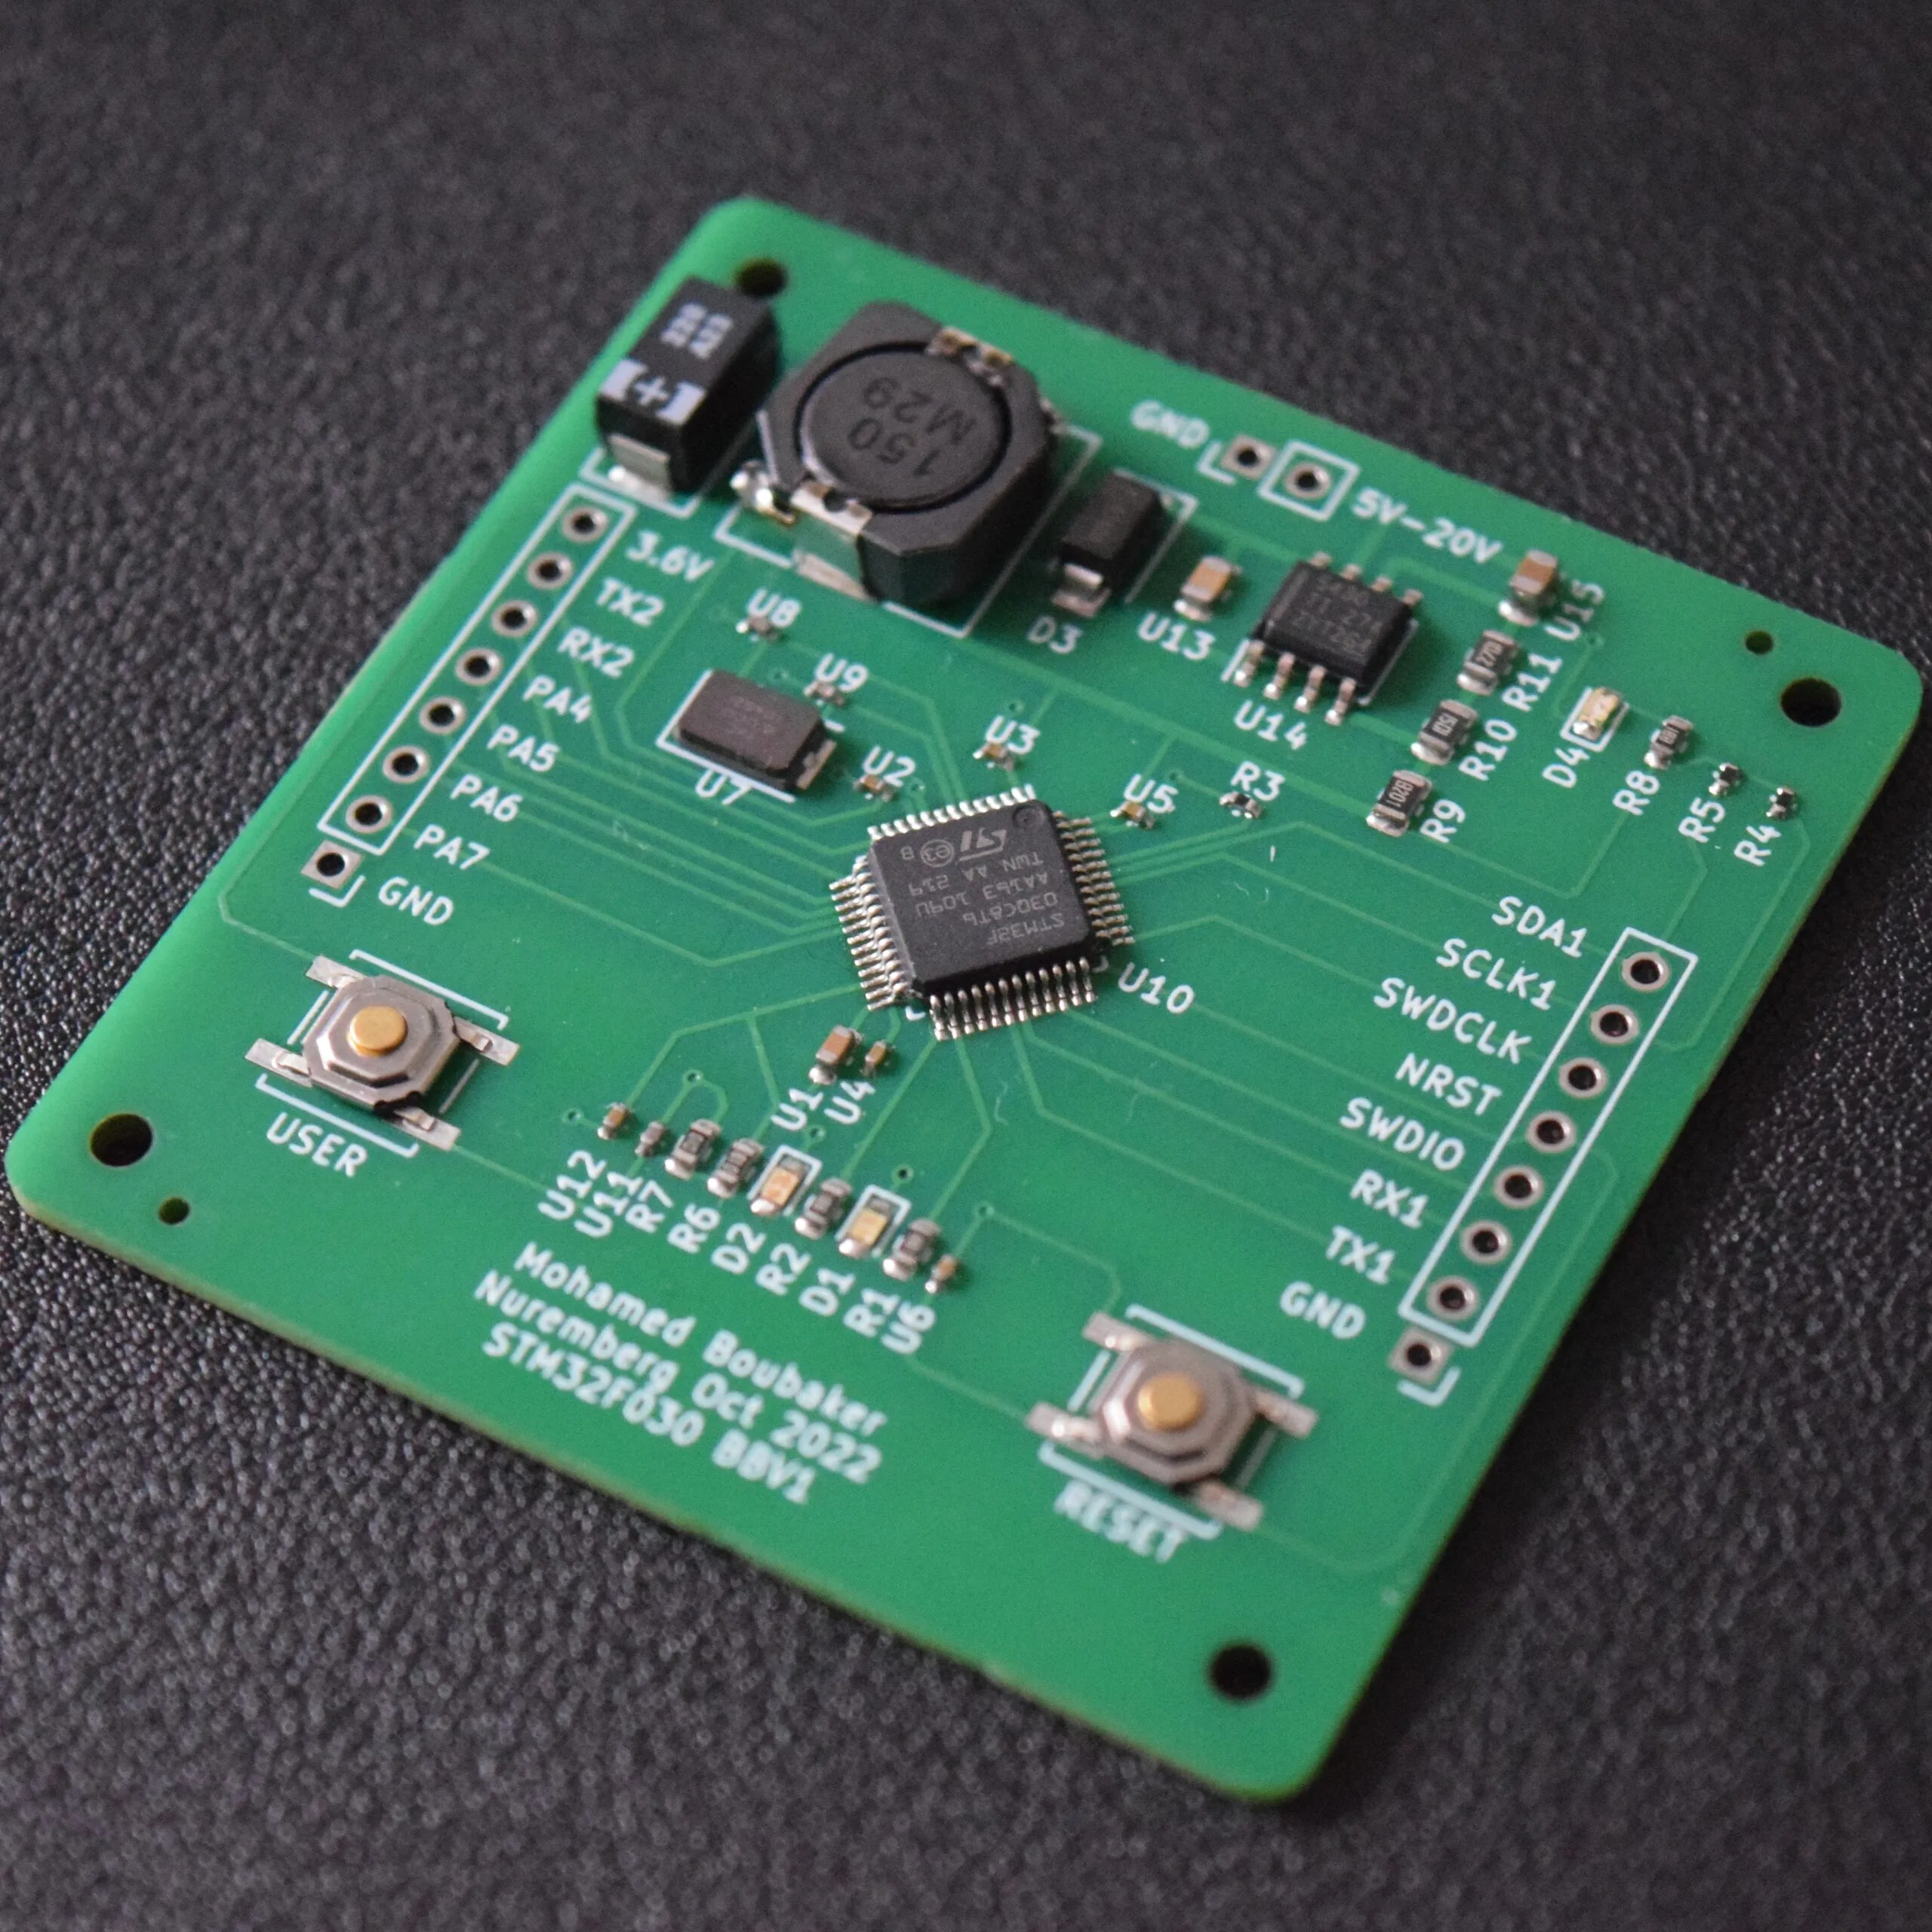
In contemporary electronics, surface-mount devices (SMDs) are ubiquitous, prized for their compact dimensions and the efficiency they bring to modern printed circuit board layouts. Components like the 0402 package, measuring a mere 0.4mm by 0.2mm, demand exceptional precision and a steady hand for manual soldering. This specialized skill becomes indispensable for tasks such as prototyping new designs, conducting intricate repairs, or handling small-batch productions where automated assembly lines are not a viable option.
The Value of Precision
Gaining proficiency in hand soldering minute SMDs, including 0402 components, unlocks significant opportunities for both hobbyists and seasoned professionals. It enables work on advanced, high-density electronic designs, fostering confidence in handling increasingly miniaturized circuitry. The ability to accurately place and secure these small parts ensures the integrity and functionality of complex boards.
What Essential Tools Do You Need for Soldering Small SMDs?
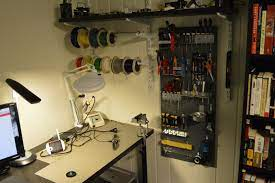
Before attempting to solder surface-mount components, it's crucial to assemble the correct set of equipment. Relying on inadequate tools often leads to component damage, unreliable connections, and a frustrating experience. AIVON, a professional online PCB manufacturer, emphasizes that high-quality gear significantly impacts the success rate and overall outcome of your work.
Core Equipment for SMD Soldering
● Soldering Iron with Fine Tip: Opt for an iron featuring a tip between 0.2mm and 0.5mm, alongside precise temperature control. A range of 260°C to 300°C is generally suitable, preventing damage to delicate components from excessive heat.
● Solder Wire: A thin solder wire, typically 0.3mm to 0.5mm in diameter, is ideal for accurate application. Rosin-core solder with a 63/37 tin-lead composition or equivalent lead-free options are recommended.
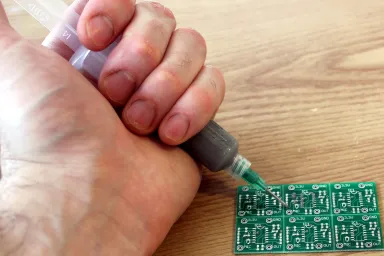
● Flux Pen or Paste: Flux facilitates smooth solder flow and inhibits oxidation. A no-clean flux pen is particularly convenient for soldering 0402 components.
● Precision Tweezers: Fine-tipped, anti-static tweezers are indispensable for careful placement and adjustment of tiny parts without causing damage.
● Magnification Tool: A magnifying glass or microscope offering 5x to 10x magnification is vital for clearly viewing small pads and solder joints.
● Desoldering Tools: For correcting errors or removing excess solder, a desoldering braid (wick) or a suction pump is highly useful.
● ESD Protection: An anti-static mat and wrist strap are critical for safeguarding sensitive components from electrostatic discharge.
● Cleaning Agents: Isopropyl alcohol (90%+) and a small brush are essential for thorough cleanup of flux residue after soldering.
What Are the Best Practices for Hand Soldering PCBs?
Successful soldering of miniature components transcends merely having the right tools; it demands meticulous technique and unwavering attention to detail. Adhering to established best practices ensures robust, dependable connections while minimizing potential errors.
Key Principles for Effective Soldering
● Maintain a Pristine Workspace: Keep your soldering area free from dust and debris, as contaminants can compromise solder joint quality.
● Regulate Temperature: Set your soldering iron to the appropriate temperature for the specific component and solder type. For 0402 components, an initial setting of 260°C is a good starting point, adjustable as needed. Excessive heat risks damaging components or lifting PCB pads.
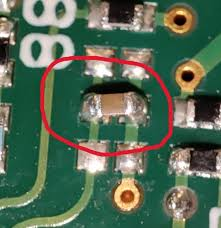
● Apply Minimal Solder: Use only enough solder to create a small, shiny fillet. Over-applying solder can lead to bridges between adjacent pads, causing electrical shorts.
● Work Efficiently: Limit heat exposure to components. Aim to complete each solder joint within 2-3 seconds.
● Thorough Inspection: After soldering, employ a magnifying tool to check for common issues like "cold joints" (which appear dull or cracked) or solder bridges. Address any imperfections immediately.
● Prioritize ESD Safety: Always wear an anti-static wrist strap and work on an ESD-safe mat to protect sensitive electronic parts from static damage.
Following these guidelines forms the cornerstone of effective hand soldering, helping to reduce errors and build confidence in handling even the smallest electronic components.
How Do You Hand Solder 0402 Components Step-by-Step?
With your tools ready and best practices in mind, it's time to tackle the intricate process of soldering 0402 components. This methodical guide will help you achieve precision when working with minute surface-mount devices.
1. Preparing Your Workspace and Components
Begin by arranging your anti-static mat and securing your wrist strap. Position all necessary tools within easy reach. Organize the components in a small tray to prevent misplacement. Review your PCB layout or schematic to confirm the precise placement and orientation of each part, especially for polarized items like certain capacitors or diodes.
2. Cleaning the Printed Circuit Board
Ensure the PCB surface is free of any dust, oil, or oxidation. Use isopropyl alcohol and a small brush for cleaning, then allow the board to dry completely. Clean pads are crucial for optimal solder adhesion and to prevent faulty connections.
3. Applying Flux to the Pads
Using a flux pen or paste, apply a thin, even layer of flux to the designated pads where the 0402 component will reside. Flux aids in smooth solder flow and prevents oxidation during the heating process.
4. Tinning One Pad
Heat your soldering iron to the appropriate temperature (approximately 260°C for small SMDs). Briefly touch the iron tip to one of the component pads for 1-2 seconds, then apply a tiny amount of solder to create a small, raised dome. This "tinned" pad will serve as an anchor point for the component. Exercise caution to avoid excessive solder, which can complicate component placement.
5. Positioning the Component
With precision tweezers, carefully pick up the 0402 component and align it over the pads. Ensure one end of the component rests on the tinned pad, while the other sits on the bare pad. The minuscule size of these components often necessitates the use of a magnifying tool for accurate alignment.
6. Soldering the Initial Pad
Gently touch the soldering iron tip to the tinned pad where the component is positioned. Allow the molten solder to create a bond with the component's terminal. This step should take no more than 2-3 seconds. Remove the iron and let the joint cool undisturbed. Moving the component during cooling can result in a weak connection.
7. Soldering the Remaining Pad
If necessary, apply a small amount of flux to the second pad. Then, add a tiny bit of solder to the tip of your iron. Simultaneously touch the iron tip to the pad and the component's terminal, allowing the solder to flow and form a smooth, lustrous joint. Again, work quickly to prevent overheating.
8. Inspecting the Solder Joints
Examine both solder joints under magnification. Look for a concave fillet shape, which signifies a robust bond. If a joint appears dull, fractured, or uneven, it may be a cold joint—reheat it briefly and add a minuscule amount of fresh solder to rectify it. Check for any solder bridges between pads and use desoldering braid to remove excess material if required.
9. Cleaning the Soldered Area
Once satisfied with the integrity of the joints, clean the area with isopropyl alcohol and a brush to remove any flux residue. This not only enhances the board's appearance but also helps prevent potential corrosion over time.
What Common Issues Arise When Soldering Small SMDs?
Despite meticulous preparation, hand soldering tiny components can present several challenges. Understanding these common problems and their solutions is crucial.
Addressing Typical Soldering Difficulties
● Component Misalignment: If a component shifts during the soldering process, use tweezers to carefully reposition it while briefly reheating the joint. Applying a little flux can assist with smoother movement.
● Solder Bridges: An excess of solder can inadvertently connect adjacent pads, leading to short circuits. Use desoldering braid to wick away the extra solder, then re-inspect the joint thoroughly.
● Overheating: Prolonged heat exposure can damage delicate components or cause pads to lift from the PCB. Work in brief bursts and allow the area to cool if necessary.
● Poor Visibility: The miniature size of these components makes them difficult to see with the naked eye. Investing in a high-quality magnifying tool or microscope significantly improves accuracy.
Encountering these issues is a natural part of the learning curve. With consistent practice, you will develop the steady hand and quick judgment required to preempt and resolve them.
How Can You Refine Your Hand Soldering Prowess?
Like any specialized skill, hand soldering improves with dedicated practice and repetition. To sharpen your ability to work with small SMD components, consider these strategies for continuous improvement.
Strategies for Skill Enhancement
● Begin with Larger Components: If 0402 parts feel excessively small, start by practicing with larger SMD sizes such as 0805 or 0603. This builds confidence before transitioning to even tinier components.
● Utilize Practice Boards: Many kits include dedicated practice the multilayer PCB designed for soldering exercises. These are excellent for honing your technique without risking damage to a live project.
● Consult Online Tutorials: Visual guides and instructional videos from experienced professionals can demonstrate correct hand positioning and optimal soldering methods.
● Ensure Hand Steadiness: Rest your hands or elbows on a stable surface while soldering to minimize tremors. Consider reducing caffeine intake if it impacts your steadiness.
● Experiment with Tools: Try different tip sizes or even various brands of soldering irons to discover what feels most comfortable and effective for your individual style.
Consistency is paramount. Dedicate a regular amount of time each week to practice, and soon, soldering even the smallest components will feel second nature.
Mastering the Art of Hand Soldering Miniature PCB Components
While hand soldering minuscule PCB components like 0402 packages may initially appear formidable, it is a skill attainable by anyone with the right tools, techniques, and persistent effort. By following this comprehensive guide, adhering to best practices for PCB soldering, and utilizing quality equipment for SMD work, you will consistently achieve clean, dependable results. Whether you are assembling small SMD components for a personal endeavor or a professional prototype, precision and patience will be your most valuable assets.
Continue to practice regularly, prioritize safety, and embrace mistakes as integral to the learning journey towards mastery. With each successful solder joint, you will build confidence and expertise in this vital electronics skill. Start with simpler tasks, progressively build your capabilities, and soon you will confidently tackle even the most intricate PCB designs.