Why Consider a Custom PCB for Your LED Strip Lighting?
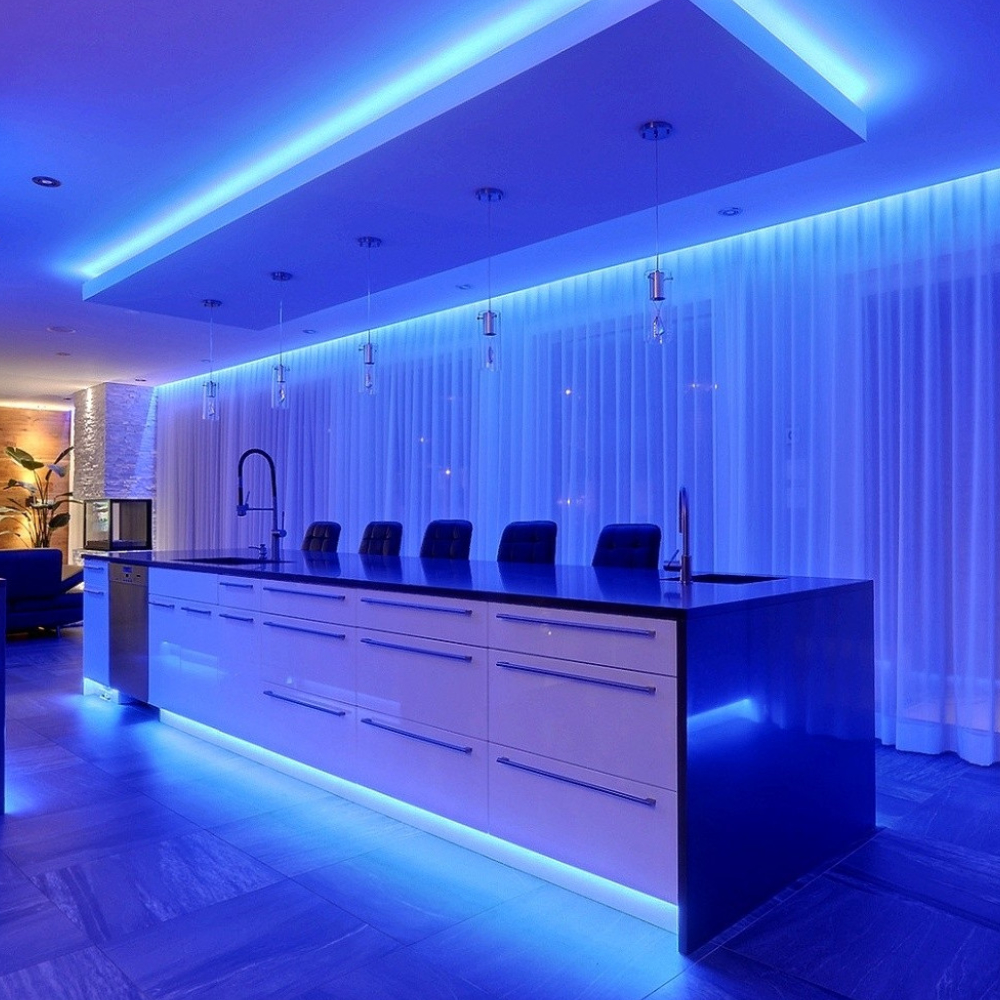
LED strip lighting offers incredible versatility, gracing everything from interior decor to vehicle accents and wearable technology. While off-the-shelf LED strips are common, designing a custom Printed Circuit Board (PCB) provides unparalleled freedom. This approach allows you to dictate the exact layout, LED spacing, power specifications, and even integrate advanced features like dimming or dynamic color changes. For electronics enthusiasts, undertaking such DIY LED projects serves as an excellent hands-on educational experience in circuit design.
Opting for a custom PCB ensures your LED strip integrates flawlessly into any project, perfectly matching unique shapes or lengths that standard options cannot accommodate. Moreover, the landscape of online PCB services has made custom manufacturing more accessible and cost-effective than ever before. This opens up a world of possibilities for turning your specific lighting concepts into tangible realities.

What to Plan Before Designing Your LED Strip PCB?
Before you begin sketching out circuits, thorough planning is essential. A well-structured plan helps prevent errors and saves time and resources during the design and production phases.
Defining Project Scope and LED Choices
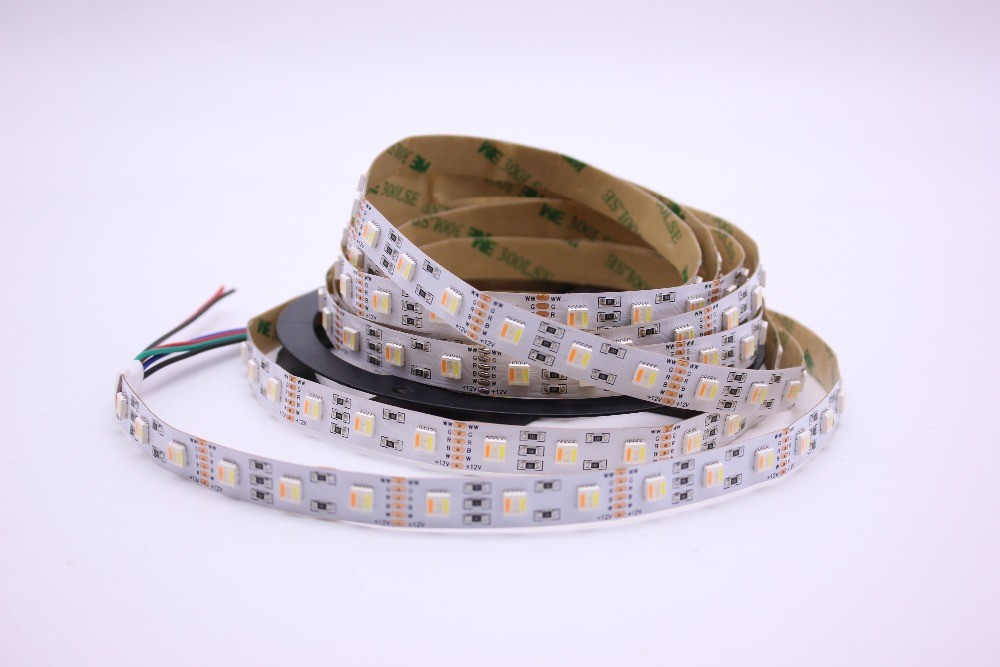
First, clarify the intended use of your LED strip. Will it provide ambient light, serve as a visual display, or be integrated into a wearable item? The application significantly influences the PCB's size, shape, and flexibility requirements. Next, select your LEDs, typically Surface-Mount Device (SMD) types. Common sizes include 2835, 5050, or 3528, indicating their dimensions in millimeters. Crucially, verify their voltage and current needs; most LEDs operate within 3V to 5V per segment, drawing 20mA to 60mA individually.
Power, Flexibility, and Control Considerations
Calculate the total power consumption to ensure your power supply is adequate. For example, a meter of strip with 60 LEDs, each at 20mA and 5V, demands 1.2A (60 x 0.02A). If the strip needs to bend or curve, a flexible PCB design using materials like polyimide is necessary to prevent breakage. Finally, consider any desired control features such as dimming, RGB color changes, or smart control via a microcontroller, planning for additional components like resistors, capacitors, or integrated circuits (ICs) accordingly.
How to Lay Out Your Custom LED Strip PCB?
Designing the LED PCB board is the core technical aspect of this endeavor, involving both schematic creation and physical board layout to ensure correct electrical connections and functionality.
Choosing Software and Schematic Creation
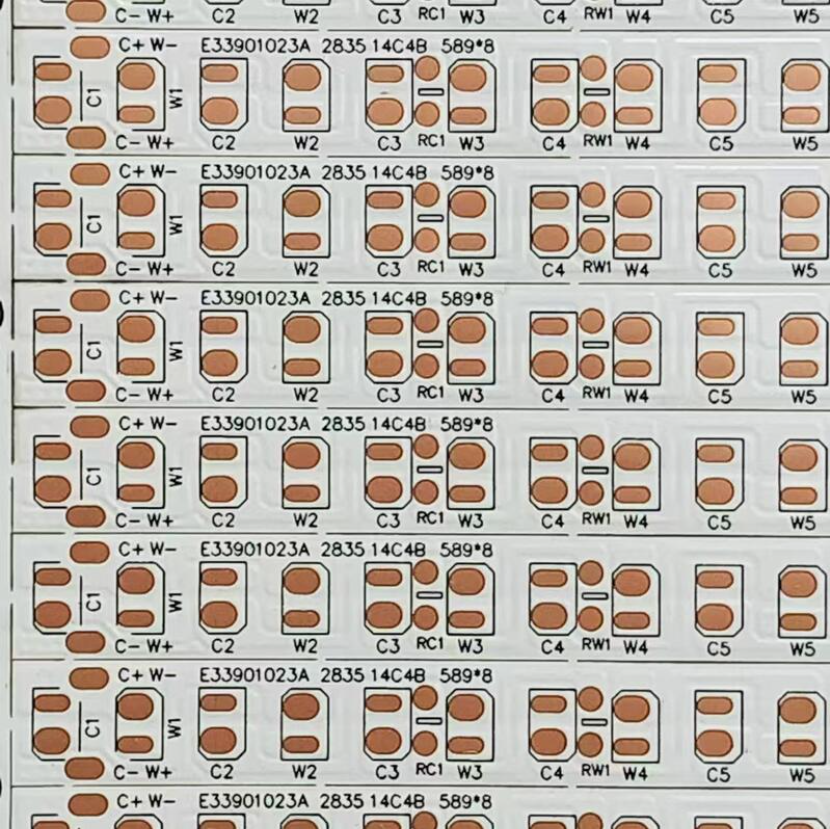
Begin by selecting PCB design software that matches your experience level. Numerous free or affordable tools offer intuitive interfaces and extensive component libraries, facilitating schematic drawing, component placement, and trace routing. For an LED strip, your schematic will often feature a repeating pattern. LEDs are typically arranged in parallel or series-parallel configurations based on the desired voltage. For instance, a 12V system might group LEDs in sets of three (each requiring 3V-4V), with a current-limiting resistor per group, usually 120-220 ohms for 20mA LEDs. Also, remember to include power input pads and any optional components like connectors or control ICs.
Optimizing Board Layout for Performance
Once the schematic is complete, transition to the board layout within your software. Ensure copper traces are sufficiently wide to carry the expected current; a 0.5mm to 1mm trace on a 1oz copper layer is generally sufficient for a 1A strip. Maintain consistent spacing between LEDs—around 16.7mm for 60 LEDs per meter—for uniform light distribution. For flexible PCB designs, opt for curved traces and avoid sharp corners to minimize stress during bending. Finally, address thermal management: LEDs produce heat, so consider thermal vias or heat-dissipating PCB materials for higher-power designs. Always use the software's built-in design rule checks (DRC) to identify and rectify issues before finalizing your design.

Suggested Reading: Mastering Thermal Management: A Comprehensive Guide to LED Lighting PCB Design
What's Involved in Manufacturing Your Custom PCB?
After perfecting your design, the next step is manufacturing. Modern custom PCB manufacturing services allow hobbyists to order high-quality boards efficiently and economically.
Preparing Files and Selecting a Manufacturer
Prepare your design by exporting it as Gerber files, the industry standard for PCB fabrication, which detail layers like copper traces, solder mask, silkscreen, and drill holes. If you require component assembly by the manufacturer, include a Bill of Materials (BOM). When choosing a service provider, look for reliability, options for both rigid and flexible PCBs, quick turnaround times, and competitive pricing for small production runs. Verify if they support flexible PCB design if your project requires it, and consider their assembly services to save time on SMD LED soldering.
Reviewing and Placing Your Order
Upload your files to the chosen service and meticulously review the design preview. Confirm all specifications, such as board thickness (0.2mm to 0.4mm is common for flexible PCBs) and copper weight (1oz is standard for most LED strips). Once you are satisfied with the details, place your order and await the delivery of your professionally fabricated boards.
How Do You Assemble and Solder an LED Strip PCB?
Once your custom PCB arrives, the assembly process begins. For many hobbyists, SMD LED soldering can appear daunting, but with the correct tools and methods, it's a manageable task, even for those new to hobbyist electronics.
Essential Tools and SMD Soldering Steps
Gather your tools: a fine-tipped soldering iron (25-30W is ideal for SMD work), thin solder wire (0.6mm-0.8mm lead-free is recommended), flux for smooth solder flow, tweezers for precise component placement, and a magnifying glass or microscope for detailed inspection. When soldering SMD LEDs, patience is crucial due to their small size. Start by applying a small amount of flux to the PCB pads where the LED will sit. Next, place a tiny dot of solder on one pad. Using tweezers, carefully position the LED, ensuring correct polarity (refer to the datasheet for anode/cathode markings). Heat the pre-tinned pad and gently guide the LED into the molten solder, then solder the opposite side. After cooling, inspect for any cold joints or solder bridges and use desoldering wick if necessary to clean up excess. If intricate soldering seems too challenging, remember that many manufacturers offer assembly services to have components pre-soldered for you.
Testing and Integrating Your Custom LED Strip
After assembly, rigorously test your LED strip to confirm everything functions as intended. Connect it to your power source and verify that all LEDs illuminate. If some do not, consider these common troubleshooting steps:
● Polarity Errors: Double-check the orientation of each LED; incorrect polarity will prevent illumination.
● Power Mismatch: Ensure the voltage and current from your power supply align with your design specifications. Incorrect power can damage components.
● Soldering Flaws: Inspect for any cold joints or incomplete connections; re-solder as needed.
● Trace Damage: Examine the PCB traces for any breaks or cuts, particularly in flexible PCB designs after bending.
Thorough testing ensures your diligent work culminates in a functional and dependable LED strip for your DIY LED projects.
Key Takeaways for Successful Hobbyist Electronics Projects
As you delve deeper into hobbyist electronics and DIY LED projects, embracing these insights will enhance your skills and project outcomes.
Begin with simpler designs before advancing to more intricate layouts involving RGB or smart control features. Always consult component datasheets for crucial specifications like voltage, current, and polarity to prevent damage. Practice SMD LED soldering on scrap PCBs to build confidence and precision. Actively engage with online communities and tutorials for troubleshooting guidance and creative inspiration. Finally, embrace iteration; your initial PCB might not be perfect, but each project offers invaluable learning opportunities.
Conclusion: Illumine Your Vision with Custom LED Strips
Designing a fast turn custom PCB for LED strip lighting provides a fantastic avenue to personalize your projects and expand your knowledge of electronics. Every phase—from initial planning and detailed design to manufacturing with online PCB services and precise SMD LED soldering—contributes to refining your expertise in hobbyist electronics. Whether your ambition is ambient lighting, intricate wearable tech, or dynamic artistic displays, the realm of LED strip PCB design presents boundless possibilities.
With the right tools, a measure of patience, and access to custom PCB manufacturing, you possess the means to transform your innovative ideas into tangible realities. Start modestly, explore flexible PCB design when appropriate, and witness your DIY LED projects shine brighter than ever. Begin crafting your custom LED strip today and bring enhanced illumination to your environment!


