Importance of Electrode Alignment in Robotic Welding
In robotic spot welding applications, particularly in automotive body-in-white assembly and industrial fabrication, precise alignment of electrode arms is critical for weld quality, consistency, and workpiece integrity. Misalignment in C-type welding tongs can lead to poor nugget formation, electrode wear, spatter, or deformation of thin sheet metal components.
The C-5000 welding tongs commonly used with industrial robots (such as KUKA systems) feature adjustable designs that allow rotation of both electrodes or independent adjustment of the sliding electrode relative to the fixed one. Proper preparation and systematic alignment ensure optimal force distribution, current delivery, and long-term reliability of the welding cell.


Component Identification and System Overview
Understanding the mechanical layout is the first step in effective maintenance:
- Position a: Fixed electrode arm
- Position b: Sliding electrode
- Position c: Drive motor
- Position d: Bracket and support plate for manual quick-change clutch
- Position e: Conductive strap
- Position f: Transformer
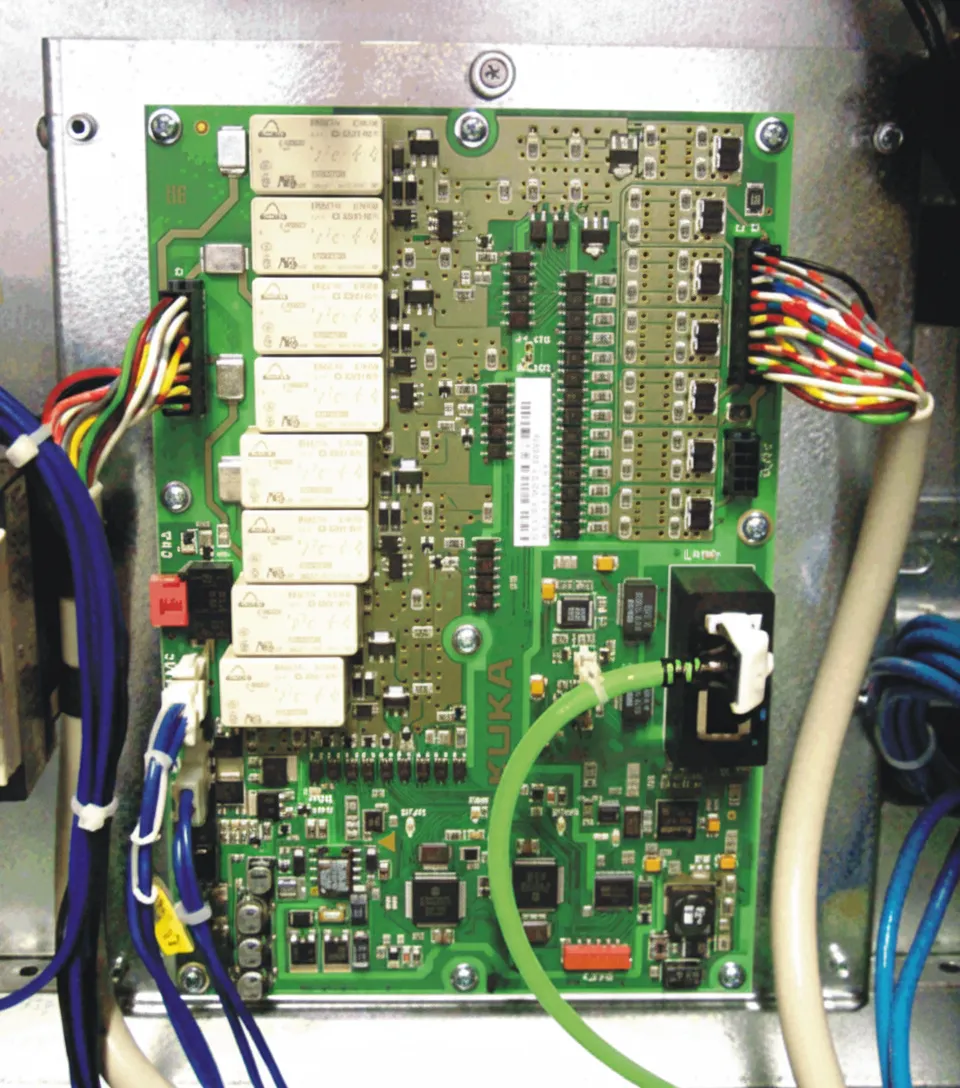
These components integrate with the robot's control system, where PCB-based motor drivers, sensor interfaces, and power electronics manage electrode positioning, force application, and weld timing.
Safety and Preparation Steps Before Alignment
Before any mechanical adjustment, follow these critical preparatory procedures to ensure operator safety and protect equipment:
- Disconnect Power: Isolate the robot weld tongs from the main power supply to eliminate electrical hazards.
- Shut Off Cooling Water: Close the cooling circuit to prevent leaks and allow safe access to components.
- Position the System Safely: Move the robot to a designated maintenance position or detach the welding tongs and mount them on a suitable fixture for stable work.
These steps minimize risks and prevent unintended robot motion or residual energy discharge during adjustment.
Alignment Methods for C-5000 Electrode Arms
The C-5000 design supports two primary adjustment approaches:
Rotating Both Electrodes
To reposition the entire electrode clamp assembly:
- Loosen the side clamping bolt (a).
- Screw in the expansion bolt (b) until the arm can rotate freely.
- Set the desired angular position.
- Unscrew the expansion bolt and retighten the clamping bolt (a).
Always inspect insulating parts for damage before final clamping. Replace if necessary and orient the insulating sleeve groove downward to reduce contamination risk.
Adjusting the Sliding Electrode
For lateral positioning of the sliding electrode:
- Loosen clamping bolts on both sides.
- Reposition the electrode as needed.
- Retighten the bolts securely.
Note that electrode height is typically fixed in this design.
Adjusting the Fixed Electrode

- Loosen the clamping bolt (b).
- Use the expansion bolt (c) to enable rotation.
- Adjust to the target position.
- Remove the expansion bolt and retighten the clamping bolt.
After any adjustment, verify full range of motion, electrode parallelism, and proper insulation before resuming operation.
Electronics and Control System Integration
Modern robotic welding systems rely on sophisticated electronics for precise electrode control:
- Motor Control PCBs: Manage drive motor positioning with high-accuracy feedback from encoders.
- Power Electronics: Handle high-current delivery through the transformer and conductive paths while maintaining signal integrity for weld timers.
- Sensor Interfaces: Monitor force, position, and temperature via integrated flexible circuits and HDI boards.
- Robot Controller Connectivity: Reliable interconnects and communication modules (e.g., fieldbus) ensure synchronization between the robot arm and welding tongs.
High-reliability PCB manufacturing is essential for these systems to withstand vibration, thermal cycling, and electromagnetic interference common in welding environments.
Best Practices for Long-Term Performance
- Perform alignment checks during scheduled preventive maintenance.
- Document adjustments and use calibration fixtures for repeatability.
- Combine mechanical alignment with software-based robot programming for optimized weld paths.
- Partner with electronics manufacturers experienced in industrial robotics to ensure robust control boards and power distribution solutions.
Proper electrode arm alignment directly contributes to higher first-pass yield, reduced downtime, and extended tooling life in high-volume robotic welding lines.
FAQ
Q1: Why is electrode alignment critical in robotic welding?
A1: Proper alignment ensures consistent weld quality, prevents workpiece deformation, and extends electrode life by maintaining optimal force and current delivery.
Q2: What safety steps are required before adjustment?
A2: Always disconnect power, shut off cooling water, and position the robot or tongs in a safe maintenance location.
Q3: How do PCBs support robotic welding systems?
A3: Advanced PCBs provide reliable motor control, power management, sensor integration, and communication interfaces that enable precise electrode positioning and consistent weld performance.