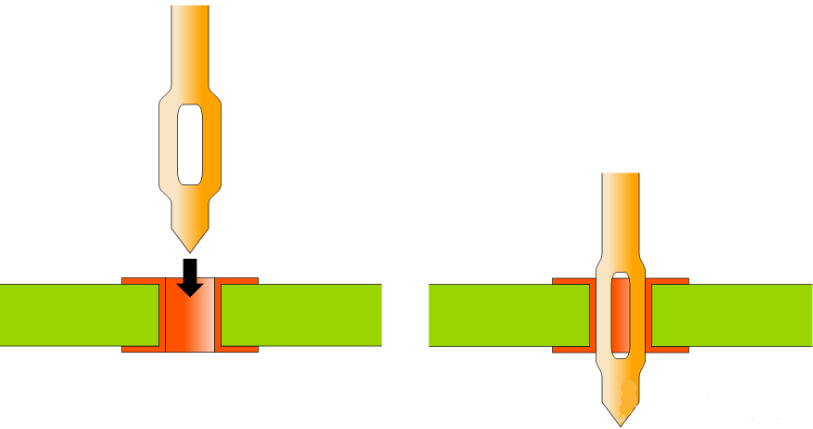
In PCB manufacturing, even well-prepared 10-layer designs can present multiple manufacturability issues during CAM engineering review. This case study examines a real 10-layer FR-4 order that required several critical engineering questions (EQs) before release to production. Our CAM team identified risks related to gold finger beveling, impedance control, via spacing, copper thickness interpretation, and via plugging requirements.
Such multi-layer boards with gold fingers, controlled impedance, and mixed via treatments are common in communication and industrial electronics. However, the gap between design intent and factory process capabilities often triggers EQs. This article details the specific issues we encountered, the reasoning behind our confirmations, and the manufacturing risks avoided through timely clarification.
10-Layer FR-4 Order Parameters
This was a 10-layer board ( #FR4-20260519-001 ) using TG170 FR-4 material with a finished thickness of 1.0mm. Outer copper weight was 1oz, inner layers 0.5oz. The design specified a minimum hole size of 0.3mm, 6mil line/space, and 100% flying probe testing. Surface finish was electroplated hard gold, with selective gold fingers requiring beveling. Panelization was 2x2 with V-cut scoring. Total quantity was 20 pieces (5 sets), with a 23-day delivery window.
Special requirements included resin plugging for certain vias, impedance control, and mechanical bevel on the gold finger area. While the base parameters looked standard for a mid-complexity multilayer board, the combination of tight via-to-via spacing, gold finger proximity to the board edge, and incomplete fabrication notes created several production risks that required clarification.
Critical CAM Findings That Delayed Release of the 10-Layer Board
Gold Finger Bevel and Edge Copper Exposure Risk
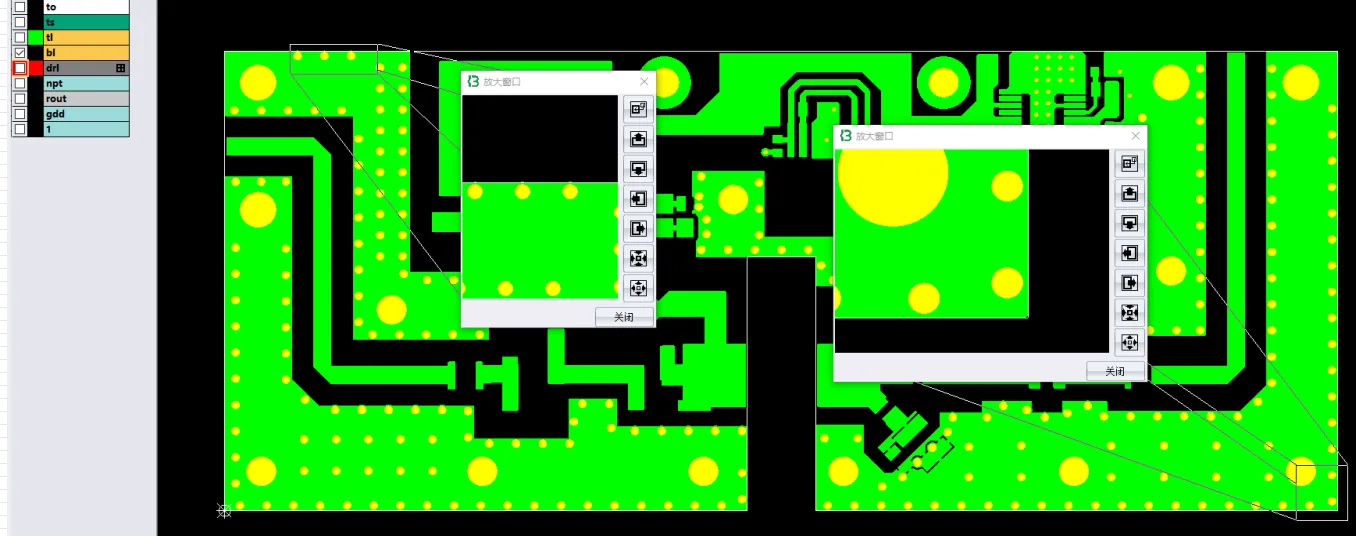
One of the most critical issues was the gold finger bevel requirement. The customer specified beveling in the finger area, but several gold fingers were positioned very close to the board outline. Our minimum bevel depth is 0.3mm ± 0.1mm. To prevent exposed copper after beveling, our process would need to remove approximately 0.25mm of the finger length.

Figure 1: several gold fingers were positioned very close to the board outline
We noticed this during the panelization and routing review. Our engineer suggested confirming the acceptable finger shortening because if ignored, the bevel could cut into the plated gold surface, exposing underlying copper. According to typical IPC-A-600 acceptability criteria, exposed copper near the edge significantly increases the risk of oxidation, poor contact reliability, and assembly failures.

Figure 2: confirming the acceptable finger shortening
If production had continued without clarification, the bevel operation could have caused partial delamination at the finger base or created cosmetic defects that would fail final inspection. In extreme cases, this leads to intermittent contact issues in the end product. We confirmed the adjustment with the customer and proceeded only after approval.
Impedance Control and Stackup Thickness Confirmation
The fabrication notes referenced specific impedance lines that could not be located in the provided Gerber data. Our CAM engineer recalculated the impedance values based on actual trace widths in the design files. With the specified 1.0mm board thickness, inner layer single-ended traces were limited to approximately 46 ohms due to dielectric constraints and line width limitations.

Figure 3: impedance lines that could not be located in the provided Gerber data
We also recommended controlling the final board thickness at 1.13mm ± 10% to better align with the calculated impedance targets. After reviewing the stackup, we found that strict adherence to the original 1.0mm thickness would make the target impedance difficult to achieve consistently across the panel.

Figure 4: recalculated the impedance values based on actual trace widths
Ignoring this discrepancy could have resulted in impedance values outside the acceptable tolerance, leading to signal integrity problems such as reflections, crosstalk, or timing issues in high-speed applications. Our team has seen similar cases cause complete board respins when not caught during CAM review. The customer confirmed our recalculation and adjusted thickness target.
Via Plugging Requirements and Tight Spacing Concerns
The design included 32 vias of 0.2mm diameter with double-sided solder mask openings. We were unsure whether these required resin plugging. Additionally, six 0.406mm holes were flagged for potential plugging confirmation. Our engineer identified that via spacing between different networks was below 0.25mm in several areas, which is challenging for reliable plating and etching at this layer count.

Figure 5: 32 vias of 0.2mm diameter with double-sided solder mask openings
We also noted that the inner layer copper thickness specification mentioned 0.2mm in documentation, while the order was placed with 1oz base copper. This mismatch, combined with the tight via spacing, raised concerns about potential short circuits or plating voids.

Figure 6: inner layer 0.2mm copper thickness while the order was placed with 1oz
If left unaddressed, insufficient via plugging could lead to solder wicking during assembly, causing open or short circuits. Tight spacing below process capability increases the risk of drill breakout and copper bridging. We confirmed the plugging requirements (some yes, some no) and adjusted the production data accordingly to maintain yield.
Other File and Process Clarifications
Additional EQs included inability to open the ODB++ file (we defaulted to Gerber data), missing serial number and QR code details in the PDF, panelization confirmation for 2x2 V-cut layout, and potential residual gold plating leads after bevel processing. These were resolved through standard confirmation workflows.

Figure 7: panelization confirmation for 2x2 V-cut layout
| EQ Category | Observed Issue | Primary Risk if Unresolved |
|---|---|---|
| Gold Finger Bevel | Fingers too close to board outline | Exposed copper, oxidation, contact failure |
| Impedance Control | Reference traces missing; 1.0 mm thickness limited impedance to ~46 Ω | Signal reflections, crosstalk, possible respin |
| Via Plugging & Spacing | 32 × 0.2 mm vias unclear; spacing < 0.25 mm; copper-thickness mismatch | Solder wicking, plating voids, copper shorts |
| File & Process Notes | ODB++ unreadable; missing serial/QR; residual gold leads | Panelization errors, incomplete traceability |
Table 1: Summary of Critical Engineering Questions on the 10-Layer FR-4 Board
Production Risks Avoided by Resolving Bevel, Impedance and Via EQs
This case highlights several recurring DFM challenges in 10-layer designs with gold fingers and impedance requirements. Customers often underestimate the impact of gold finger proximity to the board edge on bevel operations. Without clear communication, this frequently leads to exposed copper or shortened contacts.
Impedance documentation is another common pain point. When reference traces are missing or stackup details incomplete, factories must recalculate, which can shift final thickness targets and affect overall board performance. Tight via spacing near the minimum capability limit for 10-layer processing also commonly triggers EQs, as it directly impacts plating reliability and yield.
If these issues are ignored, typical consequences include higher scrap rates, delamination during thermal stress, via cracking under mechanical load, and assembly defects. In one similar past project, unconfirmed bevel parameters resulted in 30% of boards failing edge inspection, causing significant delay and cost overrun.
CAM Confirmation Steps That Cleared Every EQ Before Fabrication
Our CAM engineering team systematically addressed each point. For the bevel issue, we provided detailed drawings showing the expected finger modification and received customer approval to proceed with the minimum safe depth. Impedance was resolved by sharing our recalculation report and agreeing on the adjusted 1.13mm thickness target.
Via plugging was clarified per specific hole groups, and we optimized the production files to ensure consistent mask opening and plugging where required. Panelization was confirmed as compatible with our V-cut process. Throughout the process, we maintained clear documentation of all changes to avoid downstream confusion.
We noticed potential residual plating leads from the new gold finger process and confirmed acceptability with the customer before final CAM output. This proactive approach prevented multiple production review cycles.
All engineering questions were resolved through customer confirmation. Production files were updated with adjusted bevel parameters, confirmed impedance targets, selective via plugging, and verified panelization. The order was successfully released for fabrication with no major deviations from the approved data.
Design Practices That Prevent the Same EQs on Future 10-Layer Boards
- Always provide clear reference traces and target impedance values directly in the fabrication notes or a dedicated stackup drawing. Missing data forces factories to make assumptions that may not match design intent.
- When specifying gold finger bevels, ensure adequate clearance (minimum 0.5mm recommended) between finger ends and board outline to avoid shortening or copper exposure.
- Define via plugging requirements explicitly by hole size, type, or location rather than relying on mask openings alone.
- Verify that all special markings (serial numbers, QR codes) are present in the Gerber or fabrication drawing files before submission.
- Consider final board thickness tolerance early in the design phase, especially for impedance-controlled layers, as actual manufacturable thickness may differ from nominal values.
- Use consistent layer naming and provide a complete ODB++ package whenever possible, but always ensure Gerber files are clean and self-sufficient.
- Review minimum spacing requirements against the chosen fabricator's capability chart before finalizing high-density via placements.
| Check Item | Recommended Action |
|---|---|
| Impedance Documentation | Include reference traces and target values in fab notes or stackup drawing |
| Gold Finger Clearance | Maintain ≥ 0.5 mm from finger ends to board outline |
| Via Plugging Definition | Specify by hole size, network or location; do not rely on mask openings alone |
| Markings & Traceability | Confirm serial numbers and QR codes exist in Gerber or fab drawing |
| Thickness Tolerance | Verify manufacturable thickness early for impedance-controlled layers |
| Via Spacing vs Capability | Cross-check minimum spacing against fabricator capability chart |
Table 2: Pre-Submission Checklist to Avoid Common 10-Layer EQs
FAQ
Q1: Why is gold finger bevel depth confirmation critical during CAM review?
A1: Bevel depth directly affects finger length and copper exposure risk. Insufficient clearance can cause the bevel tool to cut into the contact area, leading to exposed copper that oxidizes easily and causes contact failures in connectors.
Q2: What happens if via plugging requirements are not clearly specified?
A2: Solder can wick through unplugged vias during assembly, creating shorts or opens. For high-reliability applications, unconfirmed plugging often leads to inconsistent thermal performance and potential field failures.
Q3: Why do factories recalculate impedance when reference data is missing?
A3: Without traceable reference traces or complete stackup details, we must calculate based on actual Gerber geometry to ensure the final product meets electrical requirements. This often requires thickness adjustment for better impedance matching.
Q4: How does tight via spacing impact 10-layer PCB production?
A4: Spacing below 0.25mm approaches the limit for reliable drilling, plating, and etching. It increases risks of drill wander, plating voids, and copper shorts, significantly reducing yield if not optimized during CAM review.
Q5: Should designers always provide ODB++ files?
A5: ODB++ is preferred for its completeness, but if it cannot be opened or contains errors, clean Gerber files with clear fabrication notes become the authoritative source. Always verify file integrity before submission.
Q6: What is the risk of mismatched copper thickness specifications?
A6: It can lead to incorrect etching parameters, impedance deviation, and plating issues. Clarifying base versus finished copper weight early prevents downstream manufacturing problems and costly revisions.