20-layer PCBs represent some of the most complex jobs we handle in CAM engineering. With tight 3 mil trace/space, controlled impedance, and mixed copper weights, even small inconsistencies can create serious manufacturability risks. This case study covers order, a 20-layer FR-4 TG170 board measuring 160 x 243.15 mm. During our detailed DFM review, several critical issues required multiple rounds of clarification with the customer.
Our team focused on stackup integrity, impedance line accuracy, copper weight distribution, and dimensional consistency. Below is a real engineering review of what we found and how we resolved the key issues before releasing the job for production.
Order Overview
This was a high-layer-count rigid PCB built on FR-4 TG170 material with 2.0 mm finished thickness. The design specified inner layers at 0.5 oz copper and outer layers at 1 oz, ENIG surface finish, 0.2 mm minimum hole size, and 3 mil trace/space. The board required controlled impedance with report, resin plugged holes, 100% flying probe testing, and mechanical forming. Quantity was 30 pieces. The complexity of 20 layers combined with tight tolerances made thorough CAM review essential.
Critical PCB CAM Review: Solving 20 Layer PCB Design Conflicts
1. Stackup Structure and Copper Thickness Confirmation
One of the first major issues our CAM engineer identified was uncertainty around copper thickness on specific layers, particularly L2, L10, L11, and L19. We noticed inconsistencies between the ordered parameters (0.5 oz inner / 1 oz outer) and the details shown in the provided stackup reference.

Figure 1: Uncertainty around copper thickness on specific layers, particularly L2, L10, L11

Figure 2: Uncertainty around copper thickness on L19
After reviewing the lamination structure, we sent a clear request for confirmation. This step was critical because incorrect copper weights directly affect etch compensation, impedance calculations, and overall board thickness control in a 20-layer build.
If left unconfirmed, mismatched copper thickness could result in over-etching or under-etching of traces, leading to impedance deviations beyond acceptable limits, trace width violations per IPC-6012, or even delamination risks during lamination due to uneven copper distribution.
2. Impedance Line Verification and Non-Existent Traces
We identified several impedance lines marked in the reference documentation that did not actually exist in the Gerber data. Our team provided annotated screenshots highlighting the missing traces and recommended adjustments to the production stackup and impedance lines based on the actual design data.

Figure 3: The impedance line circled in red does not exist

Figure 4: The impedance line circled in red does not exist
This issue required multiple follow-ups. We noticed that proceeding with the original reference would have caused the impedance report to be based on non-existent traces, resulting in inaccurate testing and potential signal integrity problems in the final product.
Ignoring this discrepancy could lead to boards passing production but failing at the customer's functional test, causing costly rework or scrap.
3. Finished Board Thickness Tolerance and Marking
During our detailed CAM engineering review, we identified a clear mismatch in the finished board thickness specification between the previous version confirmation and the current order data. The earlier agreement had locked in 2.03 mm ±10%, while the latest fabrication notes requested 2.01 mm ±10%. Although the nominal difference appears small (only 0.02 mm), our senior CAM engineer immediately flagged this inconsistency because it directly affects lamination process control, material stack-up selection, and final quality inspection criteria.
In high-layer-count boards (typically 6 layers and above), even minor thickness variations can significantly impact overall board flatness, impedance consistency across critical traces, and mechanical fit within enclosures or connectors. The lamination process — involving precise core and prepreg selection, brown oxide treatment, and high-pressure pressing — is highly sensitive to target thickness. A 0.02 mm shift may require adjustments in prepreg resin flow or press cycle parameters to achieve the desired final thickness after copper plating and solder mask application.
To mitigate these risks, our engineering team proactively confirmed the final thickness requirement and marking method with the customer. We recommended standardizing on one clear specification — either 2.01 mm or 2.03 mm with the corresponding ±10% tolerance — and updating the production traveler, CAM files, and inspection criteria accordingly. This ensured alignment across the entire manufacturing workflow and prevented downstream quality disputes.
| Specification | Previous Confirmation | Current Order |
|---|---|---|
| Nominal Thickness | 2.03 mm ±10% | 2.01 mm ±10% |
Table 1: Finished Board Thickness Clarification
4. Solder Mask Bridge and Outline Dimension Issues
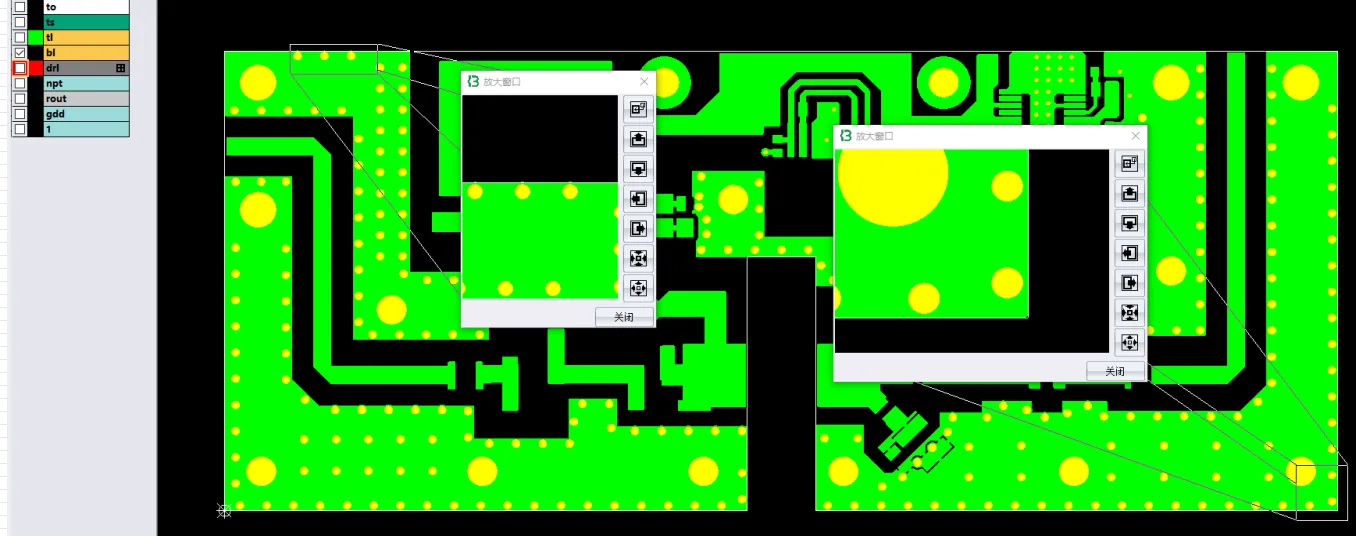
During our CAM engineering review, we identified two related manufacturability concerns in the solder mask and board outline layers. First, several areas showed missing solder mask bridges between adjacent pads, particularly in denser regions. These gaps were insufficient to guarantee reliable mask dams, increasing the risk of solder bridging during reflow assembly. Second, we detected a dimensional mismatch at point A on the board outline when compared against the actual Gerber data — the mechanical routing line deviated slightly from the intended profile.

Figure 5: Solder mask bridges were missing
Our CAM team noticed these discrepancies early and optimized the production files accordingly. We added the necessary solder mask bridges while preserving the customer's original pad geometry and design intent. For the outline issue, we aligned the routing path with the verified Gerber coordinates to ensure accurate mechanical forming.
If these issues had been overlooked, the board could have experienced solder shorts between pads during assembly, leading to functional failures or costly rework. The outline mismatch might have caused fitment problems in the final enclosure or fixture, resulting in mechanical stress or scrap.
The customer also referenced a previous similar part number, which provided useful context for our engineering decisions and helped accelerate the review process. After confirmation, the corrected files were released for production with improved DFM compliance.
| Issue | Risk if Unresolved | Resolution |
|---|---|---|
| Missing Solder Mask Bridges | Solder shorts during assembly | Added reliable mask dams |
| Outline Dimension Mismatch | Fitment and routing errors | Aligned with Gerber data |
Table 2: Solder Mask and Outline Issues Resolved
Manufacturing Risks in 20-Layer PCB
High-layer-count boards like this 20-layer design are particularly sensitive to stackup and impedance documentation errors. Designers often provide reference drawings that do not perfectly match the final Gerber data, creating confusion during CAM review. Copper weight inconsistencies and outline mismatches are also frequent triggers that can lead to multiple revision cycles and production delays.
If the impedance line issue had been ignored, the resulting boards could have shown unstable signal performance. Similarly, unconfirmed copper weights increase the risk of trace integrity problems and yield loss.
How the Engineering Team Resolved the Issues
Our CAM team prepared updated production files and a detailed PDF showing the proposed stackup, impedance adjustments, and copper thickness clarification. We referenced the previous similar order where helpful and maintained close communication until all points received customer approval. This iterative process helped reduce risk and ensured the final manufacturing data was accurate.
Final Outcome: Successful Fabrication of the 20-Layer Board
All engineering questions were successfully clarified. The stackup was optimized and approved, copper thicknesses confirmed, impedance lines corrected, board thickness marking finalized, and production files released. The order is now in production.
Expert Tips to Pass PCB CAM Engineering for High-Layer Boards
- Ensure stackup drawings exactly match the final Gerber data, especially for high-layer boards.
- Clearly specify copper weights for each layer group and confirm them early.
- Verify that all impedance lines referenced in documentation actually exist in the design files.
- Provide consistent board thickness tolerance and marking requirements across revisions.
- Check solder mask bridge integrity on fine-pitch areas during design review.
- Validate outline dimensions against actual Gerber data before release.
- Reference previous similar orders when applicable to speed up engineering clarification.
- Work closely with your manufacturer on complex impedance and stackup requirements.
FAQ
Q1: Why is copper thickness confirmation critical in multilayer PCBs?
A1: Different copper weights require specific etch compensation. Mismatches can cause trace width errors, impedance deviation, and reliability issues in high-layer boards.
Q2: What happens if impedance lines in documentation do not match Gerber data?
A2: The impedance report and actual board performance will not align, potentially causing signal integrity failures during customer testing.
Q3: Why do factories pay close attention to board thickness tolerance in 20-layer designs?
A3: High-layer boards have more variables affecting final thickness. Incorrect tolerance can lead to mechanical fit problems or assembly issues.
Q4: How important are solder mask bridges on fine-pitch designs?
A4: Critical for preventing solder bridging during assembly. Missing bridges on 3 mil features increase short circuit risk.
Q5: What is the risk of outline dimension mismatch?
A5: It can result in incorrect routing or scoring, leading to dimensional errors in the final boards and assembly complications.