Introduction
This 8-layer FR-4 PCB project involved a compact board measuring 130 mm x 161.6 mm with blind vias and a V-CUT + routing depanelization scheme. Boards of this type frequently trigger engineering questions during CAM review because designers often push solder mask openings, via treatments, and copper clearances close to process limits without fully accounting for plating, etching, and mechanical separation steps. Our CAM team routinely performs a detailed file check before releasing any order to production. In this case, the review identified several manufacturability concerns that required clarification to avoid defects such as exposed copper, ink peeling, via plugging failures, and edge shorting after V-CUT. Addressing these issues early prevented potential yield loss and ensured the 20-piece (10-set) batch could proceed smoothly under standard ENIG processing.
Order Overview
The board (#FR4-20260420-037) is an 8-layer construction using KB-6165F FR-4 material with a target glass transition temperature of 150 °C. Finished thickness is 1.6 mm with 0.5 oz copper on inner layers and 1 oz on outer layers. Minimum hole size is 0.15 mm, consistent with laser-drilled blind vias. Surface finish is ENIG with 1 µ" gold thickness. Solder mask is blue on both sides and silkscreen is white. The panel is a 1x2 configuration with V-CUT on all four process edges plus routing. Via treatment specified as cover oil. No impedance control or half-holes are required. The design includes BGA areas and requires 100% flying-probe electrical testing. Production quantity is 20 pieces. The customer requested KB material specifically, and the panel includes process edges on all sides.
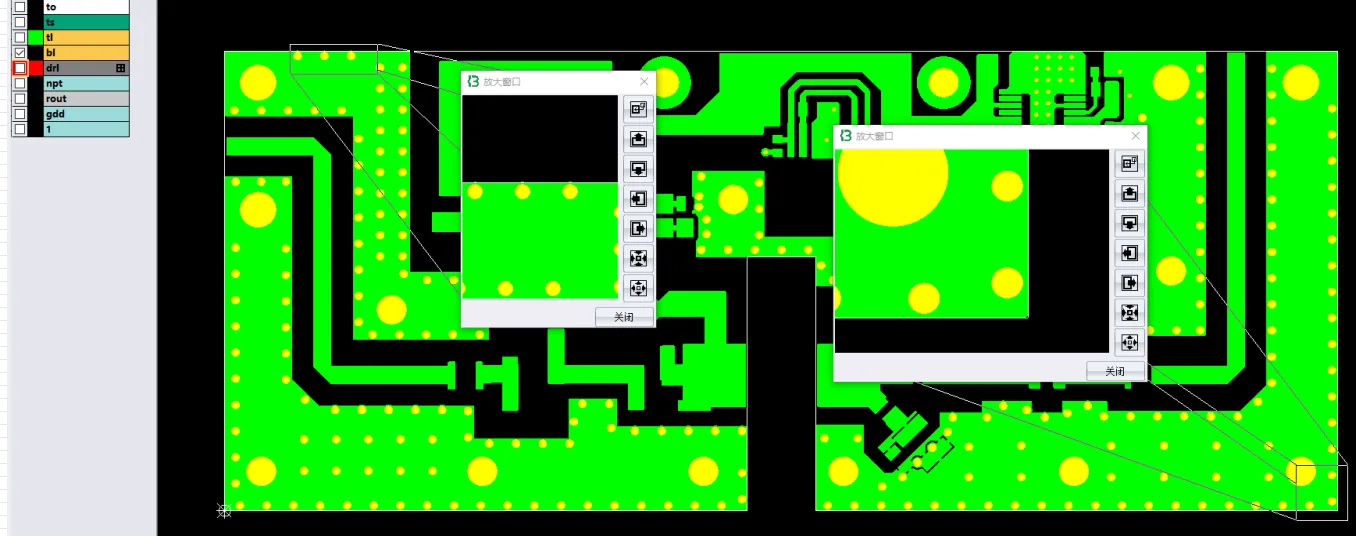
Key DFM Issues Identified: Solder Mask Bridges, Via Treatment Conflicts, and Panel Clearances
Oversized Solder Mask Openings and Bridge Problems in 8-Layer Designs
Several solder mask openings were designed larger than standard practice, resulting in gaps exceeding 5.9 mil between adjacent pads with no solder mask bridge and some openings exposing traces. Our CAM engineer reviewed the Gerber layers and confirmed that these oversized openings would leave copper exposed after solder mask application. If production had proceeded without adjustment, the exposed copper could have caused solder bridging during assembly or edge shorting risks after depanelization.

Figure 1: Larger solder mask openings than standard practice
We also noted that certain character frames overlapped pad openings, which would place white ink directly on copper and lead to poor adhesion and peeling during handling or thermal cycling. To mitigate this, our team suggested reducing the opening sizes where possible while maintaining pad clearance per IPC-A-600 guidelines for acceptable solder mask registration.

Figure 2: Certain character frames overlapped pad openings

Figure 3: Adjusted character frames
Via Cover Oil vs Double-Sided Openings: Plugging Conflicts in Blind Vias PCBs
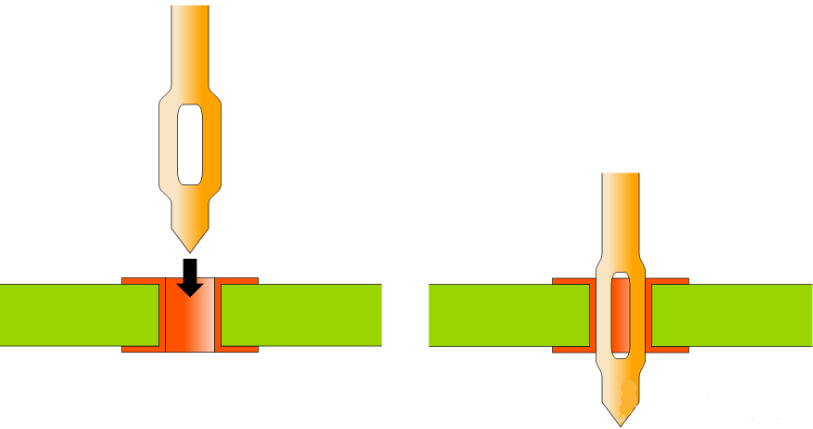
The Gerber data requested via cover oil, yet multiple vias on the BOT side showed independent openings on both sides with no solderable finish. Our engineer identified that true plugging cannot be achieved on vias that remain fully open on both surfaces.

Figure 4: Multiple vias on the BOT side showed independent openings on both sides with no solderable finish.
If ignored, the vias would either remain unplugged, risking solder wicking during reflow, or require an alternative process that could affect electrical performance. We recommended confirming whether these vias should be left open or if a different treatment such as tenting was acceptable. This clarification prevented potential open-circuit or contamination issues later in assembly.
V-CUT Copper Clearance and Panel Edge Alignment for Reliable Depanelization
The design specified a 0.45 mm copper clearance on one side of the V-CUT line. Our CAM team noticed that the provided panel only marked V-CUT on the left and right edges, while all four sides were process edges. If the top and bottom edges had been routed without V-CUT, the board could have experienced uneven stress during separation, increasing the risk of delamination or board warpage.

Figure 5: 0.45 mm copper clearance on one side of the V-CUT line

Figure 6: Recommended V-CUT on all four sides
We suggested extending V-CUT to the remaining process edges and adding test pads on the process border to verify blade depth. Our engineer also confirmed the single-sided 0.45 mm clearance requirement to avoid exposed copper after V-CUT, which could otherwise lead to edge shorting or cosmetic defects per typical IPC-A-600 edge acceptance criteria.
NSMD BGA Pads and Silkscreen Clearance: Preventing Assembly Issues
BGA pads were drawn as non-solder-mask-defined (NSMD). While this improves pad adhesion and reduces cratering risk, the accompanying silkscreen frames were positioned too close to the pads. High ink buildup in these narrow spaces could create component height variations during placement, resulting in cold solder joints.

Figure 7: BGA pads were drawn as non-solder-mask-defined (NSMD).
Our team recommended adjusting the silkscreen clearance or using a lower-profile ink process. We also verified the NSMD approach was intentional to enhance mechanical reliability under thermal stress.

Figure 8: SMD BGA pads
0.15mm Laser Blind Vias and Copper Weight Verification in FR4 Stackup
The specified laser via diameter of 0.15 mm falls below our standard production range for reliable plating and registration. Additionally, the outer copper was called out as 1 oz, but the HDI-style plating sequence on outer and near-outer layers required adjusted starting foil weights for plating control. After reviewing the stackup, we confirmed a standard KB-6165F construction and noted that the material was not our most common stock, which could extend lead time.

Figure 9: Laser via diameter of 0.15 mm
We suggested confirming the via size tolerance and plating sequence to maintain consistent hole copper thickness of 18 µm.
Production Risks from Unresolved DFM Issues in 8-Layer Blind Vias PCBs
The most significant risks identified were exposed copper near V-CUT lines, which could cause edge shorting after depanelization, and oversized solder mask openings that would leave traces vulnerable to solder wicking. The via plugging conflict carried a high probability of assembly defects if left unresolved. BGA silkscreen proximity introduced a direct risk of placement and soldering issues. If these EQs had been ignored, the batch could have suffered yield loss from delamination at V-CUT edges, ink peeling on copper, via contamination, or intermittent opens at BGA sites. Multiple review cycles were avoided by addressing the panel V-CUT alignment and material availability early. Common customer design mistakes in this case included insufficient clearance for mechanical processes and inconsistent via treatment definitions.
Resolution Process: Customer Approvals and Production File Updates
Our engineering team prepared a revised stackup using standard KB-6165F material and confirmed the plating sequence for outer layers. Solder mask openings were adjusted where feasible to restore adequate bridges. Via treatment was clarified as tenting on the conflicting vias. V-CUT was extended to all process edges with added test pads, and the 0.45 mm copper clearance was verified. Silkscreen frames near BGA pads were moved or reduced in height. We added the requested year-week code on the BOT layer as permitted. These changes were documented and approved by the customer before CAM data release, protecting both yield and delivery schedule.
Final Manufacturing Outcome
All engineering questions were resolved through direct clarification. The stackup, solder mask, via treatment, V-CUT parameters, and BGA details were updated in the production files. CAM review was completed and the order was released for fabrication without further delay.
| Issue Area | Specific Problem | Recommended Resolution | Potential Risk |
|---|---|---|---|
| Solder Mask | Oversized openings / no bridge | Reduce openings, adjust frames | Exposed copper, bridging |
| Vias | Double-sided openings vs cover oil | Tenting or confirm open | Solder wicking, contamination |
| Panelization | Incomplete V-CUT on process edges | Extend V-CUT + test pads | Warpage, edge shorting |
Table 1: 8-Layer Blind Vias PCB DFM Issues Summary
Key Takeaways for 8-Layer Blind Vias PCBs Designers
- Always define solder mask openings with sufficient bridge width and verify clearance from traces and characters.
- Specify via treatment consistently; double-sided open vias cannot receive plugging.
- Provide complete panel drawings showing all process edges and V-CUT locations to avoid misalignment during separation.
- Allow adequate clearance (minimum 0.45 mm typical) between copper and V-CUT lines on both sides.
- Position silkscreen frames at least 0.3 mm away from BGA pads to prevent height-related soldering issues.
- Confirm laser via diameters against the fabricator's standard range before finalizing the design.
- Document exact material grade and any plating sequence requirements clearly in the fabrication notes.
- Include cycle or date codes only where permitted and avoid overlapping functional features.
FAQ
Q1: Why do PCB factories modify copper clearance near V-CUT lines?
A1: V-CUT blades remove material along the score line. Insufficient copper clearance can leave exposed copper after separation, increasing the risk of edge shorting or cosmetic defects during subsequent handling and assembly.
Q2: What happens if oversized solder mask openings are not corrected?
A2: Traces may remain partially exposed, leading to solder wicking, bridging during reflow, or reduced insulation resistance. In severe cases, this can cause electrical shorts or assembly failures.
Q3: Why can't all vias receive cover oil when the Gerber requests it?
A3: Vias that have solder mask openings on both sides cannot be plugged effectively. Attempting to do so may result in incomplete filling, contamination, or changes in via electrical characteristics.
Q4: How does BGA silkscreen proximity affect assembly?
A4: Ink buildup near pads can create uneven component seating height, leading to poor solder joint formation or cold solder joints during reflow.
Q5: What DFM considerations apply to blind vias in FR4 PCBs?
A5: Blind vias (e.g., 0.15 mm laser-drilled) require verification of diameter, aspect ratio, and plating sequence against factory capabilities for reliable hole wall copper. Inconsistent definitions with solder mask or stacking can lead to registration or filling issues. CAM review ensures compatibility with the overall stackup and via treatment.
Q6: How do solder mask and silkscreen decisions affect PCB assembly?
A6: Oversized mask openings or silkscreen too close to BGA/NSMD pads can cause solder bridging, uneven component seating, or ink-related defects during reflow. Proper bridges and clearances ensure reliable solder joints and reduce rework in high-density assemblies.