










Kickstarter Solar HAT PCB: DFM Behind 514 Shipped PV Pi Units
Key Moment
- 0:00 Kickstarter Recap & Shipping Complete
- 0:23 Bigger Run Than Expected
- 1:13 Extra Prototype Run (Rev C to Rev D)
- 2:07 Test Equipment & Test Rig Recap
- 2:46 AIVON PCB Sponsorship
- 3:19 Why We Test In-House
- 4:20 Why Testing Is Worth It
- 5:45 Building a Better Product
- 6:13 Store Sold Out & Future Pre-Orders
- 7:04 Waiting for Customer Feedback
- 7:45 No Rev 2 Planned
- 8:09 Auto Ecology YouTube Channel
- 8:37 Future Devices & Ecology Tech
- 9:33 Back to Personal Projects
- 10:01 Wrap-up
Project Background
Luke Ditria opened it with a number he and Matt Walker had not budgeted. The PhotoVoltaic Pi is a Raspberry Pi HAT that charges a 12 V LiFePO4 pack from a solar panel and talks to the Pi over UART. The brief was specific: keep a remote Pi alive with true MPPT at up to 10 A, a 12–50 V VOC window, an RTC wake, a watchdog, and a stout 5 V rail. That brief only becomes a product when copper, mask, and silk survive a mid-size run.
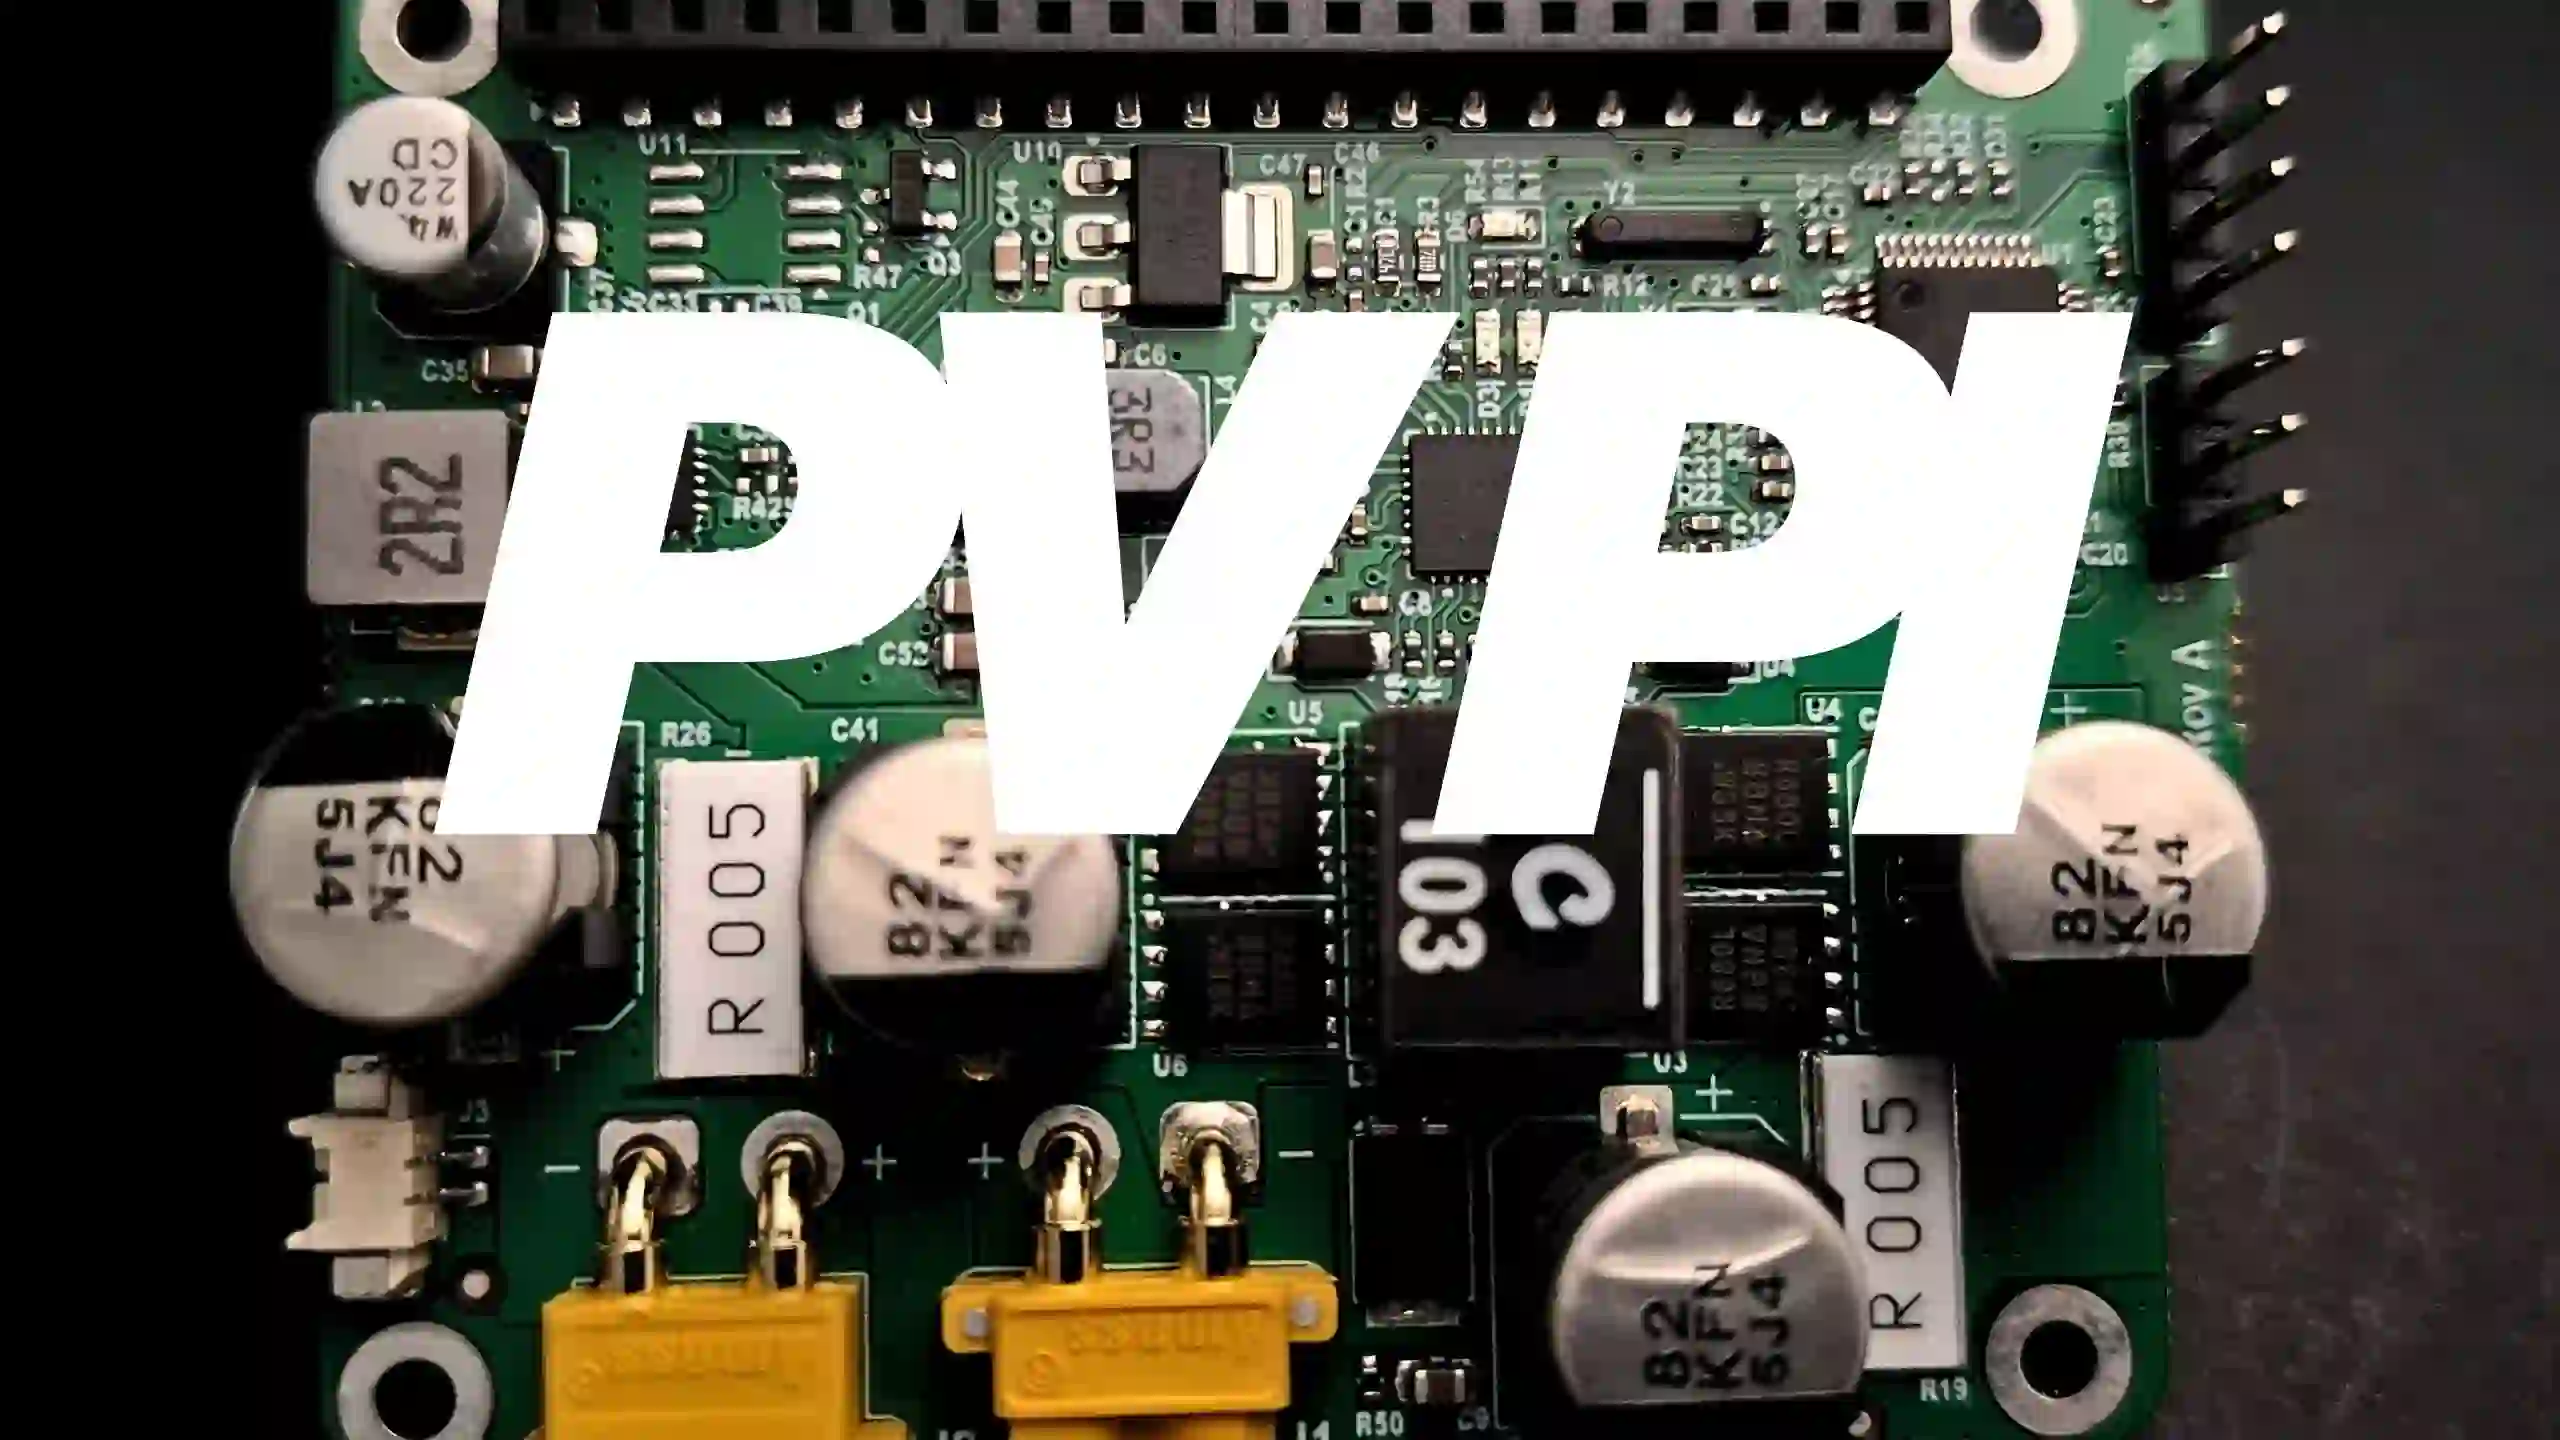
They thought a hundred boards would make the campaign worthwhile. Backers asked for about five times that. By late April 2026 they had packed 514 units and ordered 570 so extras could absorb scrap. The store listing at the video is still the cleanest spec: snap the HAT onto a 40-pin Pi, plug XT30 pigtails into a pack and a panel, and let the flashed STM32 plus PV Pi Manager set charge limits, a wake alarm, and a low-battery shutdown. UART on pins 14 and 15 is why clones and older Jetson Nano boards can ride the same 5 V pins.
A 5× campaign is cash for a pilot and a trap if you mail yesterday's silk. AutoEcology needed a fabrication partner that could hold a 2-layer FR-4 stackup, keep a 0.5 mm-pitch BQ25756 honest after reflow, and make a twenty-piece Rev C lot useful instead of ornamental.
What This Video Covers
The video is Luke's post-fulfillment recap: how a hundred-board plan became 514 packed HATs, why Rev B launched the Kickstarter but Rev D left Melbourne, what changed on silk and connectors, and why in-house flash-and-measure stayed non-negotiable once the order book passed five hundred. He covers the unexpected turnout, the extra twenty Rev C boards that paid for real loads, the tester fixture Matt designed so every unit could be programmed and measured in about half a minute, and the unglamorous punch list that decided whether operators could still read a reference designator after lead-free HASL.
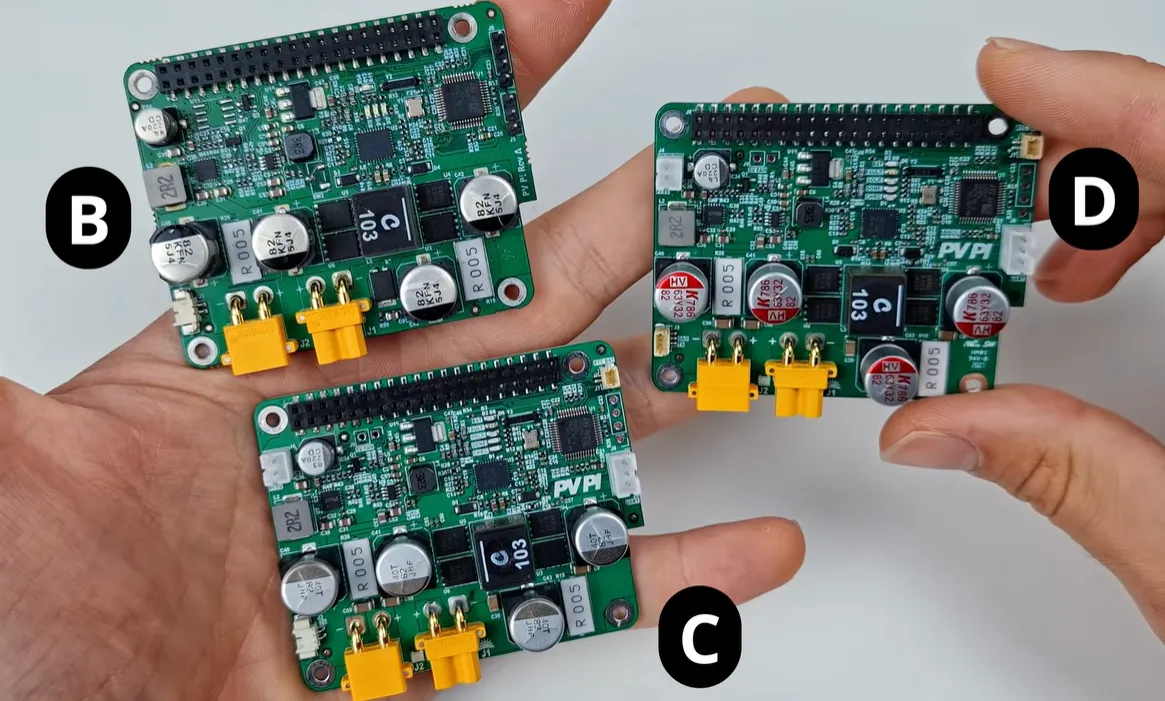
He also looks forward: leftover boards that sold out in twelve hours, pre-order continuity, firmware and UX work, and a separate AutoEcology channel for product tutorials. AIVON is credited in the video description as the PCB sponsor that built and assembled the tester and supported the product HAT through the production-intent pass.
Project Highlights and Key Features
- True MPPT on the BQ25756, a 36-pin 5 × 6 mm VQFN on a 0.5 mm pitch, with short current loops and ceramics on the charger pins so a 120 W panel can put a day's 5 W Pi budget into the pack in a little over an hour.
- Two-layer FR-4, 1.6 mm class, heavier copper in the charger path and under the XT30 pair. No HDI. The stackup stayed boring on purpose.
- Lead-free HASL as the production finish, with ENIG available on first articles when the pad geometry argued for it.
- Raspberry Pi HAT outline with a stackable 40-pin header, XT30 solar and battery shells that wet on the first pass, plus a later 5 V JST, an external UART header, and an RTC backup footprint.
- STM32F103 control with RTC wake, watchdog, and UART on pins 14 and 15 so the same 5 V rail can serve Pi clones and older Jetson Nano boards.
- A companion tester PCB, designed by Matt and built and assembled by AIVON, that flashes and measures each HAT in roughly thirty seconds so a wrong sense resistor dies on the bench instead of on a roof.
- Production-intent Rev D silk sized to survive HASL: text kept off SMD pads and above about 0.75 mm high and 0.65 mm wide.
- Panel habits that scale: precision-routed holes named past 3 mm, 0.8–1.0 mm mouse bites on the tabs, copper pulled 0.2 mm off a routed outline (0.4 mm if the panel uses V-cut), and tenting that matches the quoted mask layer.
Challenges Encountered During Development
The first challenge was volume. A hundred-board plan is a prototype order with spare parts. A 570-board order is a mid-size run in which every panel can mix copper, paste, and parts differently. Mailing Rev B silk at that quantity is how a Kickstarter becomes a field-return program.
The second challenge was geometry that looks fine in CAD and fails after finish. The BQ25756 neighborhood is 0.5 mm pitch. Where pad-to-pad drops under about 0.18 mm, a standard green-mask dam stops being a dam. The SMT shorts showed up on a different stackup AIVON reviewed — a thin 0.8 mm 4-layer FR-4 module with several IC gaps under 0.18 mm. CAM's answer there was a gang opening the customer accepted, plus a flag that silk under about 0.75 mm high and 0.65 mm wide will blur. Rev D's silk pass is that conversation on a HAT.
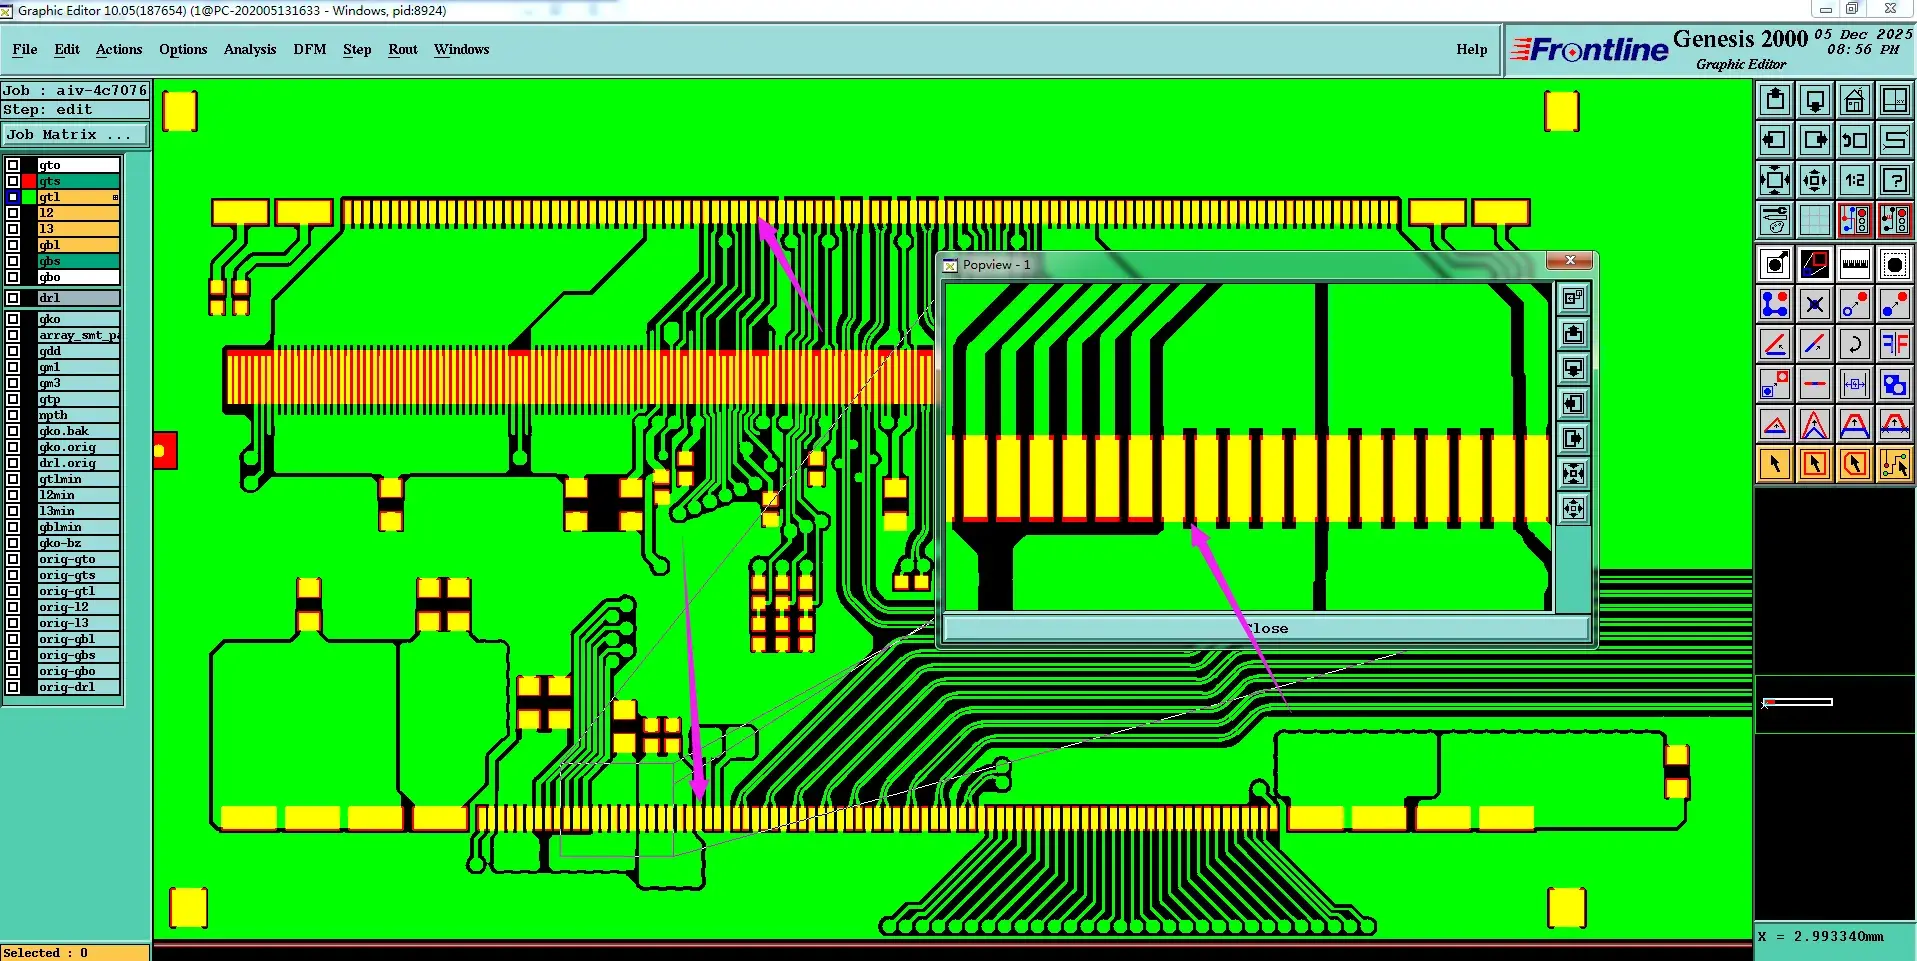
The third challenge was features that consume real estate without earning their keep. An external temperature-probe connector almost nobody would populate still needs DFM, still eats silk, and still decides whether a mask dam survives next to a 0.5 mm charger. Rev C carried that port. Rev D dropped it.
The fourth challenge was test ownership. Factory programming is not enough if you still send a bed and an image and hope every panel matches the last. A mid-size run is the worst place to outsource the first failure mode. Luke and Matt test in-house on purpose: each board gets flashed and measured before the courier, so a bad sense part fails in a second instead of inside a field enclosure.
The fifth challenge was time. Twenty leftover Rev D boards hit the store after fulfillment and sold out in twelve hours. That is demand, not slack. The fabrication and assembly path had to absorb a 5× overshoot without inventing new failure modes while the team was still bagging standoffs.
How AIVON PCB Helps
AIVON's job was not to redesign the PV Pi. Luke and Matt already had the product idea. What they needed was copper that would not invent failures while they climbed from a hundred-board plan to a 570-board order. AIVON provided rapid PCB prototyping and production on the same 2-layer FR-4 rules for both the product HAT and Matt's tester, plus the DFM conversation that turns a Gerber into a panel you can stand behind.
That starts with the stackup nobody should overbuy. Two-layer FR-4, 1.6 mm class, lead-free HASL unless the first article argues for ENIG, extra copper under the charger and the XT30 pair. Open every PTH the assembler or the pogo needs. Tent only where the Gerber and the order note agree. Stop the 5 V pour about 0.2 mm before a routed outline — 0.4 mm if the panel uses V-cut.
The mask-bridge conversation is the same one AIVON runs when a fine-pitch IC shows up on a first article. Ask for a dam only where the gap can hold one. Gang-open the rest. On a 0.5 mm VQFN charger that is a milder version of the 0.18 mm rule that already failed on tighter modules. Document the opening so assembly does not treat a missing dam as a surprise short after reflow.
Panelization is the other half of custom once the campaign clears 500. Name holes past 3 mm as precision-routed. Put 0.8–1.0 mm mouse bites on the tabs. Then board 400 matches board 1. The tester could carry muxes and a programming header without probe pads vanishing under ink. The HAT could carry the charger, the STM32, and the XT30 pair without the 40-pin wandering off the pad. Sense parts stayed two-wire accessible.
AIVON also built and assembled the tester itself — the fixture that made a thirty-second script trustworthy. Fast-turn PCB manufacturing, expert DFM analysis, and one-stop fabrication plus assembly meant the twenty-piece Rev C pilot could be spent on silk, load behavior, and fixture proof instead of on waiting for a second vendor. That is how Rev D left the bench: readable silk after HASL, an unused connector removed before the production panel, and in-house flash that fails a board in about thirty seconds.
The full DFM checklist — silk size, pad-to-pad dams, copper-to-outline clearance, tenting notes, PTH versus NPTH naming, unused-footprint removal, and in-house flash-and-measure — is laid out in the video. Watch Luke's recap in the KOL video, then use that checklist on your own campaign board before you freeze the production panel.
Conclusion
AutoEcology's story is a remote-Pi brief that met a crowd. Luke and Matt kept the HAT on two layers, spent the extra Rev C boards on silk and load behavior, and refused to treat testing as optional once the order book passed five hundred. AIVON's part was the dull copper: mask that matches the quote, panels that break clean, and a tester that makes a thirty-second script honest.
If your own campaign just 5×d, freeze the stackup, spend a short pilot on the things that only show up at quantity, and put a fixture on the same FR-4 rules as the product. That is how a hundred-board idea becomes 514 packed HATs.
FAQ
Q1: How many PCB revisions should a Kickstarter HAT budget before shipping?
A1: Budget a production-intent revision, then a short pilot if demand jumps. PV Pi launched on Rev B, proved Rev C on twenty boards, and mailed Rev D after silk, connector, and load fixes.
Q2: Can a 10 A MPPT Raspberry Pi HAT stay on 2-layer FR-4?
A2: Yes, if the charger path is poured, the VQFN thermal pad is real, and copper is pulled off the routed outline. Four layers do not fix a mask dam the process cannot hold.
Q3: When should you gang-open pads instead of drawing a solder-mask bridge?
A3: When pad-to-pad drops under about 0.18 mm on standard green mask — typical around a 0.5 mm-pitch charger. A missing dam is a solder bridge after reflow.
Q4: Why fix silkscreen on a power HAT before a 500-board run?
A4: Operators stuff what they can read after HASL. Keep text off SMD pads and above about 0.75 mm high and 0.65 mm wide, or you will reprint the panel for readable RefDes.
Q5: Is factory programming enough on a mid-size PCB run?
A5: Not if every panel can mix copper, paste, and parts differently. In-house flash-and-measure on an AIVON-built tester caught bad sense values in about thirty seconds before any HAT left Melbourne.
All right, folks. So, that about wraps it all up. It is now almost the end of April and as of a few weeks ago, we have finally shipped out all of our PV Pi boards to our Kickstarter backers and our pre-orders as well.
I know I said this a few times in some previous videos, but we really weren't expecting such a big turnout for our Kickstarter. Matt and I when we were initially talking about how many boards we'd like to sell, we thought, you know, maybe 100 would be a good number. 100 makes it sort of worthwhile sending out a manufacturing run for our board design. Leaves us with some and maybe some other people might be interested as well. We certainly weren't expecting to 5x that amount. So, almost 600 boards, well, about 514 for the Kickstarter, but we ordered, I think, 570 all up. So we'd have some extras, you know, some in case there were failures that we couldn't end up using and some for ourselves as well. So, much bigger manufacturing run than we initially expected. So, thanks a lot to everyone who supported us. And not just to the people who supported us directly on Kickstarter, but everyone who gave their feedback and provided us some support with our project. We really appreciate that.
I'm not sure if I mentioned in the previous videos, but because we had such a large turnout, we were able to do a few things that we hadn't initially planned on doing. The main one was doing an additional prototype run. So, the board we launched the Kickstarter with was, I think, a rev B and we were going to go from that rev B to rev C, make some little changes in the final production run. But because we had such a large turnout, we wanted to do an additional prototype run just to make sure that there was nothing else that might be an issue. So, we ordered another 20 boards of the rev C. There weren't any really major issues. There were a few things that we ended up changing. So, this is rev C and then we ended up shipping rev D, which is on here. So, we fixed up some of the silk screens. We changed this connector here, which didn't really matter too much. I don't think too many people were going to use the external temperature sensor and we made some slight modifications just to improve performance. And we wouldn't have done that if we didn't have the extra support to make that worthwhile.
We also bought a bunch of test equipment, not just the test rigs and test setup, but also power supplies, batteries, solar panels. I'm now surrounded by solar panels everywhere testing them out, not just for the Kickstarter, but for projects as well. So, if you saw the previous few videos, you would have seen me and Matt talking about our test procedure with our test rig and test PCB going through how we'd automate the testing and programming of almost 600 PCBs. So, as a part of that, Matt also designed an additional tester PCB that would automate the whole test procedure, testing the voltages, testing the components, testing some of the functionality, as well as programming the boards.
And I'd now like to take this time to thank our PCB sponsor Aivon, who manufactured and assembled our PV Pi tester PCB. We use this test PCB as a part of our test rig when testing and programming all of our PV Pis for this project. You can simply go on their website and upload your Gerber files and be presented straight away with a quote for your number of boards. If you want to also assemble, you can place a PCBA order putting your details, add it to cart and link your PCB Gerber files before uploading your BOM and pick and place files. The quality was great and we had no issues and the tester board worked great for our needs. So, thanks again to Aivon for being our PCB sponsor and supporting this project.
Back to the video. There were a lot of questions and comments about that whole procedure, not just on YouTube, but some of the other socials as well. And the main two questions people had was, why don't you just get the manufacturer to do it and why do it at all? Why not just send out the boards and just hope for the best? If some fail, then all you can just replace them. Is the additional cost of testing actually worth it and you can just, you know, replace a board here and there?
On the first point, we did talk about that in the videos that you can get the manufacturer of the actual PCB and assembler to integrate the testing and programming into the actual production pipeline, but there are additional costs to that. You need to provide them with the test bed, the test platform, the test firmware, as well as the firmware of the board and that sort of additional costs for a mid to small batch run that we had wasn't really worth it. Being able to do the testing and programming in-house gave us a lot more control over what we did and what we were looking to do and it really wouldn't be worth it until we had much higher product runs into the thousands, which not sure we're going to have anytime soon, but who knows?
On to the second point of why do the testing at all? Again, we kind of talked about that in those videos. Sure, you could send out the boards and sort of hope for the best, but that sort of logic sort of assumes you already know what the failure rate of your boards are. If you're just going to cover the replacements and not spend the extra money on doing the testing yourself. But really doing the testing, even if we're doing it ourselves, only adds a couple of dollars to the overall cost and sending out the board, the shipping costs, the additional product cost is like worth dozens of board testing minutes or hours or however many however long it takes. It only takes about 30 seconds to do the testing and programming ourselves. But even if you want to go down that route, like I said, it assumes you know what the failure rate is and every manufacturing run is going to be slightly different, slight differences in the PCB manufacturing, slight differences in the assembly, slight differences in the components from the manufacturer as well. So, you don't know what it's going to be until you actually do the test. You can do sort of small-scale testing of the boards to try and work out what the issues are, but until you produce at a large scale and test at a large scale, some tiny little things that you can easily fix in the design don't really show up until you do that sort of large-scale testing. You also really don't want to discover failure modes when the board's in the customer's hand out in the field. You want to be on top of any issues that might arise and it's really just not a good look if you're sending out a product and it's failing out in the field and it's really a short-term mindset to not bother with testing and just send out whatever and hope for the best and replace them if there's any issues.
There really wasn't anything like this on the market and there still isn't, but Matt and I don't really have any delusions. We know that this board could easily be copied. Someone could come along and easily just rip this and copy it. And so, things like better firmware, better testing, better process, the tutorial videos, the user manual, all adds up to making a better product, better user experience for the end customer. We're really interested in the long-term building a reputation because as I'll talk about in a moment, this is not going to be our final product, hopefully.
So, as I kind of mentioned at the start, we had pre-orders that we included in the Kickstarter batch. So, they got PV Pis at the same time almost as the Kickstarters and we did have some left over at the end that we ended up putting up on the online store. It was almost 20 boards and they basically sold out within 12 hours. I didn't even have time to make a post about it. They sold out so quickly. We're going to have some additional boards available in the next few weeks. You can join the wait list on the Auto Ecology store if you want, but there's quite a lot of people on there. So, they'll probably sell out pretty quickly.
What we're probably going to do in the future is do another pre-order run. So, we'll have pre-orders open for like a month and then we'll collect those and then we'll put a manufacturing order in, get the boards and do the whole process over again. We really don't have the capital at this stage to be placing large manufacturing orders ourselves, so the pre-orders really help with that. We'll order some extra boards as well and sell them afterwards, but the pre-orders get theirs first.
We're kind of waiting to get more feedback on the PV Pi for those who do have it. I think most people have got it. I know there's some places in Europe that I think it's taken a bit longer to get through customs. Everywhere in Australia, New Zealand, most of the US and Canada have got it, but we're sort of just waiting for people to test it out. We've already done our own extensive testing, week-long, month-long testing and there's no issues, so we're not expecting any major issues to arise, but we just like to get it into the hands of a bunch more people to see what they have to say. We know it's not perfect. We know there's a few little things that we would have liked to add or change, but we ran out of time, it was too expensive or there just wasn't the real estate on the board left to add anything extra. So, those little things we kind of expect might turn up, but we're not too worried about those.
At this stage, we don't really have any plans to do like a rev two of the PV Pi or a different PV Pi version. All the things that we wanted it to do, pretty much does all that. We wanted it to be able to power a Raspberry Pi out in the field for in remote locations, not just provide solar battery charging, but a bunch of these support around that. And we're pretty proud and pretty happy with how it turned out. Not just the hardware, but the firmware, the software, the user manuals and everything as well.
On that, we've actually created another YouTube channel for Auto Ecology, which is where we've been posting all the tutorial videos for how to set up and use the PV Pi. We did that because I didn't want to crowd this channel with all that sort of product information. I'm going to sort of create a separation there between product information, product tutorials and some of the projects that I'm working on because there's going to be more people than just me working with Auto Ecology in the future. You've already seen Matt, but hopefully we'll have some more help in the future as well.
And just because we might not be doing another version of the PV Pi, it doesn't mean we're not looking to create additional devices. I've got Matt going down the rabbit hole now of ecology technology that I've been going down for the last few years and looking at all the technology and all the devices that are out there and looking at the ways in which we could do things better, improve things, make things more accessible, make things cheaper. We're really excited about that and your support really helps us with a lot of that.
We have had a lot of recommendations and suggestions about things we could make, but through Auto Ecology, we're kind of really focused on ecological, environmental monitoring technologies and that's really what we had in mind when we developed the PV Pi. Of course, it has a range of applications, a whole bunch of different situations in which you could use it, but our main focus is on that sort of field. So, if you are interested in that, you can go and follow Auto Ecology. I will, of course, post updates on what we're doing with that on this channel as well, but a lot of the in-depth videos, like the tutorials, product information ones are going to be on that channel as well. So, I'm leaving this channel for my own projects, which I haven't really been working on because the PV Pi has been taking up so much of my time.
A lot of my YouTube project videos in fact use the PV Pi because again, we developed it because we had needs that we didn't see any products available on the market and we knew that a lot of other people had similar issues, so we developed that to fulfill our own requirements and I believe it's opened the door for a huge range of applications that you'll see through some of my future project videos as well.
All right, so that was just a quick update as to what we've been doing, where we're at, and what I'm planning to do in the future. So, thanks again for everyone's support. Thanks for watching, and I'll see you in the next one.





