PCB Layout Practices That Prevent Crossing Nets, Poor Placement, and Assembly Failures
Many early-layout problems look random: components scattered without a plan, high-speed nets crossing through analog areas, and solder joints that are difficult to assemble or inspect. Those failures usually come from skipping a small set of layout rules rather than from a lack of routing tools. A board that is partitioned by function, placed around its key devices, routed with short controlled paths, and checked against thermal, mechanical, EMC, and DFM constraints is far less likely to become that kind of disaster.
Functional Partitioning: Prevent Signal Collisions
A well-organized PCB layout starts with clear partitioning. Analog, digital, RF, and power circuits do not belong in a single mixed field. Separating those regions reduces coupling between switching edges, sensitive analog nodes, RF front ends, and noisy regulators. When the regions are allowed to interleave, signals compete for the same reference plane and the same routing channels.
Physically isolate sensitive nets such as high-frequency lines, clocks, and ADC inputs. Those nets should not share long adjacent runs with return-poor digital buses or power-switch nodes. Keep high-voltage power modules away from low-voltage signal areas so creepage, coupling, and thermal stress do not land on measurement or control circuitry. Partitioning is a placement decision first. Routing cannot repair a floorplan that already forces incompatible circuits through the same neighborhood.
Place Key Components First
Place the primary devices first, then arrange supporting components around them. The MCU, FPGA, and power-regulation ICs define the natural centers of the digital and power domains. I/O components such as USB and HDMI connectors, other board-edge interfaces, and buttons belong near the board edge so cables and user access do not drag long stubs across the interior.
Reserve clearance for heat-generating components and place them near thermal vias or enclosure openings when possible. A regulator or power FET buried under a dense cluster of small passives is harder to cool and harder to rework. Early placement of the large and hot parts also leaves room for decoupling, crystals, and termination networks that must sit next to the pins they serve.
Keep Routes Short and Smooth
Treat critical signals as paths that should stay short and direct. Route high-speed nets such as DDR, PCIe, and LVDS with minimal bends and without unnecessary layer hopping. Every extra turn and via is a discontinuity. Avoid acute-angle traces; use 45° bends or arcs to reduce impedance disruption and to keep inner corners from becoming manufacturing and field-concentration problems.
Minimize loop area in critical return paths. A signal that leaves its reference and comes back through a distant path forms a loop that collects noise and radiates more readily. Keeping the forward path and its return close together improves noise immunity without adding components. Short, smooth routing is therefore both a signal-integrity rule and an EMC rule.
Power and Ground Routing
Proper power and ground routing removes a large fraction of interference problems before filtering has to solve them. Keep power traces short and wide, and route energy in the order input → filtering → regulation → load. Reversing that order, or feeding a load from an unfiltered node because it was geometrically convenient, puts ripple and switching noise onto circuits that expected a quiet rail.
Place 0.1 μF decoupling capacitors close to the chip pins they serve so the high-frequency current loop stays small. Place 10 μF capacitors near the power input to support the local rail when the load steps. The two values are not interchangeable: the smaller capacitor handles fast charge at the pin, while the larger capacitor replenishes energy at the entry to the domain.
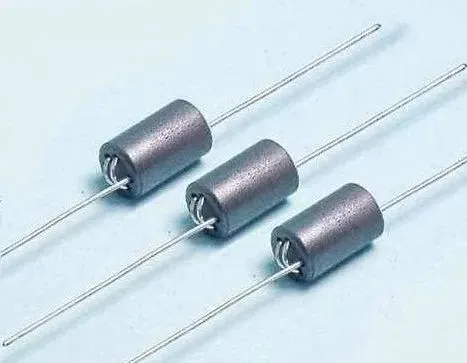
Keep the ground plane continuous. When analog and digital grounds must be distinguished, connect them with a single-point bead or another controlled connection rather than with a scattered set of accidental ties. Connect thermal pads directly to ground where appropriate. That connection improves heat spreading and can also improve EMC by giving a low-impedance path for device-level return current.
Thermal Design
Do not place electrolytic capacitors next to heat sources. Elevated temperature shortens their life and can shift the rail they were meant to stabilize. Use vias, copper pours, and heatsinks on hot components to move heat out of the package and into the board or the enclosure. For BGA packages, use symmetric component placement around the device so thermal expansion does not concentrate on one side of the package and warp the PCB.
Thermal design is part of placement, not a late copper-pour exercise. If the hot parts are already locked against a sensitive analog cluster or against a tall electrolytic, later pours and vias can only reduce the damage.
Mechanical Compatibility
Reserve mounting holes and keep a 3–5 mm no-populate zone along the board edge. That edge zone leaves room for card guides, enclosure ribs, and handling, and it keeps parts off the most stressed margin of the board. Observe height-restricted areas so components do not collide with the enclosure, shields, or neighboring assemblies.
Do not place ceramic capacitors too close to mounting holes. Fasteners and chassis features apply mechanical stress through those holes. Ceramics near that stress concentration are more likely to crack under shock or board flex. Mechanical keepouts are therefore reliability rules as well as packaging rules.
EMC Starts with Layout
A poorly referenced high-speed net can behave like an antenna. Route high-frequency clock traces on inner layers and surround them with guard structures and stitched vias so the clock stays over a defined reference and does not leak at every gap. Place filtering components close to the noise source, relays, motors, and similar switched loads, so the noise is attenuated before it travels across the board.
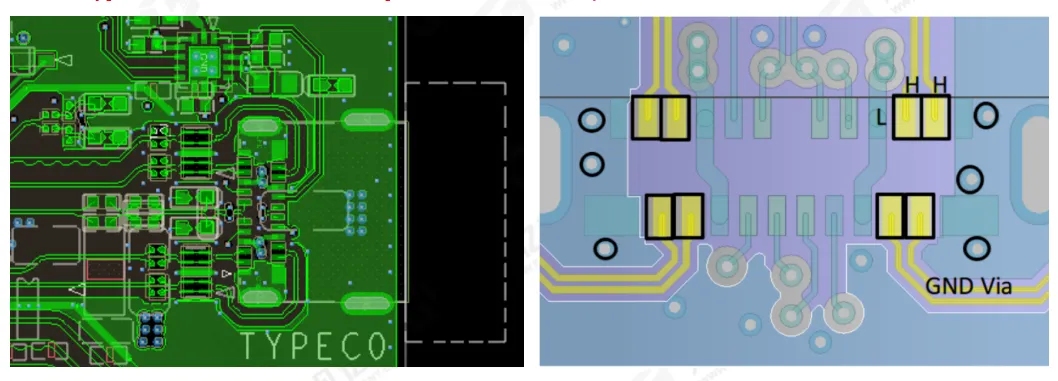
Keep USB and HDMI differential pairs equal-length and symmetric. Intra-pair mismatch should be less than 5 mil. Maintain a continuous reference plane beneath high-speed traces and be cautious when switching layers. A layer change without an adjacent return via forces the current to search for a distant path and re-creates the loop that partitioning and short routing were meant to avoid.
DFM Details That Affect Yield
Maintain reasonable component spacing. For 0402 parts, leave at least 0.2 mm between components so paste, placement, and rework remain practical. Orient polarized components consistently to improve assembly efficiency and to reduce polarity errors on the line.
Do not place silkscreen over pads, and do not cover reference designators that assembly and inspection still need. Design-rule starting points include trace width greater than 4 mil, drill diameter greater than 0.2 mm, and soldermask openings about 0.1 mm larger than the pad to reduce solder bridging. These values are process floors, not a substitute for the fabricator's own capabilities, but they prevent a class of boards that are electrically finished and still unmanufacturable.
Final Checklist Before Release
Before releasing Gerber or ODB++ data, verify power and ground connectivity, decoupling capacitor placement, and the continuity of reference planes under high-speed nets. Check component spacing, hole and keepout clearance, and silkscreen that overlaps pads or critical markings. Confirm thermal paths, placement symmetry around large packages, and the absence of concentrated hot spots.
Double-check high-frequency nets, EMC guard and stitch structures, and any routing that could act as an unintended antenna. The checklist is not a second design. It is a last pass over the same rules that should already have guided partitioning, placement, and routing.
Placement Tools and Practical Tips
In Allegro, Rooms can partition functional areas so analog, digital, RF, and power parts stay in their assigned regions during placement. Load 3D models early enough to catch enclosure interference while components can still move. Set DRC rules tightly enough that width, spacing, drill, and keepout violations are caught automatically instead of during a manual late review.
PCB layout becomes manageable when the core sequence is fixed: partition the board, place the key devices, route short controlled paths, treat power and ground as first-class nets, and then close thermal, mechanical, EMC, and DFM constraints. Practice on real boards and use simulation on critical interfaces when the margin is not obvious from geometry alone. That sequence is what turns haphazard placement into a layout that can be assembled, cooled, and operated without preventable collisions between signals, heat, and the enclosure.