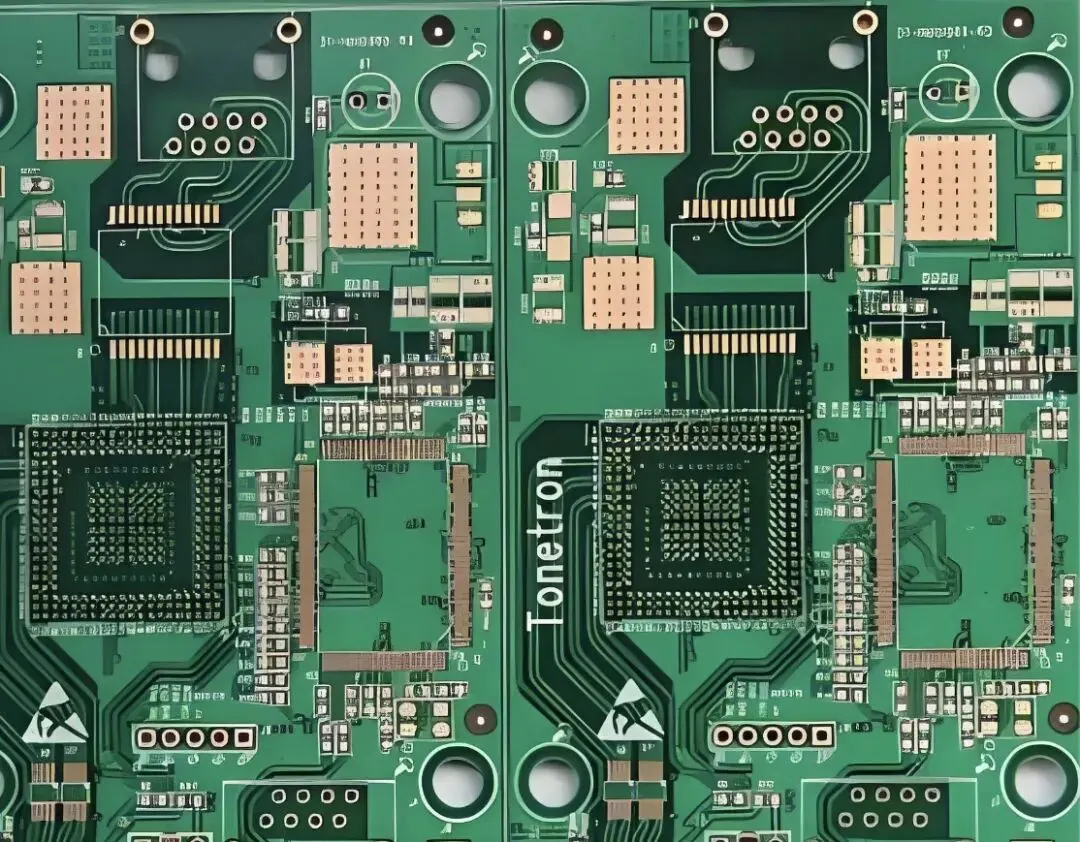





On server, workstation, and high-performance computing motherboards, the SMT placement of long SMT DIMM sockets (memory connectors) is a recurring process bottleneck. Their long body, high pin count, and high center of gravity make automated placement unforgiving: minor misalignment can lead to board jamming, skewed placement, or even nozzle damage.
This article unpacks a practical DFM rule aimed at ensuring smooth, trouble-free placement of DIMM sockets. By combining structural choices with oval NPTH hole design for the locator features, you can achieve truly "zero-pressure" placement — meaning the pick-and-place machine does not need to apply excessive Z-axis force to seat the socket.
Rule Snapshot: The "No-Press" Ground Rules for DIMM Sockets
To enable reliable, smooth placement, adopt the following design rules:
-
Locating method priority:
- Preferred: Fitting tabs or plastic locating posts (plastic posts integrated into the connector).
- Secondary (use with caution): Board lock pins (metal lock pins at the base of the socket).
-
Mandatory criteria when using board lock pins:
- Hole shape: Use oval NPTH (non-plated through) holes to save space and provide directional clearance.
- Aperture formula: Lp = Lc + 0.10 mm to 0.20 mm.
- Note: Lp is the long-axis dimension of the oval hole; Lc is the maximum width of the lock pin.
-
Applicability:
- Applies to DIMM sockets whose latch opens in the direction of the socket length (i.e., along the long axis of the body).
Why Pursue "Zero-Pressure" Placement?
During SMT, the pick-and-place nozzle seats components by applying Z-axis force. For small components this press-in force is modest. For long, heavy connectors like DIMM sockets, relying on high seating force is risky and unnecessary when better mechanical design is available.
1. Pain Points of Metal Board Lock Pins
Many DIMM sockets include metal board lock pins to mechanically stabilize the socket during assembly and reflow. However, if these pins are paired with tight, circular NPTH holes on the PCB, several failure modes are triggered:
- Interference risk: With tight-fit circular NPTH holes (for example only marginally larger than the pin), the pin rubs hard against the hole wall during placement. This rigid metal-on-fiberglass contact increases friction and requires extra seating force.
- Consequences of excessive Z-force:
- Cracked connector body: The plastic housing can fracture under compressive load concentrated around the lock pins.
- Pad damage or solder-mask blistering: Downward force transfers to solderable features and the laminate, increasing the risk of pad deformation, solder-mask lift, or board warpage.
- Coplanarity issues: Uneven seating creates height variation across the soldered leads, complicating reflow wetting and leading to marginal solder joints.
2. Advantages of Plastic Locating Posts
- Compliance: Plastic posts offer inherent elasticity and can tolerate minor hole undersize without damaging the PCB or the connector body.
- Low stress: They avoid the rigid, high-friction engagement characteristic of metal lock pins, minimizing localized stress during placement.
Core Technique: Oval NPTH Hole Design
When metal board lock pins are unavoidable, oval NPTH holes are the best way to reconcile placement tolerance with board real estate constraints. They create a controlled, directional clearance that supports "zero-pressure" seating while maintaining stability through reflow.
1. Why Use an Oval?
- Long-axis (length direction): The long dimension of the oval provides small fore-and-aft compliance, allowing the pick-and-place machine to align and seat the socket without high Z-axis force. This directional play compensates for component and placement tolerances.
- Short-axis (width direction): Tight control of the short dimension prevents side-to-side wobble during reflow, preserving positional stability and controlling coplanarity.
2. Tolerance Calculation
Assume the lock pin's maximum width (Lc) is 2.00 mm.
| Parameter | Value | Notes |
|---|---|---|
| Lc (pin width) | 2.00 mm | From the connector datasheet |
| Clearance (Gap) | +0.10 to +0.20 mm | Safety allowance accounting for tolerances |
| Lp (long-axis of oval hole) | 2.10 to 2.20 mm | Design target |
Formula:
Lp = Lc + 0.10 mm (minimum) to Lc + 0.20 mm (recommended)
This directional clearance approach retains lateral restraint while providing just enough axial play to eliminate the need for high seating force.

Design Execution Checklist
To pass DFM review and achieve reliable SMT placement, follow these steps:
1. Component selection: Prefer plastic posts
When choosing a DIMM socket, check whether a version with plastic locating posts is available. If so, select it — this is the safest and most forgiving option for SMT.
2. PCB layout: Implement the oval NPTH hole
If metal lock pins must be used:
- Measure: Confirm the lock pin width (Lc) from the connector datasheet.
- Calculate: Set the oval long-axis to
Lc + 0.15 mmas a mid-point between the minimum and recommended values. - Draw: In the PCB footprint library, change the NPTH from a circular hole to an oval/slot (NPTH slot).
- Orientation: Align the long axis of the oval with the length of the DIMM socket.
3. Fabrication documentation
In the Gerber fabrication notes or Readme, clearly specify:
"DIMM Socket Lock Pin Hole: Oval, Size = X.XX mm x Y.YY mm (Non-Plated)"
4. Manufacturing considerations for NPTH slots
- Tooling and tolerance: Confirm the PCB manufacturer's minimum slot width and routing/drilling method for NPTH slots. Ensure the long-axis dimension (Lp) and the short-axis width comply with their process capability and tolerance stack-up.
- Non-plated rationale: Keeping these holes NPTH avoids copper exposure and solder wicking into mechanical holes, and prevents unintended solder fillets or capillary action around the lock pins.
- Solder mask and clearance: Provide appropriate solder mask clearance around the slot to prevent mask cracking during placement and reflow, without exposing unnecessary copper.
- Positional stability: The oval should provide axial compliance only; the short-axis should be tight enough to prevent lateral motion through the thermal cycles of reflow.
- Assembly alignment: Ensure the fiducials and local reference features near the DIMM socket enable the pick-and-place to resolve the long body's skew and yaw before setting down; the oval hole will provide the final fine accommodation during seating.
Summary
For long SMT DIMM sockets, ease of placement matters more than tight mechanical engagement during SMT. Designing for "zero-pressure" seating prevents mechanical damage and improves coplanarity, ultimately increasing first-pass yield and long-term reliability.
- Preferred locating method: Plastic locating posts offer compliant, low-stress alignment.
- When using metal lock pins: Pair them with oval NPTH holes oriented along the socket's length to provide directional compliance without lateral looseness.
- Key sizing rule: Lp = Lc + 0.10 to 0.20 mm for the oval long axis, with the short axis closely fitting the pin to maintain side-to-side restraint.
Applying this simple rule and documenting the NPTH oval slot in your fabrication notes can significantly improve SMT placement yield for long DIMM sockets while avoiding excessive Z-force and the resulting mechanical risks.