




Ask a general manager at an EMS factory what defines their production-line competitiveness and you will often hear: "We run top-of-the-line pick-and-place machines with ±25 μm accuracy." Ask an engineer how they ensure yield on a 0.3 mm pitch BGA and the answer might be: "Stabilize the reflow profile and keep the stencil clean."
Before all of that, a more fundamental question demands an engineer's answer: is the multi-million-dollar placement machine truly as accurate as its datasheet claims?
SMT production is surrounded by marketing terms—"high precision," "high speed," "nanometer positioning." Yet lines still struggle with placement offset, component loss, and tombstoning. Shift the focus to the heart of the SMT line: the pick-and-place machine's process capability index (Cpk). With quantifiable methods, you can verify, monitor, and extract every bit of real performance from the machine.
1. Breaking the Myth: Nameplate Accuracy ≠ Real Capability
Nearly every pick-and-place brochure says: Placement Accuracy: ±50 μm @ 3 Sigma (Cpk ≥ 1.0).
That single line hides several traps:
-
Laboratory numbers: Measured under controlled temperature and humidity, on brand-new equipment, using specific components (often 0603 resistors). What about your shop-floor environment? Are you placing QFPs or large connectors?
-
Short-term capability: What does "3 Sigma" imply? Roughly 2,700 defects per million (DPM)
Idealized conditions: It ignores feeder pitch error, PCB expansion or shrinkage, and even camera aging.
What does a robust industrial target look like? Cpk ≥ 1.33 (4 Sigma, ≈63 DPM) or even Cpk ≥ 1.67 (5 Sigma, ≈0.57 DPM).
Without Cpk validation, you are not buying a precision machine—you are buying a black box with unknown yield risk.
2. What Cpk Really Means in SMT
Cpk (Process Capability Index) quantifies, for the placement process, how much margin the machine has to meet your process window once both mean offset (μ) and random variation (σ) are accounted for.
2.1 The "Engineering" Reading of the Formula

Translated into practical engineering terms:
-
μ (mu) — systematic bias: If μ = 0.01 mm, the machine is biased, e.g., the "sights" are off. Common causes include coordinate-system calibration error or incorrect PCB expansion compensation.
-
σ (sigma) — random variation: If σ is large, placement wanders. Typical causes include belt wear, ballscrew backlash, or inconsistent nozzle Z-height.
-
USL/LSL — your process limits: These are the red lines. For a 0.5 mm pitch QFP with 0.25 mm pad width and 0.22 mm lead width, the maximum allowable placement offset is on the order of 0.015 mm.
Why Cpk matters:
If Cpk = 1.0, the machine's error essentially fills your process window—there is no robustness. If Cpk = 2.0, the machine's error consumes only one-sixth of the window—an extremely stable state.
3. Practical Validation: How to Verify Cpk Like an Expert
You do not need exotic glass plates or special fixtures. With your existing line and materials, you can run a rigorous Cpk validation.
3.1 Phase 1: Test Vehicle Design
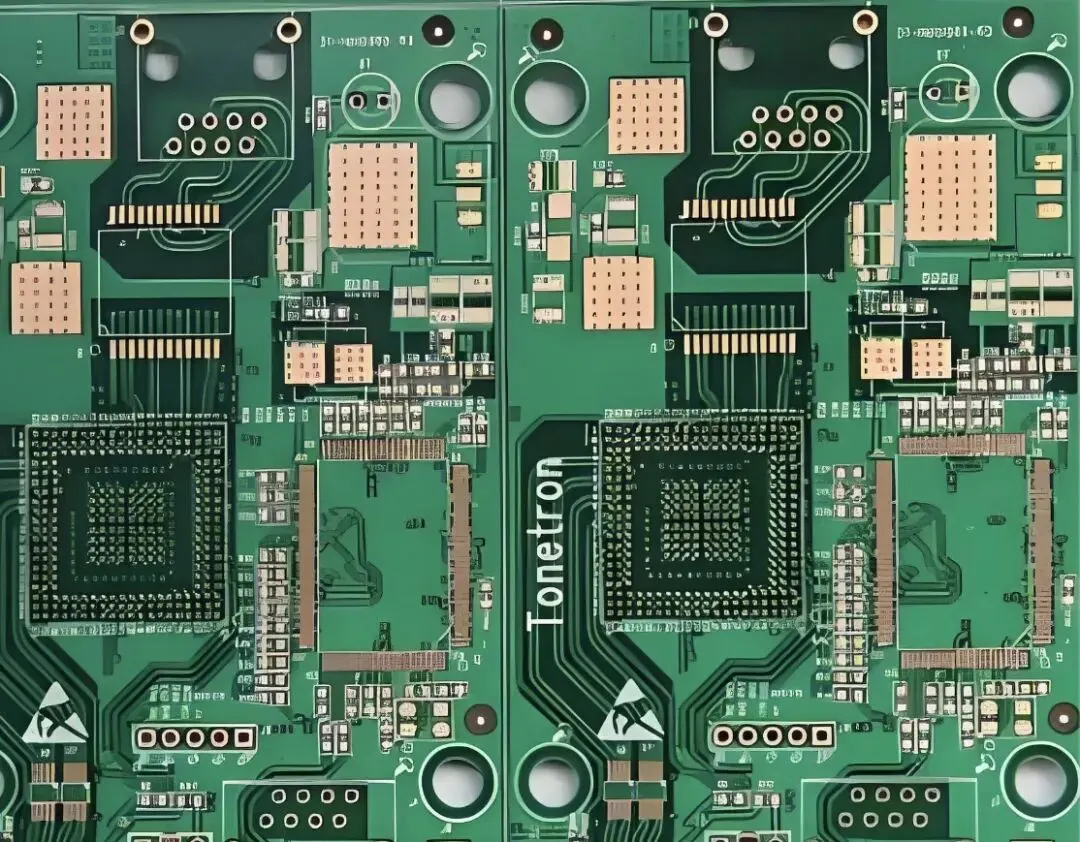
Do not experiment on a production board. Design a dedicated test vehicle (Cpk test coupon).
-
Component selection:
-
High-sensitivity components: Choose a 0.4 mm or 0.5 mm pitch QFP (e.g., QFP64 or QFP100). Finer leads are more sensitive to placement error.
-
Common components: Include multiple 0603 resistors, SOT-23-3, and 1206 capacitors to evaluate different nozzles and feeders.
-
-
Pad design:
-
Follow IPC land-pattern guidelines.
-
Critical: Add at least three global fiducials placed diagonally to mitigate the effects of PCB expansion/shrinkage.
-
-
Layout strategy:
-
Distribute components across nine locations: four corners, midpoints of the four edges, and the center. This probes consistency across different mechanical positions (near rails, center, far end).
-
3.2 Phase 2: Data Collection
This is the most tedious and most critical step.
-
Sample size: Collect at least 30 boards for basic statistics; 50 boards is recommended for tighter confidence.
-
Control variables:
-
Use the same nozzle.
-
Use the same feeder position.
-
Maintain ambient temperature at 23 °C ± 2 °C.
-
-
Measurement method:
-
Do not use calipers. Use a 2D/3D SPI (solder paste inspection) system or a high-precision vision measurement system.
-
Measure each component's X offset, Y offset, and theta rotation.
-
4. Data Analysis: Seeing the Machine's "Soul" in the Numbers
Assume you built 50 boards with 9 QFPs each, for 450 data points. Now compute.
4.1 X/Y Axis Analysis
Example X-axis measurements of QFP lead center relative to pad center:
-
Mean (μ): ?0.002 mm (machine is biased ~2 μm to the left).
-
Standard deviation (σ): 0.008 mm.
-
Upper spec limit (USL): +0.075 mm (based on land pattern).
-
Lower spec limit (LSL): ?0.075 mm.
Compute Cpk_x:

Interpretation: A result of Cpk > 3.0 is outstanding—this machine is overqualified for this component type.
4.2 Theta (Rotation) Analysis
Rotation error is the nemesis of BGAs and QFPs.
-
If the theta σ is large, lead-to-pad contact area decreases, jeopardizing solder joint quality.
-
Rule of thumb: For 0.5 mm pitch QFPs, theta Cpk is often worse than X/Y. If theta Cpk falls below 1.33, suspect vision algorithm performance or rotational-axis backlash in the nozzle head.
4.3 Positional Heat Map
Plot the nine-location Cpk values on the PCB layout.
-
Observation: The bottom-right region drops to Cpk ≈ 1.0 while other regions are ≈ 1.5.
-
Diagnosis: The X-axis ballscrew tail end may be worn, or that segment of the guide has mechanical play. This is where Cpk analysis shines—it localizes mechanical issues.
5. Advanced Use: Let Cpk Drive DFM
The ultimate value of Cpk is not grading machines; it is informing your PCB design and DFM decisions.
5.1 Back-Calculating Pad Width
Suppose your validated placement capability is Cpk = 1.5 (4.5 Sigma) with σ = 0.01 mm. Your process requirement is that the lead must cover 75% of the pad width.
Using the relationship between Cpk, σ, and allowable offset, you can back-calculate the placement tolerance and pad width:

This implies your pad design must accommodate ±0.045 mm of placement offset. If the lead width is 0.20 mm, the minimum pad width should be .
Without Cpk validation, would you dare to push such aggressive pad geometry?
5.2 Risk Assessment for Component Selection
-
0201 passives: They demand extremely tight placement capability. If the machine's Cpk is around 1.0, scrap and throw rates on 0201s will be painful.
-
Connectors: Large connectors are highly sensitive to theta error. If Cpk indicates poor rotational stability, add more tooling holes in the PCB or switch to connectors with locating pegs.
6. Dynamic Cpk: The "ECG" of Machine Aging
Cpk is not a one-time acceptance measurement; it should be a routine production metric.
6.1 Basis for Preventive Maintenance
Do not wait for an alarm to start troubleshooting.
-
Establish a baseline: Record per-axis Cpk values at new machine acceptance (e.g., X-axis Cpk = 3.5).
-
Periodic checks: Run the test vehicle monthly.
-
Early warning: If any axis Cpk drops below 2.0, schedule inspection for ballscrew lubrication and belt tension—classic predictive maintenance.
6.2 Fast Validation After Changeover
Many lines scrap the first board after changeover. Instead, run a quick SPI scan on the first article and compute a provisional Cpk (even with 5 samples). If Cpk < 1.0, your program coordinates or stencil alignment are likely off—fix immediately before producing a batch of scrap.
7. Pitfalls: Hidden Killers That Depress Cpk
When Cpk looks bad, the root cause is not always the placement head. Watch for these systemic variables too:
7.1 Feeder Error
Often the largest variable. If the feeder pitches inconsistently, the part is mislocated under the nozzle, causing placement offset.
-
Countermeasure: Use the OEM feeder in optimal condition during Cpk testing.
7.2 Nozzle Z-Height
Inconsistent downstroke height induces sliding when the component is released onto the pad.
-
Countermeasure: Recalibrate all nozzles' Z (part height) and vacuum break timing before testing.
7.3 PCB Support
Without adequate under-board support, the PCB deflects during placement, effectively lowering the placement height and causing the component to "smash" and slip.
-
Countermeasure: Use appropriate magnetic support pins under the test vehicle.
8. From "Good Enough" to Data-Driven
Chinese electronics manufacturing made enormous strides over two decades using scale and pragmatism. Today, with the demands of automotive, aerospace, and high-end medical electronics, the path forward is data-driven engineering.
Cpk is the yardstick.
It answers:
-
Is the machine truly capable? (acceptance criteria)
-
Can the board be designed tighter? (DFM justification)
-
When will the machine degrade? (maintenance forecasting)
When you watch the pick-and-place heads racing across the board, do not focus on speed alone. Ask: What is my Cpk? With Cpk under control, you truly control SMT manufacturing.