Hey there, fellow makers and hardware enthusiasts! I'm a Prototype/DFM Engineer at AIVON with over 15 years of experience turning wild ideas into solid, manufacturable electronics. There's nothing quite like watching a creative project evolve from a pile of modules on a breadboard into a polished, interactive device that feels alive. That's exactly what happened with Tech Talkies' fantastic build: an AI chatbot running directly on an ESP32-S3, complete with voice conversation capabilities and a charming animated face on an OLED display.
In this story, we'll follow the creator as the hero who tackled setup hurdles, optimized firmware, and added delightful UI touches. We'll dive into the smart decisions that made it work, the inevitable prototype challenges, and the practical manufacturing lessons that turn good ideas into reliable products. And yes, we'll see how a trusted partner like AIVON can make that transition smoother and more successful.
The Spark of an Idea: Bringing Xiaozhi AI Chatbot to Life on ESP32-S3
Imagine chatting with a friendly AI assistant that lives entirely on a compact ESP32 board – no heavy cloud dependency for basic interactions, voice in and out, and even a cute animated face that blinks, listens, and "speaks" along with the responses. That's the magic Tech Talkies brought to life in their YouTube video.
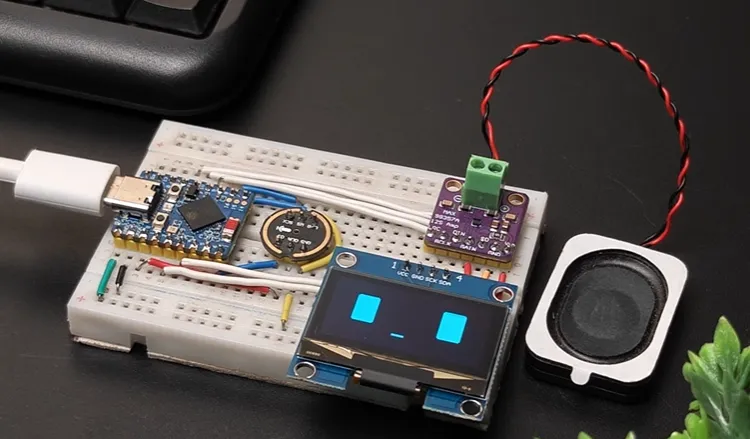
The creator wanted to build Xiaozhi, an open-source AI chatbot that runs on ESP32 hardware with voice interaction and support for custom knowledge bases. The challenge? Setup isn't plug-and-play. Different boards behave differently, PSRAM and build issues pop up, and documentation can be scattered. They set out to create a clear, practical guide that works across various ESP32-S3 boards while adding a lightweight animated face UI using a simple 128x64 OLED for extra personality.
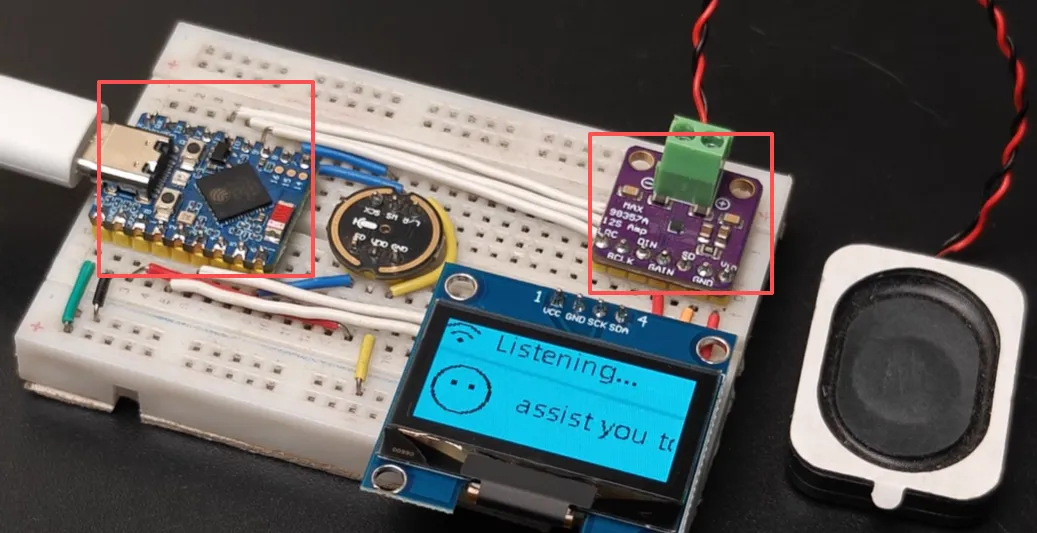
This project perfectly captures the maker spirit: accessible yet ambitious. It combines audio processing (INMP441 I2S mic for input, MAX98357 I2S amp for output), display integration, Wi-Fi configuration, and LLM-backed conversations. But as any experienced engineer knows, the real magic – and the biggest headaches – happen at the hardware level. Solid PCB design and manufacturing are crucial here because loose breadboard wires, signal integrity on I2S lines, power stability for the mic and amp, and reliable OLED connections can make or break real-world performance and user experience.
The goal wasn't just to get it working once on a bench; it was to create something shareable, fixable, and upgradable. That's where thoughtful layout, component selection, and DFM-aware design shine.
Project Highlights and Key FeatureWatching the Magic Unfold: Highlights and Clever Features from the Build
Tech Talkies walks viewers through the entire journey with infectious enthusiasm.
Starting with hardware selection
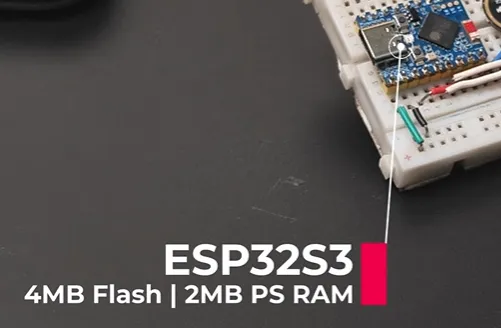
● ESP32-S3 board with at least 4MB flash and 2MB PSRAM (they used a Waveshare ESP32-S3-Zero)
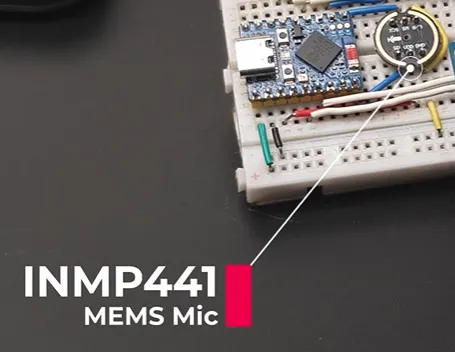
● INMP441 MEMS mic
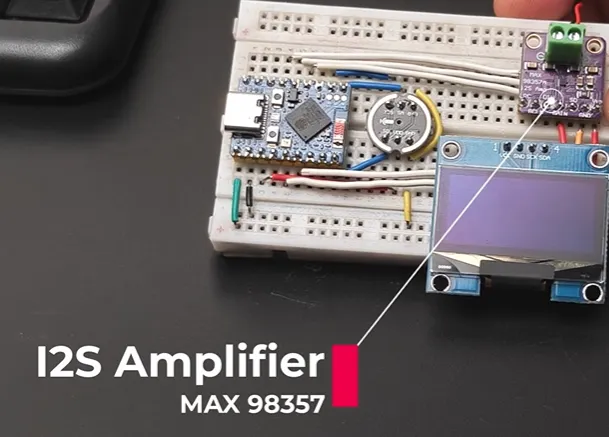
● MAX98357 amp
● Small speaker
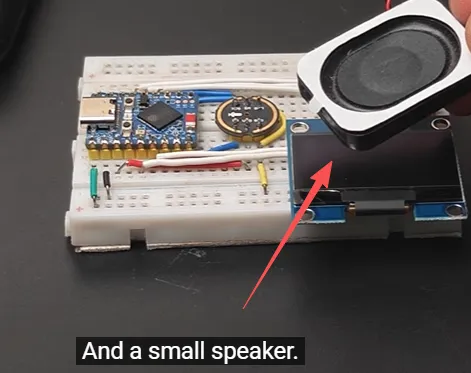
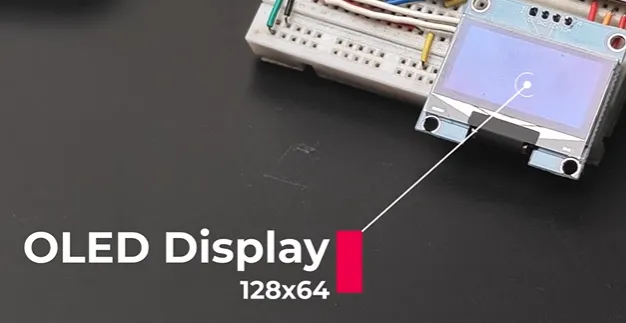
● 128x64 OLED Display
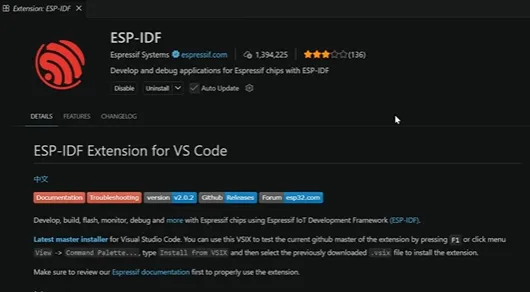
The voice interaction is delightful: it responds conversationally, checks weather, plays music, adjusts volume, and even handles trivia like Shakespeare facts. But the standout feature is the custom animated face plugin from the Face-for-Xiaozhi repo. Animated eyes that blink and move idly, a dynamic mouth for speaking, and states for idle/listening/speaking bring the little bot to life. No heavy modifications to core firmware – just modular additions that swap in cleanly.
Viewers see real demos: the bot greeting users, engaging in back-and-forth chat, and reacting expressively on the OLED. It's not just functional; it's fun and personable, exactly what draws people to these edge AI projects. The creator emphasizes troubleshooting common pitfalls, making the guide genuinely helpful for anyone replicating it.
This build showcases clever, lightweight solutions that keep everything running smoothly on resource-constrained hardware while delivering an engaging user experience.
Turning the Vision into Hardware: Custom PCB Parameters That Made It Reliable
While the video uses a dev board and breadboard, a custom PCB elevates the project to a compact, reliable product.
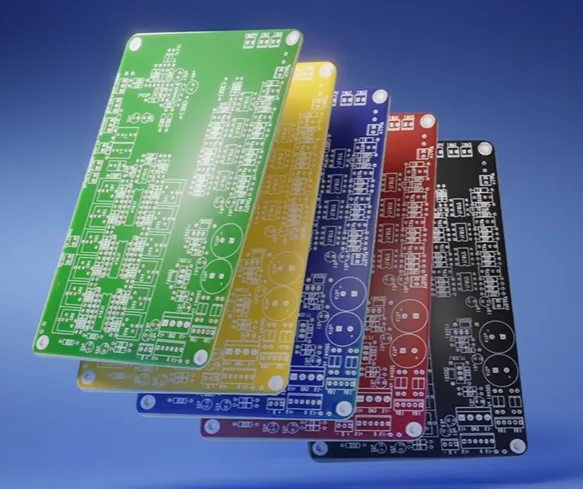
Here are recommended parameters tailored to this voice AI build:
|
Parameter |
Recommendation |
Rationale |
|---|---|---|
|
Layers |
4-layer stackup |
Excellent for I2S routing, power/ground planes, and noise reduction |
|
Material |
FR-4, Tg 135-140°C |
Cost-effective with good thermal and mechanical properties |
|
Thickness |
1.6mm (or 1.2mm for compact/portable) |
Balances rigidity, handling, and enclosure fit |
|
Surface Finish |
ENIG |
Superior for fine-pitch ESP32 pads, reliable soldering, and longevity |
|
Impedance Control |
Yes, on critical I2S lines |
Maintains signal integrity for clean audio |
|
Via Types |
Through-hole (blind/buried optional) |
Sufficient for density while keeping fab costs low |
|
Min Trace/Space |
0.15mm / 0.15mm |
Supports dense routing around module and connectors |
|
Copper Weight |
1oz outer / 1oz inner |
Adequate current capacity for power distribution |
|
Solder Mask |
Matte black or green |
Professional look; hides fingerprints |
|
Silkscreen |
White |
Clear labeling for pins and components |
Layout Highlights:
● Short, matched I2S traces to minimize jitter and noise.
● Isolated analog/digital sections with solid ground planes.
● Strategic decoupling and power routing for stable 3.3V/5V domains.
● Easy access test points and programming header.
● Mounting holes optimized for final enclosure integration.
Potential Hurdles and Smart Solutions: Lessons from the Setup Process
● Tech Talkies' guide does an excellent job highlighting potential challenges that many builders face and providing clear ways to avoid or resolve them:
● Build and configuration issues, especially around PSRAM mode (e.g., setting quad mode correctly) and flash size/partition table matching the specific hardware.
● Different ESP32-S3 boards behaving inconsistently, requiring careful pin selection and verification against each board's pinout diagram.
● Strict power requirements — the INMP441 microphone must use 3.3V (connecting to 5V risks burning it).
● Firmware integration steps for the animated face: precise file placement, CMakeLists updates, and replacing the original SetupUI function without breaking core code.
● Wi-Fi configuration flow, device activation code entry, and console setup on xiaozhi.me.
By walking through these proactively, the tutorial helps makers sidestep common frustrations and get to the fun part faster.
The Partner That Powered Success: How AIVON's Custom PCBs Elevated the Project
Here's where the story gets exciting. Tech Talkies' vision was bold, but turning it into a dependable, shareable device shines brightest with professional PCB support. That's exactly the role AIVON played as the behind-the-scenes partner.
By opting for custom PCBs, the creator (and anyone following) could move beyond fragile breadboards to a compact, robust solution. AIVON's capabilities in stackup design helped implement a clean 4-layer board with proper impedance control on I2S lines. This dramatically improved audio clarity – crisp microphone input and stable speaker output without the noise that plagues jumper wires.
Material selection and ENIG finish ensured reliable soldering for the ESP32 module, fine-pitch connectors, and SMD components like the INMP441. DFM optimizations from our engineering team caught potential issues early: adequate clearances, balanced copper, and via placement that simplified assembly and boosted yield.
Manufacturing precision meant consistent boards that performed identically – critical for a project meant to be replicated. Responsive support helped refine the design for the specific power needs (stable 3.3V rails) and routing for the OLED and audio paths, enabling the animated face to run smoothly without glitches.
The result? A device that not only matches the video's fun demos but exceeds them in reliability and polish. The custom PCB simplified enclosure integration, reduced size for portability, enhanced battery life potential through better power distribution, and made the whole experience more professional. Features like the dynamic speaking animation feel more magical when the hardware is rock-solid underneath. AIVON didn't just solve problems – it enabled the creator's full vision, turning a cool prototype into something you'd proudly show off or even produce in small batches.
DFM Checklist for ESP32-S3 Voice AI Chatbot Projects
Tailored to this build's challenges:
|
Item |
Recommendation |
Why It Matters |
|---|---|---|
|
I2S Routing |
Keep traces short (<2cm ideal), matched lengths, away from power switches |
Prevents audio jitter and noise |
|
Power Domains |
Separate 3.3V for mic/ESP from 5V for amp; ample decoupling |
Avoids damage and instability |
|
Component Placement |
Group audio sections, isolate OLED I2C |
Reduces crosstalk and EMI |
|
Test Points |
Add for key signals (I2S clocks, power rails) |
Speeds debugging and production testing |
|
Enclosure Fit |
Include mounting holes, consider antenna clearance |
Ensures reliable final assembly |
|
PSRAM/Flash Footprint |
Verify module variant early in layout |
Matches firmware config for success |
Wrapping Up the Journey: Lessons Learned and Your Next Build Awaits
Watching Tech Talkies bring this ESP32-S3 AI chatbot to life – complete with voice smarts and an endearing animated face – is pure maker joy. From wrestling with firmware quirks to delighting in those first successful "Jarvis" conversations, the creator showed what passion and persistence can achieve.
The journey highlights timeless lessons: start simple, document everything, and invest in good hardware foundations. Custom PCB design transformed the project from finicky prototype to something truly special, with AIVON providing the manufacturing expertise that let the fun shine through.
If you're inspired to build your own voice AI assistant or any wild hardware idea, remember: great partners make the difference. Upload your design at AIVON, get instant quotes, and turn that sketch into reality. Who knows – your next project could be the one that lights up the community!
FAQ
Q1: What are the most important DFM considerations for ESP32-S3 audio projects with I2S peripherals?
A1: Prioritize short, impedance-controlled traces for BCLK/LRC/DIN and mic lines. Use ground planes and decoupling to minimize noise. Choose ENIG finish for reliable fine-pitch soldering. Always verify power domains early – 3.3V for sensitive mics is non-negotiable.
Q2: How do you choose the right PCB stackup for an ESP32 AI chatbot with OLED and audio?
A2: A 4-layer board is usually perfect: signal/GND/power/signal. It provides excellent return paths for high-speed-ish signals like I2S while keeping costs reasonable. For very dense designs, consider HDI, but standard 4-layer suffices here.
Q3: What common issues arise when integrating animated displays with Xiaozhi firmware on custom PCBs?
A3: Pin conflicts, memory configuration mismatches, and display driver overrides. Modular code like the Face-for-Xiaozhi plugin helps, but test thoroughly after layout. Ensure stable power to the OLED to prevent visual glitches during audio activity.
Q4: Why is professional PCB manufacturing better than prolonged breadboard prototyping for voice projects?
A4: Breadboards introduce variable resistance, noise, and unreliability. Custom boards deliver consistent performance, better signal quality, smaller size, and easier scaling. DFM feedback catches issues before you order dozens.
Q5: How critical is impedance control for MAX98357 and INMP441 on ESP32-S3?
A5: Very helpful for clean audio, especially at longer traces or higher sample rates. Even if not strictly required for low-frequency audio, controlled routing reduces debugging time and improves overall reliability.