There's something magnetic about watching a sci-fi idea leave the sketchbook and land around someone's neck. In the Tech Talkies video "How to built an ESP32 AI Pendant | Full build with code," the creator set out to do exactly that: turn an affordable microcontroller into a wearable AI companion that listens, talks back, and even sees the world through a tiny camera.
The goal was clear. The maker wanted a real pendant—not a breadboard demo—that could wake on "Hi ESP" or "Jarvis," answer questions, identify objects with the onboard camera, light up with status feedback, and run for a usable time on a small LiPo, all inside a 3D-printed enclosure small enough to wear.
That kind of ambition quickly runs into the realities of electronics packaging. A compact wearable forces every decision about the board, the wiring, the power path and the mechanical fit into the same tight space. Solid hardware choices and manufacturing awareness are what separate a cool weekend project from something that actually works day after day.
The Cool Moments That Make the Pendant Feel Alive
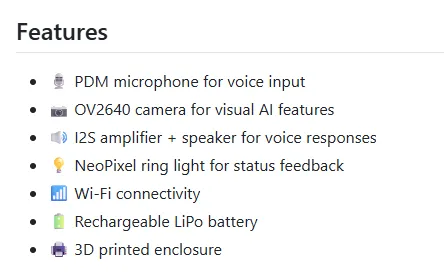
The finished pendant is delightfully simple in use and surprisingly capable. Say the wake word and the device listens through the PDM microphone on the XIAO ESP32S3 Sense. A short pause later the MAX98357A amplifier and small 8 Ω speaker deliver a clear voice response. Ask it to look at something and the OV2640 camera captures the scene; the cloud-side Xiaozhi AI (running DeepSeek in the demo) identifies fingers, an artificial plant, or a breadboard sitting on the bench.
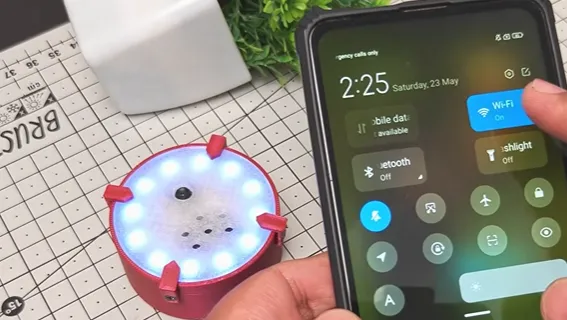
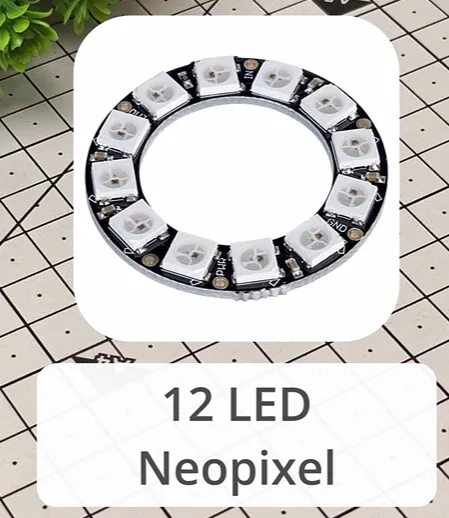
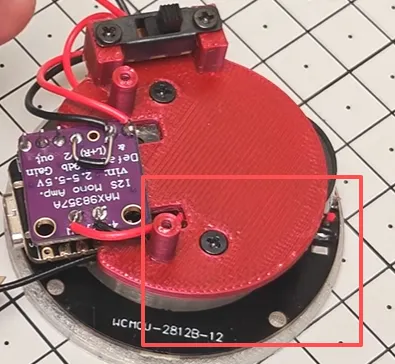
Visual feedback comes from a 12-LED NeoPixel ring sitting behind a translucent PLA diffuser. The ring quietly signals listening, thinking or responding without needing a power-hungry display. Everything is powered by a rechargeable LiPo and controlled by a simple slide switch, all nested inside a custom 3D-printed shell.
Figure: Visual feedback of the Ai pendant
The firmware path is refreshingly approachable. No local build environment is required—flash the Xiaozhi firmware directly from a browser, connect to the device's temporary hotspot, enter Wi-Fi credentials, register the pendant on the Xiaozhi site with a verification code, pick a name and language, and you're talking to your own AI wearable.
Those "wow" moments—watching the pendant correctly count raised fingers or answer a technical question about ESP32 5 V compatibility—are what make the project feel like real science fiction made tangible. Yet every one of those features rests on careful hardware integration.
Hardware at the Heart of the Pendant
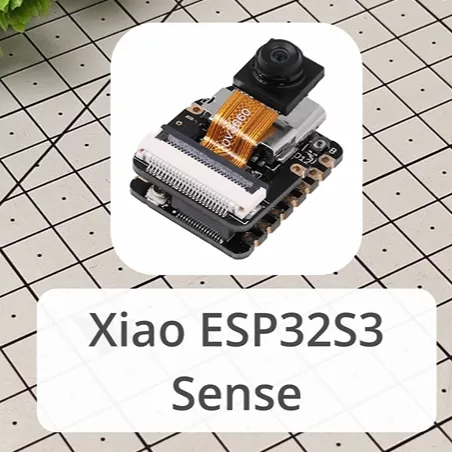
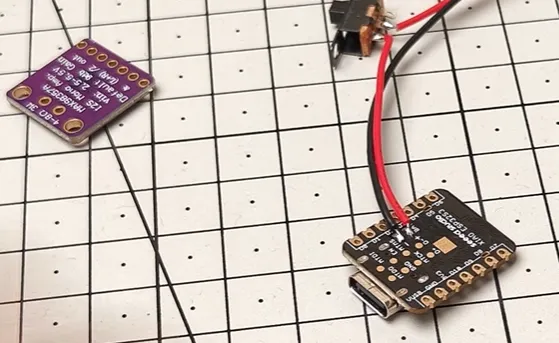
The brain is the Seeed Studio XIAO ESP32S3 Sense: a thumb-sized module that already packs the ESP32-S3, PDM microphone, OV2640 camera, and enough GPIO for the rest of the system. Around it the maker added:
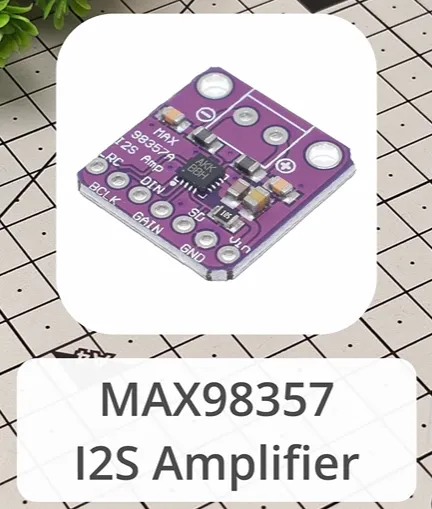
● MAX98357A I2S amplifier driving a 23 mm 0.5–1 W speaker
● 12-LED NeoPixel ring on GPIO 4
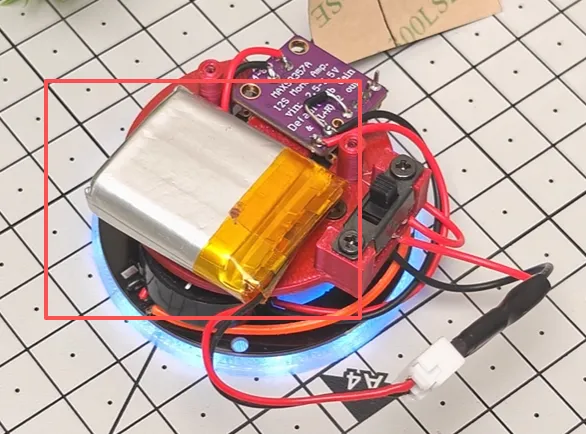
● LiPo battery with slide switch
● Custom 3D-printed enclosure in translucent PLA
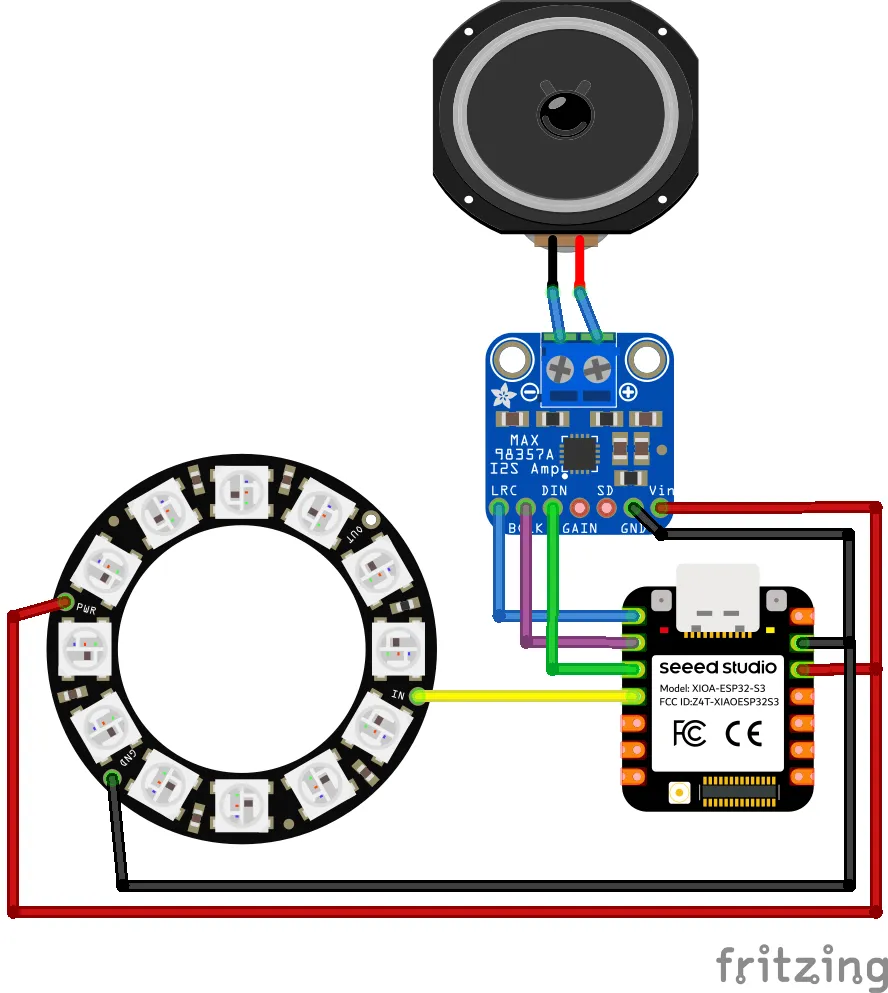
Wiring is straightforward but critical:
|
Function |
XIAO Pin |
Peripheral Pin |
|---|---|---|
|
I2S Data |
GPIO 3 |
MAX98357A DIN |
|
I2S BCLK |
GPIO 2 |
MAX98357A BCLK |
|
I2S LRC |
GPIO 1 |
MAX98357A LRC |
|
NeoPixel Data |
GPIO 4 |
DIN |
|
Power / Ground |
3.3 V / GND |
VIN / GND |
Because the XIAO already integrates the most space-hungry parts (camera + mic), the remaining interconnects are short and manageable. Still, the density of a wearable forces attention to signal integrity on the I2S lines, clean power delivery to the NeoPixel ring, and reliable mechanical mounting so nothing rattles or shorts when the pendant moves.
Potential Pitfalls Worth Watching in a Compact Wearable Build
Near the end of the build the creator asks Jarvis a direct question: " I have an ESP32 microcontroller here. Will this work with 5 volts?"
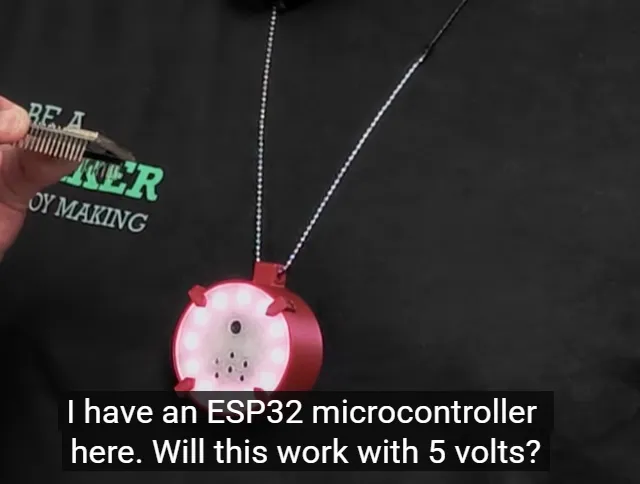
Jarvis replies that the XIAO ESP32S3 Sense runs on 3.3 V logic. It can accept 5 V signals on its input pins (making it workable with many 5 V systems), but you must never drive a 5 V output signal directly into an ESP32 pin that could be configured as an output or that lacks proper protection. Doing so risks permanent damage. Level shifting or careful unidirectional design is the safe path whenever 5 V peripherals are involved.
That short clarification, delivered by the device, is a perfect example of the quiet technical awareness that turns a working prototype into something reliable enough to wear every day.
How Thoughtful Manufacturing Support Turns Ideas Like This into Reliable Products
In the video the creator points viewers toward AIVON as a practical next step for anyone who wants to move beyond hand-wiring. That recommendation is more than a sponsorship line—it reflects a real manufacturing reality.
A fully integrated custom PCB for a pendant of this type would typically be a compact 2- or 4-layer board that:
● places the ESP32-S3 (or a module footprint), camera connector, PDM mic, I2S amp, NeoPixel driver and battery-management circuitry on one rigid or rigid-flex panel
● uses controlled-impedance routing for the I2S clocks and data
● provides solid power and ground planes so the NeoPixel ring and speaker do not starve the radio
● includes proper ESD protection and battery protection circuitry
● adopts an ENIG or equivalent surface finish for reliable solder joints in a high-vibration wearable environment
AIVON's platform is built for exactly this transition. Upload Gerbers, choose layer count, thickness, surface finish and quantity, receive an instant quote, and—if desired—order full turnkey assembly with component sourcing. Their DFM checks catch the kinds of issues that appear in the prototype stage: insufficient clearance around the camera, NeoPixel current paths that are too narrow, or via placements that complicate assembly of a small enclosure.
For a maker who has already proven the concept with the XIAO module and hand wiring, that path removes the remaining reliability risks. Short, controlled traces replace flying wires. A single board replaces multiple modules and solder joints. Proper stack-up and material choices improve RF performance and battery life. The same sci-fi experience becomes something that can be produced in small batches without the assembly fragility of the original prototype.
The DFM checklist that emerges from this project is specific to wearable AI devices:
|
Check Item |
Why It Matters for This Pendant |
Recommended Action |
|---|---|---|
|
I2S trace length & impedance |
Clean audio to the speaker |
Keep traces short, match impedance |
|
NeoPixel power plane & decoupling |
Avoid brown-outs and data glitches |
Wide pours + local capacitors |
|
Camera & mic keep-out zones |
Optical and acoustic performance |
Mechanical clearance in enclosure design |
|
Battery connector & protection |
Safety and runtime |
Proper charge path + under-voltage lockout |
|
Via size & annular ring |
Reliability under flex and vibration |
Follow manufacturer minimums |
|
Surface finish |
Solderability and corrosion resistance |
ENIG preferred for wearables |
|
Component height vs. shell |
Fit and comfort |
3D model + height map before ordering |
Following that list turns the exciting but fragile prototype into a device that can be worn daily.
Closing Thoughts
Watching the Tech Talkies pendant wake up, answer a question and correctly identify an object on the desk is pure maker joy. The creator showed that a capable AI wearable is within reach of anyone willing to combine an excellent module, open-source firmware and careful mechanical design.
The same project also illustrates why professional PCB manufacturing support matters once the idea is proven. Wiring that works on the bench can become the weak link in a wearable. A well-designed board, produced with proper DFM review and assembly, removes those weak links and lets the creative vision scale.
If you have a similar sci-fi idea sitting in a notebook, start with the modules and the 3D printer just as this maker did. When you are ready for the next step—tighter integration, better reliability, or a small production run—upload the design, get the quote, and let experienced manufacturing turn the prototype into something people can actually wear and rely on.
FAQ
Q1: How do I keep battery life reasonable on an ESP32 wearable with speaker and Wi-Fi?
A1: Limit NeoPixel brightness, reduce audio volume, use deep-sleep between interactions, and ensure the power path has low quiescent current. Measure actual draw with the final enclosure closed.
Q2: What is the safest way to wire a NeoPixel ring to the XIAO ESP32S3 Sense?
A2: Double-check the data pin (GPIO 4 in this build), add a series resistor if the ring is large, and verify ground and 3.3 V before powering up. A single reverse connection can damage the MCU.
Q3: What surface finish is best for a wearable PCB that will see skin contact and humidity?
A3: ENIG is preferred for corrosion resistance and reliable soldering of fine-pitch parts. HASL is acceptable for early prototypes but less ideal for long-term wearables.
Q4: Do I need a custom PCB to make a reliable AI pendant?
A4: No for a first prototype—the XIAO module works well. Yes if you want consistent assembly, better signal integrity, smaller size, or more than a handful of units. That is the point at which a service like AIVON becomes valuable.
Q5: How critical is impedance control on the I2S lines in a small pendant?
A5: Moderately critical. Short, well-routed traces on a 2- or 4-layer board are usually sufficient. Longer or poorly spaced traces can introduce noise that the amplifier and speaker will reveal.
Q6: Can I replace the 3D-printed shell with a production enclosure once I have a custom PCB?
A6: Yes. Design the board with the final mechanical constraints in mind (camera window, mic ports, battery cavity, chain attachment). Early collaboration between the PCB and mechanical design prevents expensive re-spins.