There's a special kind of grin that appears when a plain strip of WS2812 lights suddenly starts playing games. One second it's just colorful decoration; the next, pixels are racing, invaders are advancing, and two players are frantically pushing a glowing zone across sixty LEDs. That's the exact moment Tech Talkies captured in "I Turned an LED Strip into a Game Console."
The creator didn't set out to build another blinky demo. They wanted a complete, self-contained handheld that felt like a real console — six classic-inspired games, a color TFT for menus and scores, satisfying buttons, and little sound effects — all running on a tiny ESP32-C3 Super Mini with a 60-LED WS2812B strip as the main "screen." The goal was simple and delightful: prove that clever game mechanics don't always need a traditional rectangular display.
That playful vision is pure maker energy. Turning the breadboard prototype into something sturdy enough to live inside a translucent 3D-printed case, however, is where thoughtful PCB design and manufacturing quietly decide whether the fun lasts beyond the first video.
When a Strip of Lights Became a Playground
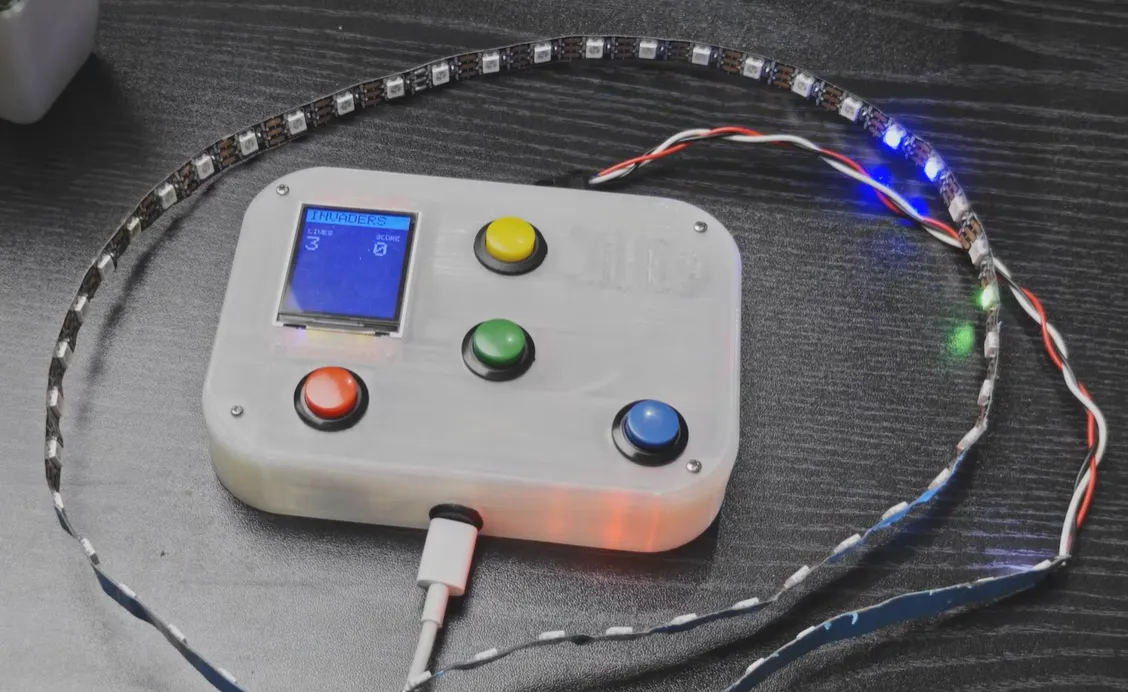
The finished console is compact and immediately inviting. A 60-LED WS2812B strip runs across the front of the translucent PLA case. Above it sits a clear ST7735 TFT that handles the menu, current game name, score, and lives. Four 16 mm colored push buttons take care of navigation and action. A small passive buzzer supplies the retro beeps and explosions. Power arrives through a clean USB-C panel mount, and the brains are an ESP32-C3 Super Mini.
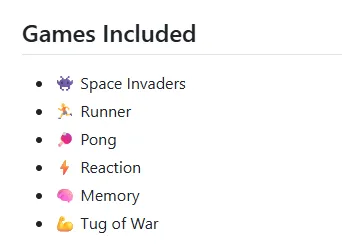
What makes the experience stick is how each game re-imagines a classic idea for one dimension:
- Space Invaders turns the strip into a linear battlefield of ships and colorful shots.
- Runner brings pure Chrome-dino energy — jump the obstacles racing toward you.
- Pong becomes a two-player reaction duel as a glowing ball bounces end to end.
- Memory asks you to repeat flashing color sequences.
- Reaction rewards pure speed and timing.
- Tug of War lets two players mash buttons to shove a shared color zone off the opponent's side.
The code stays deliberately friendly: one Arduino sketch, FastLED for the LEDs, Adafruit GFX plus the ST7735 library for the display. The TFT uses an off-screen GFXcanvas16 framebuffer so the menu never flickers and transitions stay smooth. Instant reset from any game back to the menu keeps the whole thing playful instead of frustrating.
Watching the LED strip itself become the gameplay surface is the real hook. The one-dimensional constraint forces clever thinking, and the result feels fresh even if you've played the original two-dimensional versions a hundred times.
Six Games, One Line of Color – What Makes It Click
The hardware list is short and approachable: ESP32-C3 Super Mini, 60-LED WS2812B strip, ST7735 SPI TFT, four 16 mm push buttons, passive buzzer, and USB-C panel mount. Pin mapping is clean and documented — TFT on the SPI pins, buttons on GPIOs 9/20/21/10, LED data on GPIO 7, buzzer on GPIO 8. Everything was first proven on a breadboard, then moved into a 3D-printed enclosure that lets the glowing strip show through.
Figure: 1D LED Game Console Hardware
The double-buffered TFT rendering is a quiet but important detail. By drawing to an off-screen canvas first, the display updates without visible tearing or flicker, which makes the menu feel polished and the score readable even while the LEDs are racing. Sound effects from the buzzer add just enough feedback to make hits and misses satisfying. The whole package stays beginner-friendly yet complete enough that people want to keep playing after the video ends.
The Board That Quietly Holds Everything Together
Once the breadboard version proved the games worked, the next step was a proper custom board that could live inside the printed case without a nest of jumper wires. The production-intent PCB stayed practical and focused:
|
Parameter |
Specification |
Reason |
|---|---|---|
|
Layers |
4-layer |
Continuous ground under SPI and LED data |
|
Material |
FR-4, Tg 150 °C |
Stable inside a closed enclosure |
|
Thickness |
1.6 mm |
Mechanical rigidity for connectors and buttons |
|
Copper |
1 oz outer / 0.5 oz inner |
Clean handling of LED current peaks |
|
Surface finish |
ENIG |
Reliable joints for ESP32-C3 and connectors |
|
Via type |
Through-hole + selective microvias |
Dense routing around the Super Mini |
|
Critical signals |
Short SPI, series resistor on WS2812 data |
Signal integrity and first-pixel reliability |
The board carries the ESP32-C3 footprint, ST7735 header, four button pads, buzzer, USB-C, and a solid connector for the LED strip. Generous copper on the 5 V rail and well-placed decoupling keep voltage stable even when the strip hits full white. Power planes and careful return paths reduce the noise that often appears on long breadboard wires.
Potential Pitfalls When You Turn an LED Strip into a Game Console
The video makes everything look smooth — and for good reason. The final build works. But if you're planning to recreate or improve on Tech Talkies' design, a few classic pitfalls tend to appear the moment you leave the breadboard and try to make the console more permanent.
Power is usually the first trap
Sixty WS2812B LEDs can draw several amps when they all light up white. On thin jumper wires or narrow traces the voltage drops, colors shift toward the far end of the strip, and the ESP32-C3 may randomly reset. The fix is straightforward once you know it: solid copper pours on the 5 V rail, bulk capacitance right at the LED connector, and intentional power-injection points if the strip is long.
The 3.3 V ↔ 5 V data conversation
The ESP32-C3 outputs 3.3 V logic while many WS2812 strips expect a stronger high level. It often works… until temperature changes, the cable gets a little longer, or you get a stricter batch of LEDs. A simple series resistor close to the first LED (and a solid shared ground) prevents most intermittent glitches. A proper level shifter is the bulletproof option if you want zero surprises.
SPI noise on the TFT
Long jumper wires to the ST7735 can introduce enough noise that the double-buffered canvas occasionally shows artifacts. Keeping the SPI traces short, over a continuous ground plane, and away from the high-current LED power path keeps the menu and scores clean.
Mechanical and thermal realities inside a closed case
Buttons that feel great on a breadboard can bounce or fatigue once mounted in a 3D-printed enclosure. Heat from the LEDs and the ESP32 has nowhere to go if the copper is undersized. Small details like proper pad size, mounting holes that actually match the printed parts, and a little extra copper under the power path make the difference between a console that works for a demo and one that stays reliable after dozens of play sessions.
None of these issues are deal-breakers. They're simply the usual friction points that appear when a fun idea moves from prototype to something you want to keep (or share). Knowing them in advance lets you design them out from the start — which is exactly where a thoughtful custom PCB shines.
Where the AIVON Custom PCB Stepped In and Raised the Bar
This is the point where the project moved from "fun prototype" to something that feels ready to keep. Tech Talkies already had the creativity and the working firmware. What they needed was a manufacturing partner who treated the board as an engineering conversation rather than a simple Gerber upload.
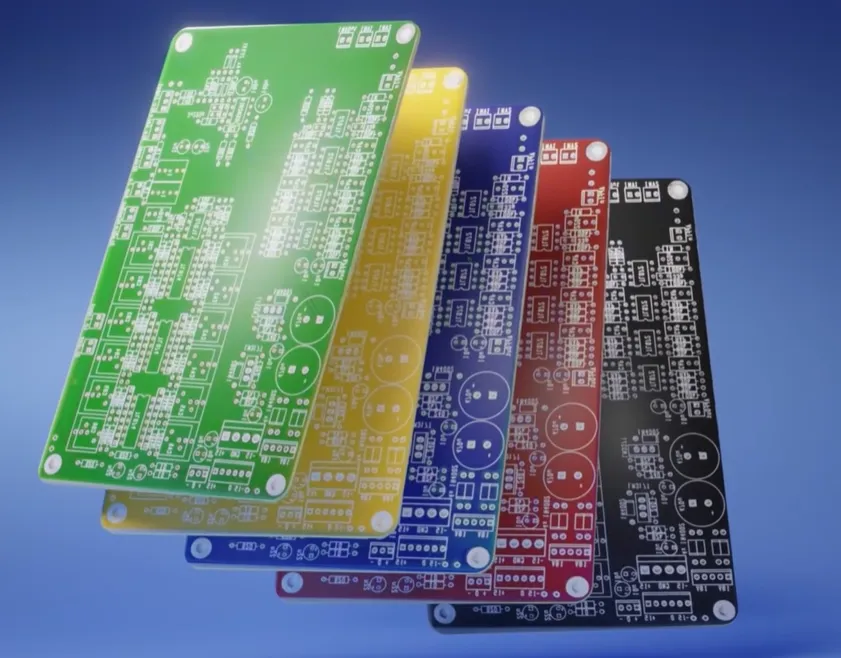
AIVON's DFM review caught the small things early — copper balance around the dense ESP32-C3 area, adequate clearance for the USB-C connector, and proper soldermask expansion so the fine-pitch pads would solder cleanly. The four-layer stack-up delivered a continuous ground plane under both the SPI bus and the LED data line, which directly improved signal integrity and reduced the noise that had appeared on the breadboard version.
Material and copper choices stayed practical: standard FR-4 with 1 oz outer layers handled the LED current peaks without drama, while ENIG finish gave reliable joints for the connectors that would see repeated use. The engineering team also helped refine via placement and decoupling locations so the board stayed quiet even when the strip was updating at full speed and the TFT was refreshing the score.
The practical results were immediate. Assembly became dramatically simpler — no more fragile jumper nests inside the case. Reliability improved so the console could run for extended sessions without voltage sag or random resets. And the consistent board opened the door to small batches or kits if the creator ever wants to share the design with other makers. Instant quoting and responsive engineering support removed the usual friction of moving from a one-off prototype to something manufacturable.
In short, the AIVON board didn't invent the games or the playful idea. It simply removed the electrical and mechanical obstacles so the idea could shine without constant babysitting.
DFM Checklist Tailored to This LED + ESP32-C3 Handheld
|
Check Item |
Why It Matters |
Pass Criteria |
|---|---|---|
|
5 V copper width & power injection |
Stops voltage drop and color shift |
≥ 2 A continuous, injection near both ends |
|
Series resistor on LED data |
Tames ringing and protects first pixel |
220–470 Ω close to DIN |
|
Continuous ground under SPI & data |
Clean return paths, lower noise |
No plane splits under critical traces |
|
Bulk + local decoupling |
Absorbs LED current spikes |
1000 µF bulk + 100 nF at connector and MCU |
|
3.3 V → 5 V data reliability |
Avoids intermittent LED failures |
Verified threshold or level shifter if needed |
|
Button pads & mechanical relief |
Survives repeated presses in enclosure |
Adequate pad size + matching mounting holes |
One Last Glow Before You Build Yours
Tech Talkies started with a delightfully simple question: what if an LED strip could be a game console? Through clever one-dimensional game design, careful hardware choices, and a solid custom PCB, that question became a fully playable handheld that still makes people smile when the lights start racing.
The journey from breadboard to reliable device is the path most ambitious maker projects follow. The creative spark is yours. The manufacturing partner who helps you turn that spark into something that works every single time is what makes the difference. Whether you're building your own 1D console or the next wild idea, professional PCB support is ready when you are. Go make something that lights up — literally.
FAQ
Q1: Do I really need a level shifter between the ESP32-C3 and WS2812B?
A1: Many strips work at 3.3 V with short wires, but reliability varies by batch and length. A series resistor is the minimum; a proper level shifter or first-pixel powered at 3.3 V gives more consistent results.
Q2: How much current should I plan for a 60-LED strip?
A2: At full white, budget roughly 3–3.6 A. Size the 5 V supply and PCB copper accordingly, and always inject power at both ends of longer runs.
Q3: Is a 4-layer board necessary?
A3: A careful 2-layer design can work, but a 4-layer stack-up with a continuous ground plane makes SPI and LED data far more robust and is usually worth the modest cost difference for a compact handheld.
Q4: What surface finish works best for a board with USB-C and buttons that will be handled often?
A4: ENIG strikes the best balance of reliability, ease of soldering fine-pitch parts, and cost for prototypes and small runs.
Q5: Can the same ESP32-C3 hold high-score saving or extra games?
A5: Yes. The current single-sketch design still has headroom. The ESP32’s non-volatile storage can keep high scores, and additional games are mainly a software exercise once the hardware is solid.
Q6: What’s the single biggest DFM mistake people make on LED-strip controllers?
A6: Under-sizing the power copper and forgetting bulk capacitance near the LED connector. Once the rail collapses under load, everything else becomes secondary.