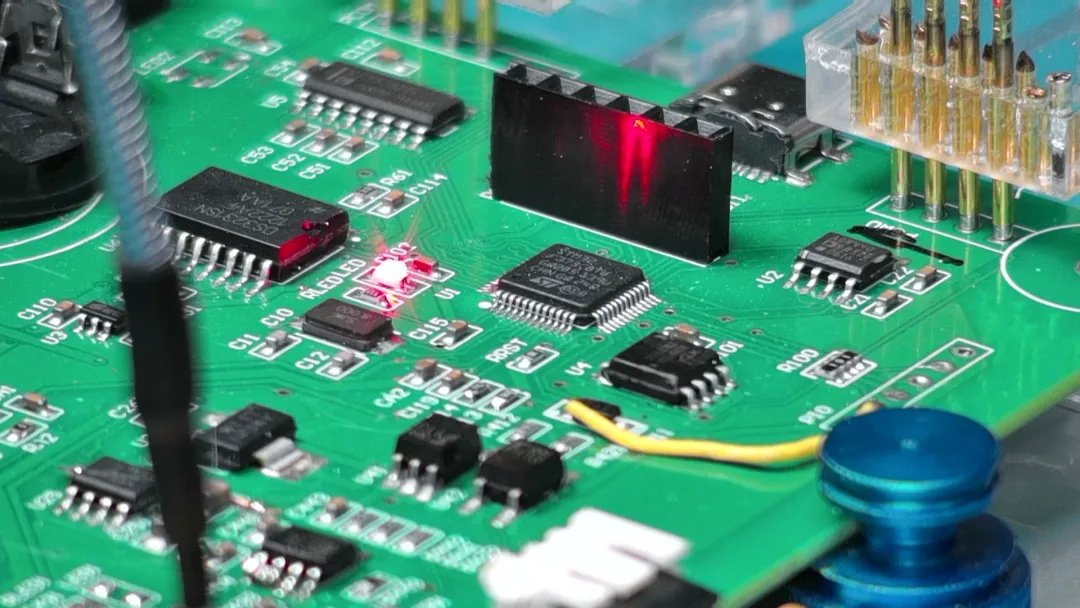
Encapsulant, or Encap, is primarily composed of epoxy resin. It is developed specifically to protect components on printed circuit boards (PCBs) and flexible printed circuit boards (FPCs). The material has a relatively low glass transition temperature (Tg) and good flexibility. By filling, covering, or sealing the target area, it provides physical isolation. Encapsulant not only offers effective physical protection and stable electrical performance, but can also improve component performance during reliability tests such as high-temperature, high-humidity, and powered testing.
Encap is primarily used to protect chip-type resistors and capacitors against mechanical impact and to reduce localized stress. Its validated applications include 01005, 0201, 0402, and 0603 chip components. When Encap is required for other application scenarios or package types, the dispensing process should be evaluated separately.
This article uses a specific encapsulant product as an example and describes the process and operating requirements for storage, temperature recovery, dispensing, curing, and rework.
1. IQC Inspection Requirements
- Store the material below -15 °C to -20 °C as required. Dry ice is added to the shipping carton during transportation. IQC personnel should wear gloves during inspection to prevent cold burns.
- Verify the adhesive against the factory inspection report supplied for the relevant batch.
- Inspect the outside of the shipping carton for damage, impact marks, or deformation.
- Verify that the label on the outside of the carton matches the delivery documentation, including the adhesive model, batch number, storage temperature, expiration date, and quantity.
- Open the carton and check whether dry ice remains inside. If the dry ice has completely sublimated, measure the temperature inside the carton and confirm that it is below -15 °C.
- Verify the quantity of adhesive tubes inside the carton.
- Inspect the label on each individual tube and check whether the tube is cracked. When handling an individual tube, hold only the tail section and do not touch the portion containing adhesive. Keep the tube tip pointing downward to prevent FTV, or Freeze/Thaw Void, bubbles.
- IQC inspection should be performed promptly when the material is received. After inspection, remove the dry ice and place the complete carton in a low-temperature freezer.
2. Storage Requirements
- The recommended storage temperature is -20 °C. At this temperature, the storage life is nine months.
- Each tube is labeled with a batch number and expiration date. The material must be used before the stated expiration date.
- When the warehouse receives the material, place the complete original carton in the freezer promptly. Do not tilt or invert the carton.
- Because dry ice is extremely cold, wear insulated gloves when handling dry ice or tubes at low temperature to prevent cold burns.
- For individual tubes stored separately in the freezer, keep the tube tips vertically downward. Leave clearance between tubes to prevent mutual compression and impact.
- Control the internal freezer temperature carefully. Use a thermometer to measure the actual temperature at the storage location. Measure and record the actual temperature and the freezer display temperature during every shift.
3. Temperature-Recovery Requirements
- Before use, allow the adhesive to recover from its refrigerated temperature to room temperature. Depending on the package size, the recommended temperature-recovery time at 25 °C is two hours. The actual recovery time depends on the package size and should follow the supplier's operating instructions.
- Record the temperature-recovery start time and end time on the tube label.
- During temperature recovery, keep the tube tip vertically downward. If the tube is tilted or placed horizontally, air may enter the adhesive.
- Do not use heating to accelerate temperature recovery.
- Refrigerating temperature-recovered adhesive is not recommended. Repeated refrigeration may increase the risk of bubbles.
- After temperature recovery, the recommended room-temperature operating time is 72 hours at a temperature of ≤28 °C. If the temperature-recovered tube remains unopened, it may be refrigerated and recovered again, provided that the total room-temperature operating time after both recovery cycles does not exceed 72 hours.
3.1 Bubble Formation During Storage and Temperature Recovery
Improper handling of low-temperature adhesive during storage or temperature recovery can cause FTV, or Freeze/Thaw Void, formation. When a cold tube contacts a hand at approximately 36 °C or another hot object, the large temperature difference can cause the tube to expand rapidly. Separation may then occur between the tube wall and the adhesive. Air can enter through the resulting gap and form bubbles inside the adhesive.

- Wear gloves when handling cold tubes.
- Do not allow your hands to contact the adhesive-containing section of the tube. Hold the tube by its tail section.
- During storage and transportation, prevent dry ice from directly contacting the tubes. Use a partition to separate the dry ice from the adhesive tubes.
3.2 Tube Cracking or Rupture
Cracking or rupture can result from external impact while the tube is at low temperature. The plastic material of the tube is more brittle at low temperature than at room temperature. Dropping, squeezing, impact, or other severe mechanical forces can therefore cause cracks or even complete rupture.
Use qualified adhesive tubes, such as EFD or SEMCO tubes. When they are not subjected to external force, these tubes can withstand storage and transportation temperatures as low as -40 °C. During dispensing, they can withstand air pressure of 7 bar/100 psi.
Packaging should be designed to reduce the risk of cracking or rupture caused by impact during packaging, transportation, and internal handling. The encapsulant carton should use an array of individual compartments so that the tubes do not collide with or compress one another.
For small-volume deliveries, use compartmented boxes, or separate and secure each tube with sponge or another cushioning material. Separate dry ice from the tubes with a partition to prevent direct contact with the extremely cold dry ice.
Keep the tubes vertical during storage and transportation. If tubes are stacked horizontally in multiple layers, the tubes in the bottom layer may be subjected to the weight of the upper layers and could crack under compression. Transportation and warehouse personnel should also inspect cartons for damage or deformation.
3.3 Personal Protective Equipment
Follow the instructions in the material safety data sheet (MSDS). To reduce potential chemical hazards, operators should use appropriate personal protective equipment, such as protective gloves, safety glasses, and a mask.
To prevent adhesive from spilling or splashing if a tube ruptures during dispensing, a transparent protective sleeve may be placed over the outside of the tube.
4. Shelf Life and Working Life
4.1 Room-Temperature Pot Life
Room-temperature pot life is defined as the time required for the adhesive viscosity to increase to the upper limit of its specified viscosity range. It is evaluated by measuring adhesive viscosity. The theoretical viscosity of this encapsulant is 6,700 cps.
For production use, the recommended room-temperature pot life of the encapsulant is three days.
4.2 Working Life
Working life is the period during which the adhesive can be dispensed stably without adjusting the dispensing parameters.
In laboratory testing, when the encapsulant was dispensed using a pressure-based dispensing system with a 23-gauge dispensing needle and 15 psi air pressure, the dispensing flow-rate variation remained below 25% over 24 hours.
For production use, the defined room-temperature working life of the encapsulant is 24 hours.
5. Dispensing Requirements
5.1 General Dispensing Process Requirements
- Before installing the tube on the dispensing equipment, record the start time of use on the tube label.
- Remove the cap from the tail of the tube while keeping the tube vertical. Use a thin rod, such as a pen, to gently press the piston and discharge any air that may be present below it. Ensure that the piston is fully in contact with the adhesive surface. This prevents the piston from moving up and down during dispensing, which could affect the stability of the air pressure applied to the adhesive.
- Remove the plug from the tube tip while keeping the tube vertical. If the adhesive does not flow slightly under gravity, gently press the piston to discharge the short section of adhesive at the tube tip where viscosity may have increased. The discharged section should be approximately 1–5 mm long. Then install the tube on the dispensing machine.
- Before formal dispensing, verify dispensing stability. Program a 10 × 10 matrix with one dot at each position. Dispense the first matrix, wait 1 minute, and then dispense the second matrix. Continue until 10 matrices have been completed. With a 1-minute interval between matrices, the complete test contains 1,000 dots. If the adhesive cannot be dispensed, or if five or more dots exhibit missing dots, multiple dots, irregular spreading, splashing, or other abnormalities, the adhesive must not be used and must be scrapped.

- Encap can be dispensed at room temperature. Use the specified fixture, dispensing pressure, and dispensing path. To prevent unnecessary contact from deforming the adhesive dots, complete curing within two hours after dispensing.
- Regularly inspect and clean the dispensing-machine work surface and component-location fixtures. Contamination remaining on the fixture surface can affect component position and height, which in turn affects dispensing-volume stability. The recommended fixture-cleaning interval is every 1–2 hours. The recommended fixture-calibration interval is every three days to one week.
- Operators should periodically clean the outside of the dispensing needle with a solvent-moistened nonwoven cloth. Cleaning after each board is dispensed is recommended.
- Clean the inside of the dispensing needle once per shift or once per day to prevent clogging.
- Uncured encapsulant can be removed with solvent and may also be used to clean the dispensing needle.
5.2 Dispensing Path and Volume Control
The Encap dispensing path and volume depend on the component type and component arrangement. Different component types require different adhesive volumes, so separate dispensing programs should be created for different component types. The detailed dispensing paths and volume-control requirements are shown in the following figure.
- The center-to-center spacing between two adjacent adhesive lines should be maintained at 0.3–0.5 mm. If the center spacing between two dispensing paths exceeds 0.5 mm, add another adhesive line between them.
- The referenced table specifies the dispensing volume per unit length of adhesive line. The total dispensing volume is determined by the path length: total dispensing volume = dispensing volume per unit length × adhesive-line length.
- Whenever the adhesive is changed during production, perform dispensing-weight calibration to determine the single-dot weight and confirm the adhesive condition. Compare the result with the previous weighing result. The weight variation should be controlled within ±15%. For example, if the previous single-dot weight was 0.025 mg/dot, the required range for the current weighing result is approximately 0.0246–0.0254 mg/dot.
- During normal production, perform dispensing-weight calibration once every two hours. Before the first article passes through the oven, visually inspect the dispensing results and confirm that they meet the process requirements. Single-dot weight variation should be controlled within ±15%.
- After confirmation and agreement with the relevant single-board process engineer, dispensing parameters may be adjusted according to actual equipment conditions, component layout, and other production requirements.
6. Curing Requirements
Oven Curing
Ramp the temperature to 130 °C over 15–30 minutes, then hold at 130 °C for at least 8 minutes.
Reflow-Oven Curing
Ramp the temperature to 130 °C over 2–5 minutes, then hold at 130 °C for at least 8 minutes.
To monitor oven temperature, periodically measure the actual temperature at the corners and center of the oven interior.
7. Dispensing Quality Inspection Requirements
The cured Encap should have a uniform and consistent appearance. The sidewalls and top surfaces around the component should be completely covered. The component terminations should appear light yellow or black. The adhesive should not exhibit a bone-shaped profile, sawtooth edges, scattered dots, or splashing, and it must not contaminate areas where adhesive overflow is prohibited.
- Maximum adhesive overflow width on one side: ≤0.3 mm for 0402 and larger components; ≤0.25 mm for 0201 and 01005 components.
- Dispensing thickness: ≤0.2 mm, provided that actual production assembly of other components is not affected.
- Areas subject to stress concentration should be inspected from both top and side views to confirm that the adhesive completely encapsulates the component.
Acceptance Criteria
- A relatively large adhesive volume around the target component is acceptable if it does not cover adjacent components and does not affect component assembly or rework.
- Up to two isolated scattered dots around the target component are acceptable if they do not affect the assembly or testing of any surrounding component or the overall board layout.
Rejection Criteria
- Adhesive splashes onto components or features that affect functional testing or assembly, including, but not limited to, spring contacts, test points, and exposed copper areas on the PCB.
- Adhesive covers a component that is not specified for dispensing.
- The dispensed adhesive interferes with the assembly of surrounding structures, including, but not limited to, shielding frames and other mechanical components.
8. Encap Rework Requirements
Tools: Heating equipment, such as a hot-air gun or rework station, fine-point tweezers, and cotton swabs.
Heating: Set the hot-air gun to 140–180 °C and heat the PCB area or component requiring rework. If a rework station is used, set its temperature to 140–180 °C.
Removing the adhesive around the component: Heat the board substrate with hot air to 140–180 °C. At this temperature, use fine-point tweezers or a toothpick to remove the adhesive around the component. Repeat the operation until residual adhesive has been removed from the component perimeter, then clean the surrounding area with a cotton swab.

Rework should preferably be performed by trained and experienced personnel to avoid damaging other components on the PCB.