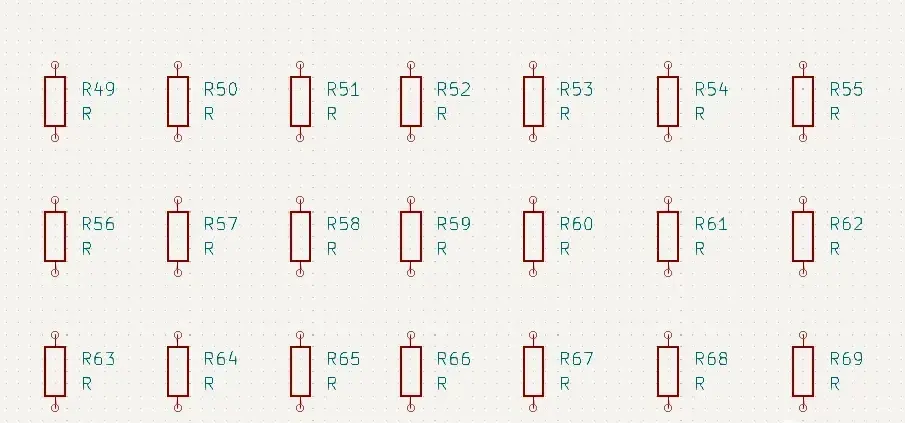
KiCad’s default schematic symbol placement workflow is slightly different from some other EDA tools. By default, after placing a symbol the tool returns you to the selection dialog, which can feel inconvenient when you need to place many identical parts, such as arrays of resistors or decoupling capacitors. However, KiCad fully supports continuous placement of the same symbol once you enable the right option and use a few productivity shortcuts.
Problem Description
There are two common ways to add symbols to a KiCad schematic:
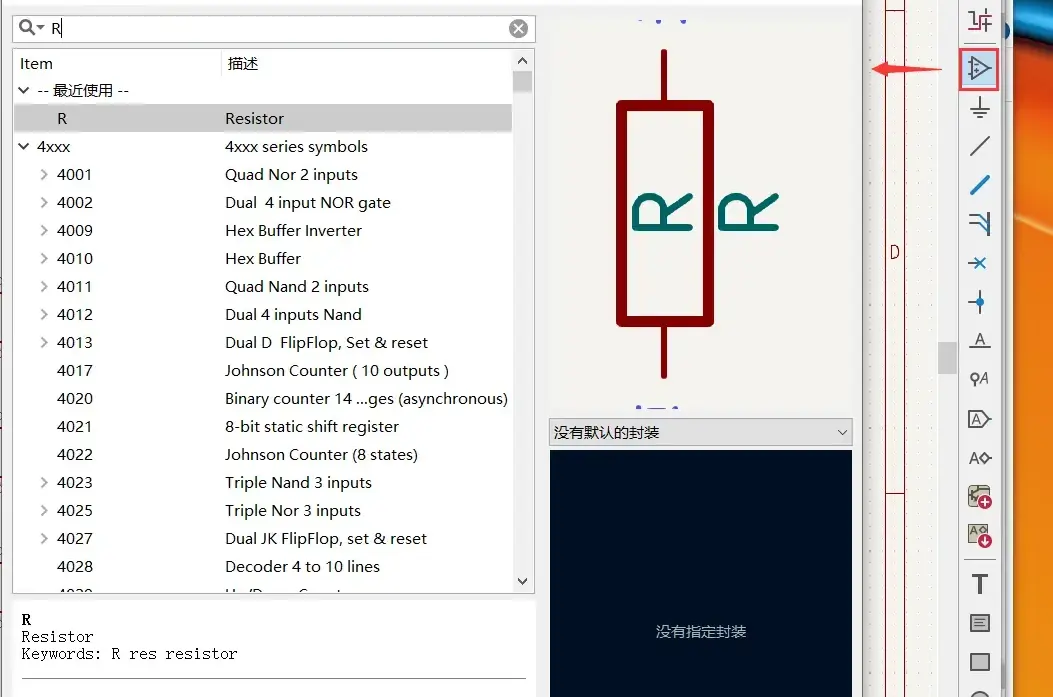
- Use the Add Symbol tool from the right-hand toolbar to open the symbol browser and place the selected symbol on the sheet.
- Press the A hotkey to directly open the Choose Symbol dialog.
By default, after you place the first symbol, a left-click will reopen the Choose Symbol dialog instead of placing another copy. That means each additional placement requires reselecting the symbol, which is inefficient when populating large groups of identical components. Many users fall back to copy and paste, which works but still takes more steps than necessary and can disrupt placement flow.
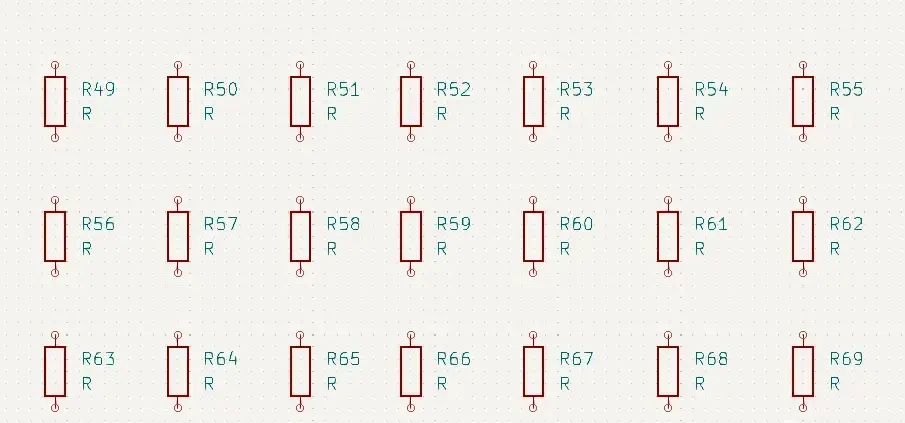
Solution: Enable Place Copies to Continuously Place the Same Symbol
The Choose Symbol dialog includes a control that enables continuous placement. In the lower-left corner of the dialog, enable the option labeled Place copies. This option is off by default, which is why the dialog reopens after each placement.
When Place copies is enabled, KiCad remains in placement mode for the selected symbol. Each left-click places another instance of the same symbol, and you can continue clicking to place as many as you need. Press Esc when you are done to exit placement mode.
Practical Steps
- Press A to open the Choose Symbol dialog.
- Search for and select the symbol you want to place (for example, a 100 nF capacitor).
- Enable the Place copies option in the lower-left corner of the dialog.
- Click OK to start placement.
- Left-click to place the first symbol; continue left-clicking to place additional copies at the desired locations.
- Press Esc to exit placement mode when finished.
This workflow is especially efficient for repetitive component placement, such as:
- Decoupling networks around a microcontroller or FPGA.
- Resistor ladders, series resistors on I/O lines, or pull-up/pull-down arrays.
- Connector pin breakout components, such as ESD diodes or ferrite beads.
Why This Works Well for Repetitive Placement
Continuous placement reduces modal dialog interruptions and minimizes cursor travel. It also keeps placement in context: you can align related parts, keep spacing consistent, and visually balance the schematic as you go. When placing many passive parts around a device, you can maintain proximity and orientation without switching tools or reselecting symbols repeatedly.
Speed Up Net Labeling with Auto-Incremented Names
Many schematic designs require series of related net labels, such as bus-like signals or numbered power nets. KiCad provides a convenient shortcut to generate sequential labels with a single key press.
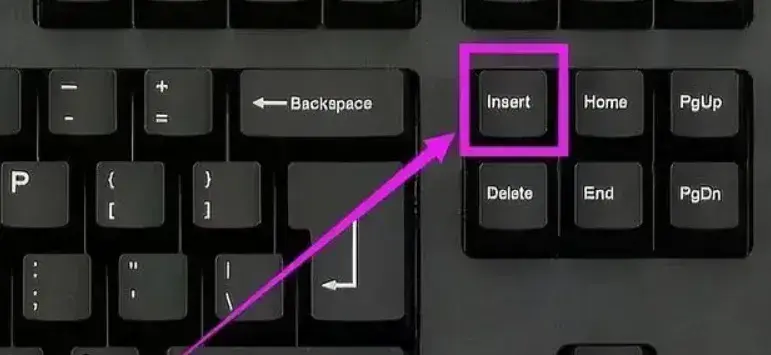
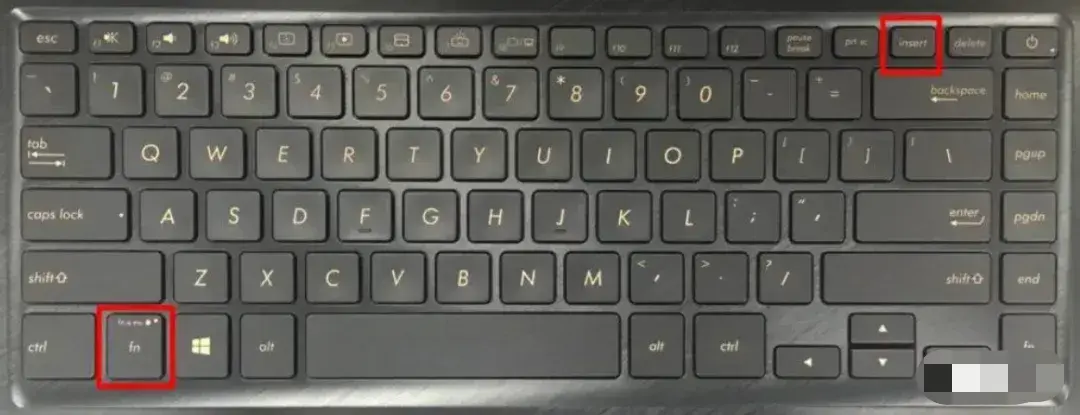
Use the Insert key to duplicate and auto-increment selected items. On many laptops, Insert is accessed via Fn + Insert. When you use this shortcut with a net label that ends with a number, KiCad creates a copy and increments the trailing number automatically.
Typical workflow for auto-incremented net labels:
- Place the first net label, for example A1.
- Select the label or keep it selected immediately after placement.
- Press Insert to place another label with the next index (A2).
- Move and click to place it; press Insert again to continue generating A3, A4, and so forth.
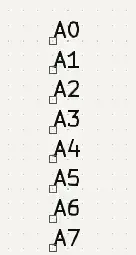
The result is a clean sequence of labels such as A1, A2, A3... This is particularly useful for:
- Numbered signal groups (for example, UART_TX1, UART_TX2... if you adopt such a naming pattern).
- Power taps labeled by location or order.
- Consistent naming of replicated channels within a design.
Apply the Same Insert Shortcut to Wire Segments
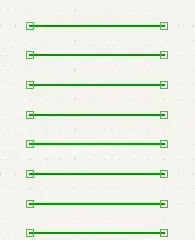
The same Insert shortcut also works with wire segments. After drawing a wire segment, select it and press Insert to duplicate another segment. This helps quickly build repeated wire stubs or consistent fan-out patterns without redrawing each line from scratch.
Workflow Tips for High-Volume Symbol Placement
These techniques integrate well into a fast, accurate schematic capture workflow:
- Use A to open the Choose Symbol dialog, enable Place copies, and keep placing until the group is complete. Press Esc to exit.
- Place labels as you go: after placing the first label in a sequence, use Insert to create and place the next ones. You can stay in the same area and maintain consistent spacing and alignment.
- When laying out decoupling capacitors around a device, place symbols first, then use Insert to create wire stubs and net labels that fan out in a clean pattern. This keeps your schematic orderly and improves readability for later review or maintenance.
- If you need to switch symbols midstream, press A to bring up the dialog, choose the new symbol, and continue. You can toggle the Place copies option on or off depending on whether you want continuous placement or to return to the selector after each part.
Troubleshooting and Behavior Notes
- If you do not see continuous placement happening after enabling Place copies, confirm that you enabled it in the same Choose Symbol dialog where you selected the symbol. The option applies to that placement session; you can re-enable it the next time you open the dialog.
- If Insert does not trigger on your keyboard, try Fn + Insert on laptops where Insert is shared with another key. You can also check your system’s keyboard settings for how to access Insert.
- Auto-incrementing is based on the trailing number in the label text. Labels without a trailing number will be duplicated without renaming. To use auto-increment, include a numeric suffix (for example, A1, A01, or A001).
- When duplicating wires or labels with Insert, ensure the correct item is selected. KiCad will duplicate the selected item and place it at the cursor so you can click to set its new position.
Once you adopt Place copies and Insert for duplication, repetitive schematic tasks become much faster and more consistent. These workflows streamline high-volume placement, reduce dialog navigation, and maintain focus on schematic structure and readability.
Continuous symbol placement and auto-incremented labeling are small but effective techniques that scale from simple breakout boards to complex multi-rail, multi-channel designs. They help you avoid context switches, minimize mouse travel, and keep related symbols and nets aligned and named consistently—all of which contribute to a clearer, more maintainable schematic.